Care package chocolate chip cookies
Hi there! Fall for many of us means our kids are heading back to college. This year my daughter is a sophomore. Last year was a tough one. She ended up transferring from her dream school to a college closer to home. Transferring is never easy but during a pandemic it is even harder. So this year it is like she is almost like a freshman again. Along with getting into a routine, meeting two new room mates and taking on a full academic load comes some homesickness. What could be better than a care package to cheer her up? Cookies have to be part of it, but most of recipes create cookies that break easily or crumble. Not a problem at home, but throw UPS into the mix and she would have a mess by the time she opened the package. So, after experimenting a bit, I am sharing the perfect care package chocolate chip cookies.
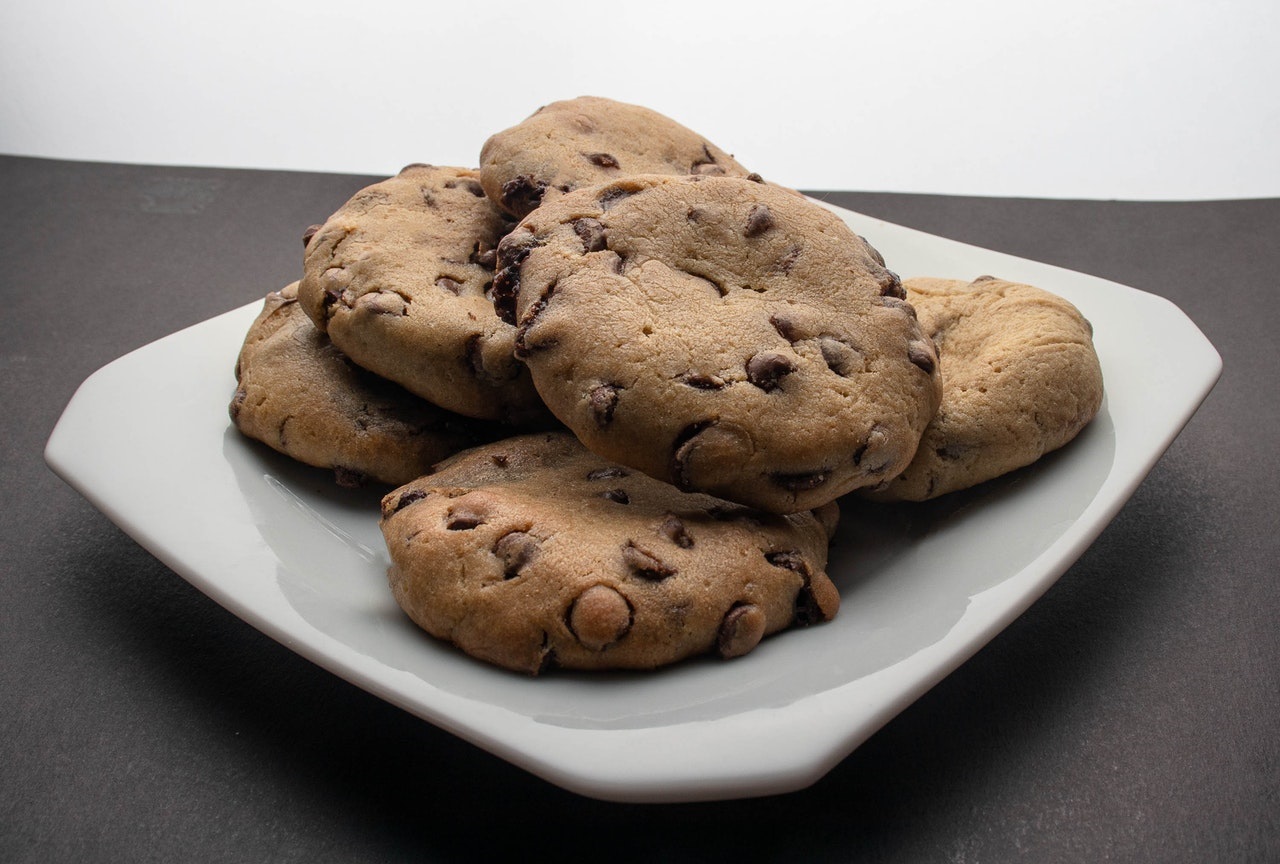
What makes these cookies perfect for care packages?
These cookies are thick and chewy with some heft. They won’t break easily and are compact diameter wise. After completely cooling them, I put them into small zip lock bags and packed them snugly. I used UPS to send them to her dorm, and she received them two days later and said they were “yummy.” Apparently the room mates loved them too.
What are other items to put in a care package?
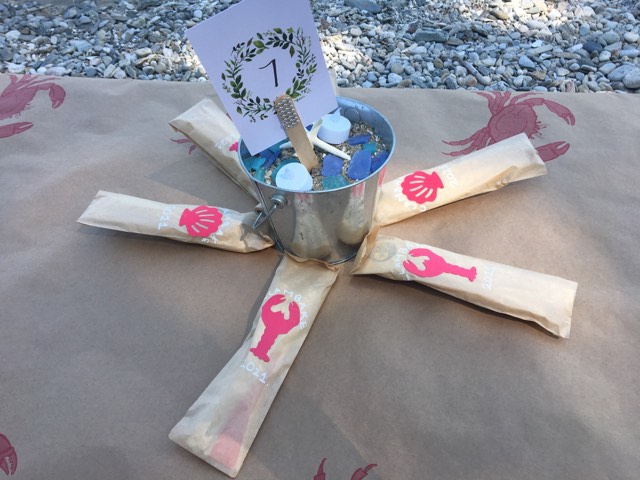
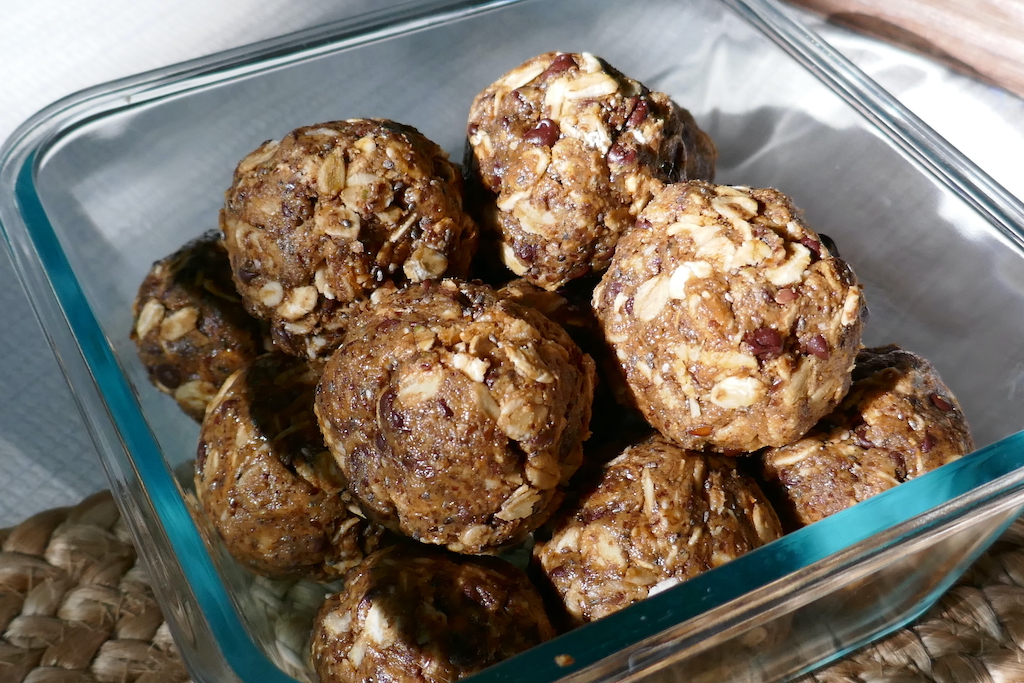
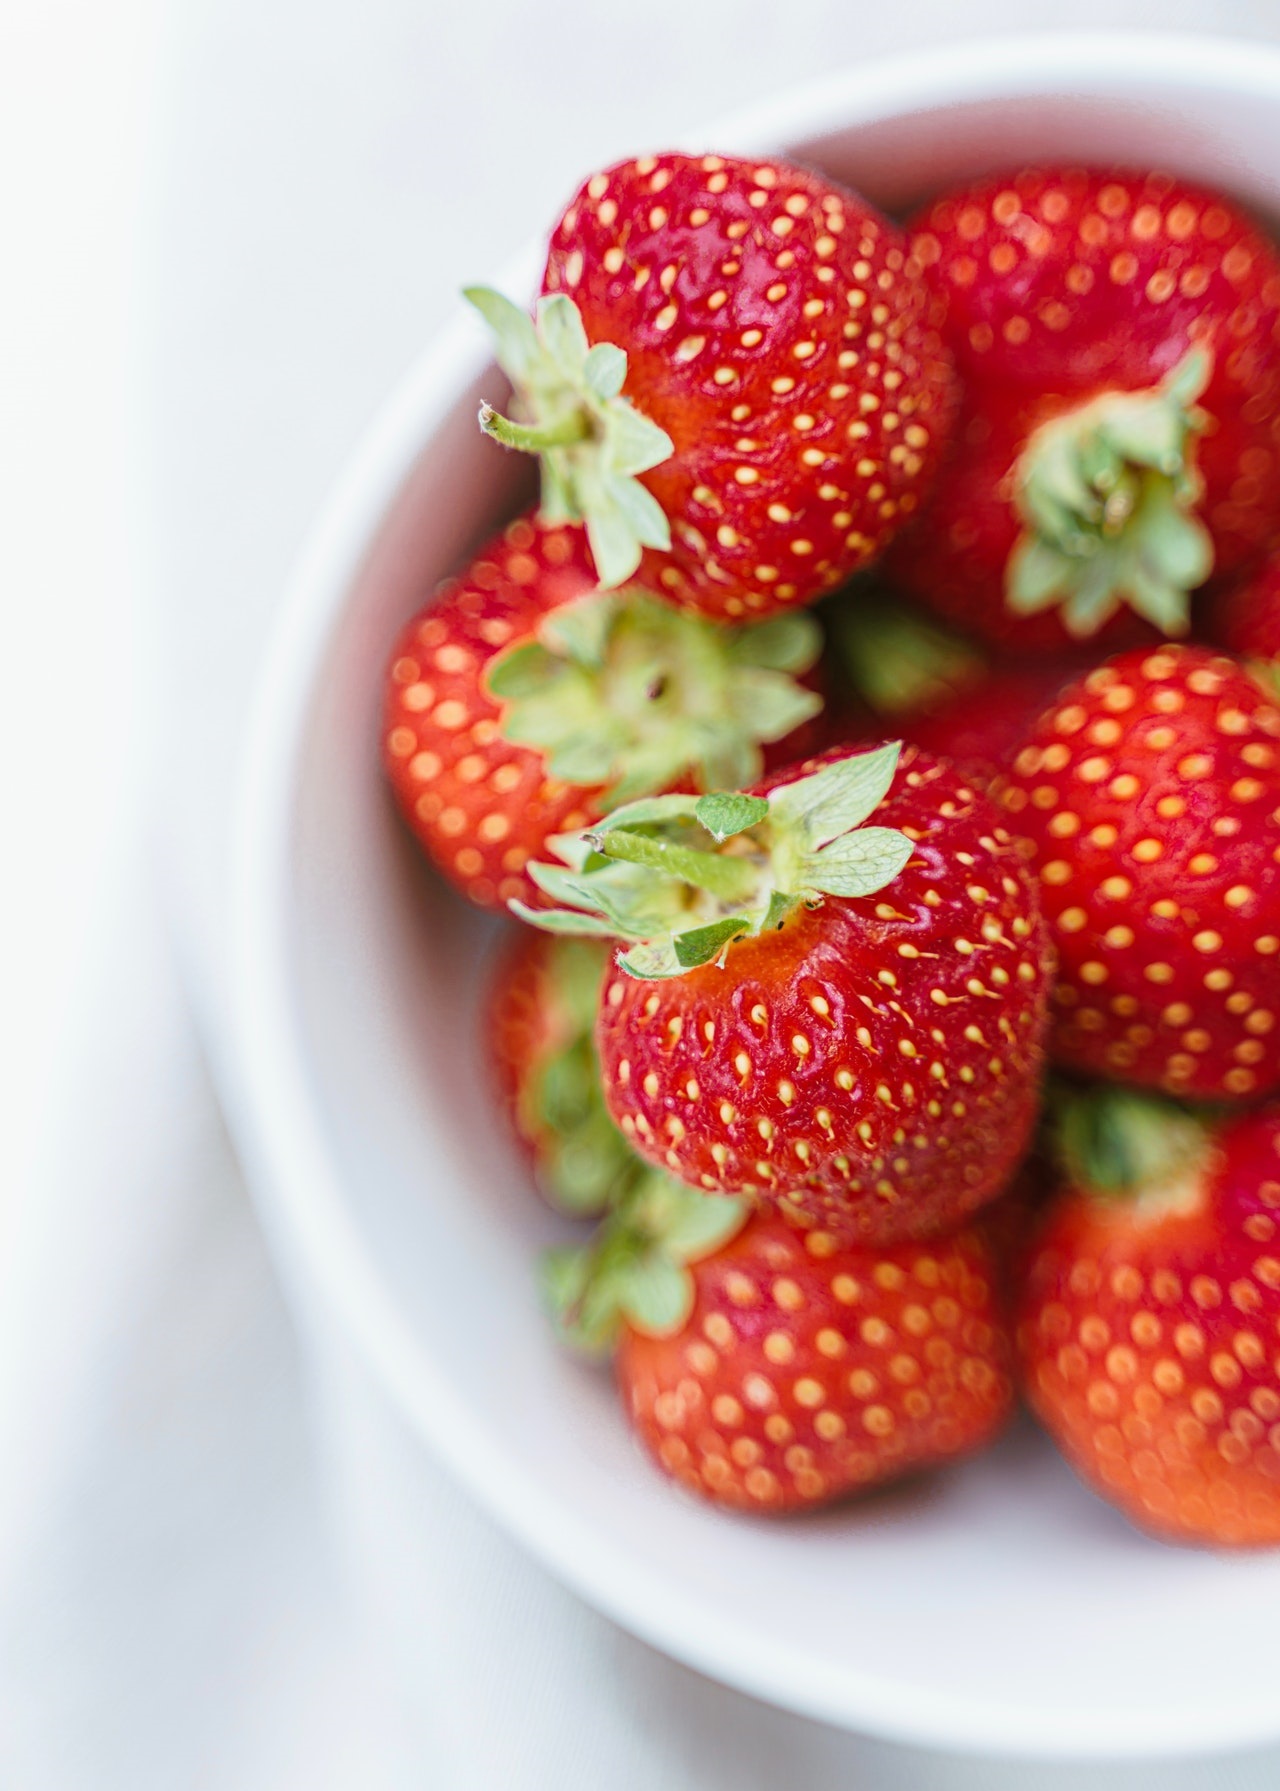
For my girl, I decided to add her favorite candy along with some hair styling product that I picked up inexpensively at TJ Maxx. I had some paper basket filler so I filled the bottom with it. Then I added a card and some funny print outs with reminders such as “share with your room mates.” Other ideas could include gum, other favorite foods that will keep a few days such as granola bars, dried fruit. Nail polish or self care items could work too.
A few other notes on missing your college student
Did you know that 70% of freshman are homesick the first semester? Don’t be surprised if this happens and frankly with the pandemic I can tell you it is hitting sophomores and other classes too who were online last year and now readjusting to college. If you are the one missing your kid, don’t feel bad. This is a huge adjustment for you too. I have been really enjoying articles from Grown and Flown and in particular the following posts:
How to Help Your College Freshman When They’re Homesick (grownandflown.com)
With My Daughter in College, It’s the Little Stuff I Miss the Most (grownandflown.com)
Nine Keys to College Success: What the Research Shows (grownandflown.com)
So much to learn and think about…parenting really is a lifelong journey! Without further ado, make these perfect care package chocolate chip cookies…save a few for yourself if you are feeling blue and send some to your student. He/she will thank you for them!

The Perfect Care Package Chocolate Chip Cookies
Equipment
- Cookie sheets
- Mixing bowls
- Electric or stand mixer
- Parchment paper (or baking liner)
Ingredients
- 2 1/3 cups all-purpose flour
- 2 teaspoons baking powder
- 1/2 teaspoons baking soda
- 1 teaspoon salt
- 10 tablespoons unsalted butter 1 stick plus 2 tablespoons softened
- 2/3 cup brown sugar packed
- 1/3 cup granulated sugar
- 1 egg
- 2 teaspoons vanilla extract
- 12 ounce bag semi-sweet chocolate chips
- 1/2 cup of semi-sweet mini chocolate chips
Instructions
- In a medium mixing bowl, whisk together the flour, baking powder, baking soda, and salt and set aside.
- In a large mixing bowl (or the bowl of a stand mixer), cream the butter, brown sugar, and granulated sugar together with an electric mixer on medium speed until light and fluffy (about 5 minutes). Add the egg and vanilla and beat until combined.
- Add the flour mixture and beat at medium speed just until combined. Stir in the chocolate chips. Note: the dough will be very firm and a bit crumbly but should form a ball when pressed together.
- Shape cookies into small balls.
- Preheat the oven to 375F.
- Watch cookies carefully after about 10 minutes. I usually switch trays from top to middle and spin them around so far side is now the close side to the oven door for even baking. Remove when firm and with just the hint of toasted light brown tops.
- Allow the cookies to cool on the cookie sheet for 5 minutes, then remove to a cooling rack to cool completely.
- The cookies can be served warm or at room temperature.
- Allow to cool completely before putting into zip locks bags or another wrapping for your care package.