Christmas Catch Up and Basic Cookie Dough Recipe
Hi all,
Phew…it has been a crazy few weeks. This blog is clearly run by a real person…what other blogger (or corporation…as many blogs are not as personal as they may seem) does not blog all of the time around the holidays? Me. My full-time work recently included an offsite. With Covid I decided to attend virtually but the work leading up to it and then the actual session was all consuming. Not to bash my male readers (if there are any) but I am struck that only men would plan an offsite right before the holidays! Nonetheless, aside from the offsite, I have been a busy elf…shopping (mostly online), cooking, decorating etc. Of course I have been baking too, and I am excited to share my basic cookie dough recipe that you can customize into multiple variations – so easy and delicious (and everyone will think you have been slaving away for days with all of the different kinds!).
Christmas Tree Tailgate
As the tradition dictates, this family goes to a darling tree farm and cuts down the freshest tree. Our girls were tots when we started this tradition, and it is my favorite day of the year (not kidding!). From the Christmas market complete with oxen (yes you read that right) to the hayride into the tree “forest” it is always so much fun. In recent years we have included a tailgate with friends complete with Mr. SB’s sliders and lots of goodies. This year was no different. It was on the cold side, but we enjoyed sliders with caper mayo (a must), seven-layer bars (a throwback), plenty of mimosas (and just plain old champagne), chili and more. Our tree is a tad smaller this year but beautiful all the same.
Wrapping Presents
I have always loved wrapping gifts. It was my job way back when my mom and I would prepare for Christmas. I love having a blog as I can now see last year’s ideas! This year, I stuck with my gold and white theme – it just works really well with our decor. I included some holiday ornaments on the gifts and of course plenty of fluffy bows. Can’t wait to hand out gifts on Christmas day.
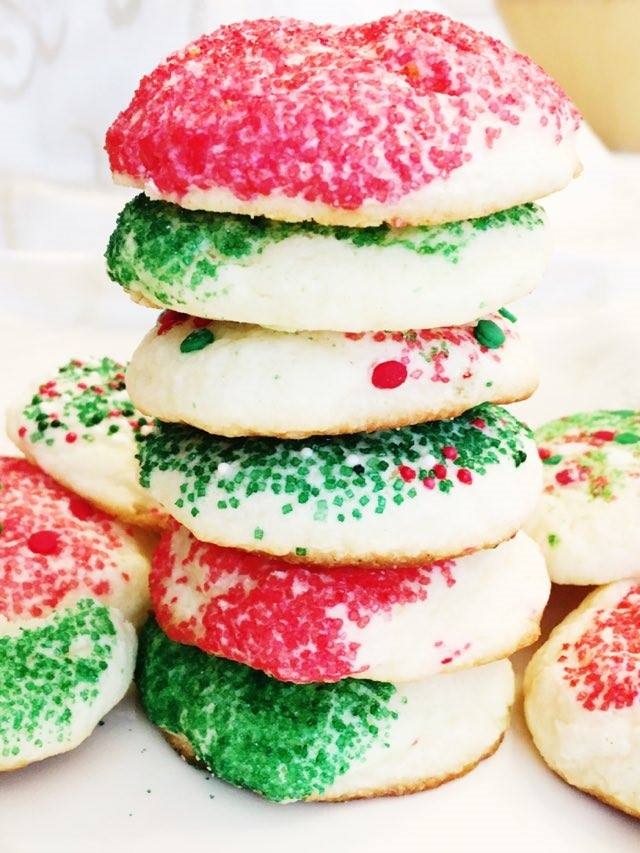
Holiday Goodies – Basic Cookie Dough Recipe
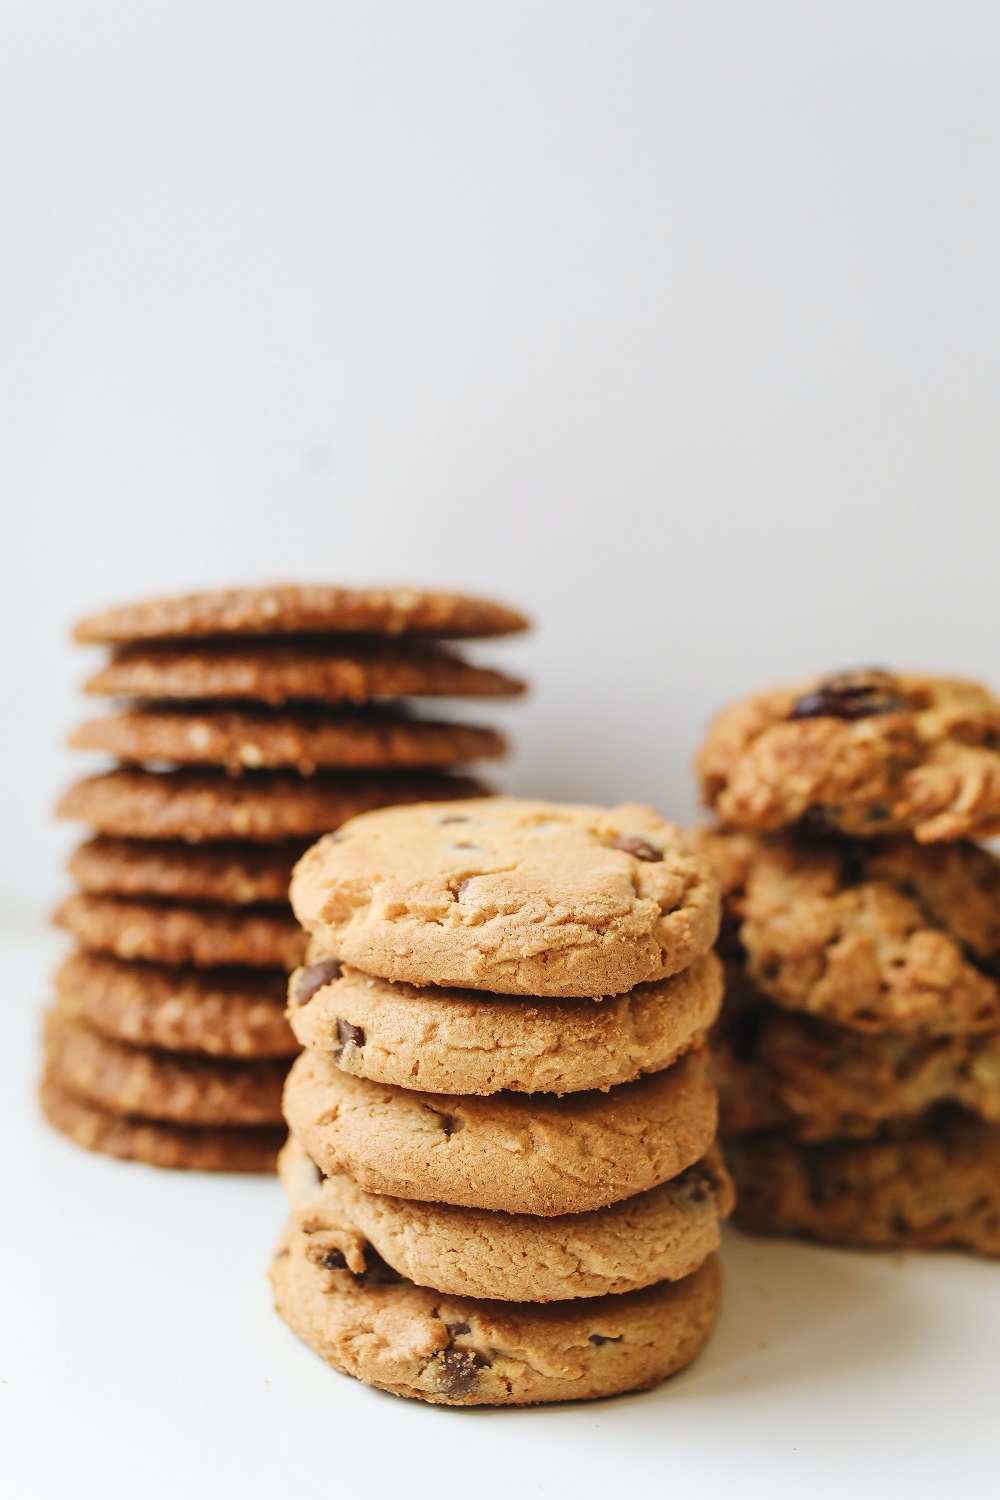
I have been baking cookies for years and frankly what I realized is that almost all cookies are a variation on one basic recipe. Today am excited to share this basic cookie recipe. It creates delicious, chewy cookies. By the way you do need to refrigerate the dough – apparently this step hydrates the flour and helps your cookies keep their shape (ever wonder why they look like pancakes…you need to put the dough in the fridge for at least two hours to avoid that fate!).
I love all of the varieties. I happened to have white chocolate chips, cocoa powder as well as dried cranberries so I made those two variations plus good old chocolate chip. Here is the recipe… Enjoy. I am signing off until the new year – may you and yours have a wonderful holiday!!

Basic Cookie Dough (with many variations)
Equipment
- Mixing bowls
- Cookie sheets
Ingredients
- Ingredients
- 1 cup butter melted and cooled to room temperature
- 1¼ cup light brown sugar
- ¾ cup white sugar
- 2 large eggs
- 2 teaspoons of vanilla extract
- 2½ cups all-purpose flour
- 1 teaspoon baking soda
- 1 teaspoon salt
Instructions
- In a large mixing bowl add in melted butter, sugars, eggs, and vanilla extract and whisk together until combined.
- In a separate bowl, mix together flour, baking soda, and salt.
- Add the dry ingredients to the wet and stir with a spatula to form the cookie dough.
- Chill the dough for a minimum of 2 hours. This step will prevent cookie spread!
- Scoop even spoonfuls of dough onto a cookie sheet.
- When ready to bake preheat the oven to 375ºF
- Roughly shape the cookies back into balls of dough before placing the cookies on a large parchment-lined cookie sheet about 4 inches apart.
- Bake for roughly 8 to 10 minutes or until you can still see it is doughy in the center but browning around the edge. Don’t bake for longer as you will over bake it and lose that gooey center.
- Let cool on the sheet for 5 minutes then enjoy. Store in an airtight container for up to 3 days. Cookies also freeze really well so feel free to put some in the freezer to enjoy when you wish.
- Enjoy!
Notes
2 tablespoons chocolate chips Oatmeal Raisin Cookie
2 heaped teaspoons rolled oats
1 tablespoon raisins Chocolate White Chocolate Chip Cookie
2 heaped teaspoons cocoa powder
2 tablespoons of white chocolate chips Peanut Butter Cookie
1 tablespoon peanut butter
1 tablespoon Reese’s pieces, (chopped) Keep going as you like – I also added white chocolate chips and dried cranberries (about one tablespoon each).