My Favorite Gingerbread Cookies Recipe

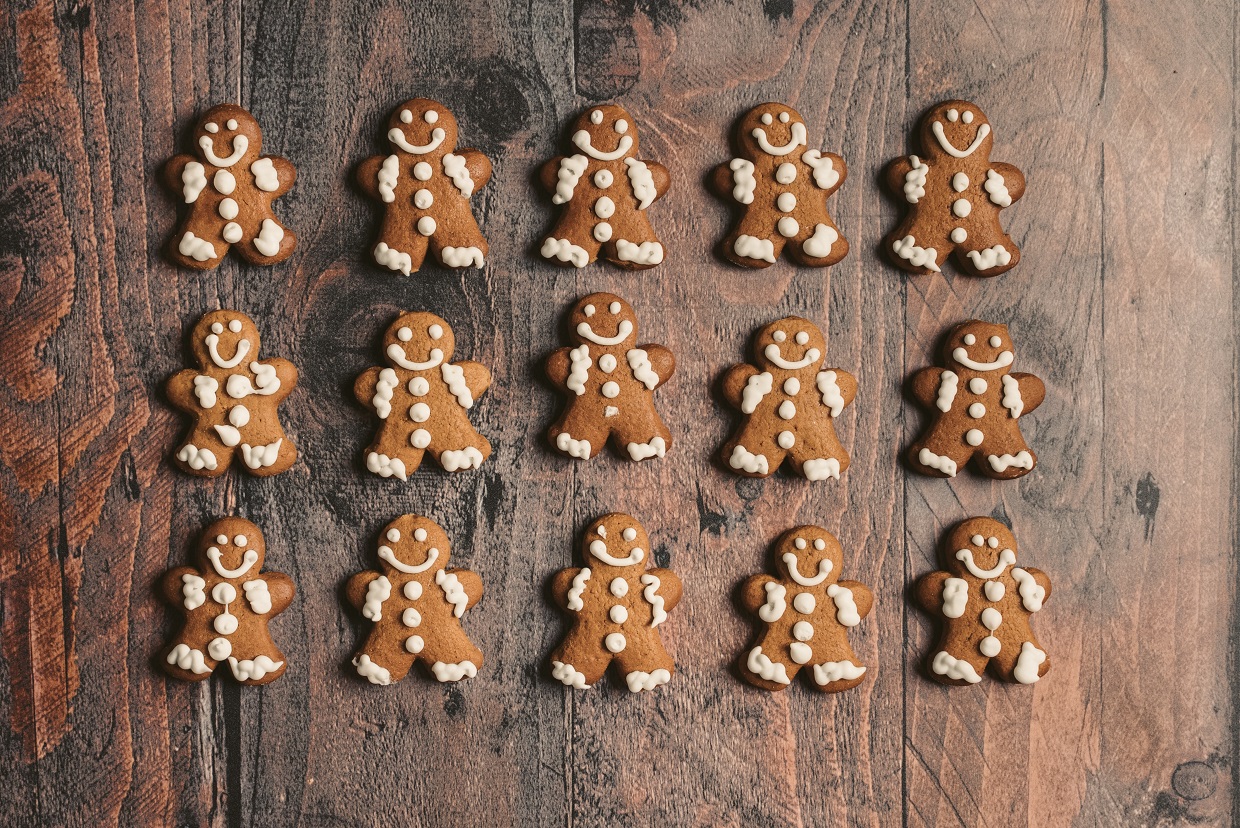
Hi there! Today I am sharing my favorite gingerbread cookie recipe.  The cookies have the perfect mix of warming spices and are soft in the center, but crispy on the outside.   We love to use our favorite cookie cutters and then decorate with sprinkles or icing or possibly some raisins or currants.  You can make the dough ahead of time and refrigerate for up to a couple of days or even freeze for later use. This year I made them twice. Once for our Christmas Tree Cutting Tailgate Menu and another batch for gift giving and eating at home!

Making gingerbread cookies is a holiday tradition

I have been making this recipe ever since I was in elementary school!  I would make them for eating of course but also for decorating our Christmas tree or putting into pretty containers for a holiday gift.  My mother loved these cookies and I used to make her a plate just for her!  She liked them with tea and called them “spice” cookies and always said the cookies were not overly sweet and perfect with a cup of tea.

Tips for making my favorite gingerbread cookie recipe

A few tips for making what will become your favorite gingerbread cookies:

  •  Be sure to use plenty of flour on your cutting board or counter where you roll out the dough.  The flour melts into the cookie during baking so you do not have to worry about it detracting from the look of the cookie.
  • I recommend a non-stick rolling pin.  I have had this Kitchen Aid version for years, and it rolls the dough out evenly and without letting it stick.
  • When you cut out the dough, place your cookie cutter at the edge as far as it will go.  This will allow you to maximize the number of cookies you can cut out at once so the process will be more efficient.
  • Like all cookies, you need to watch the baking time carefully.  The tops of the cookies should not be too shiny.  I usually bake one batch and then try a cookie to determine the best time to bake.
  • If you like a soft cookie, make the dough thicker.  If you prefer something crispy, roll it out more thinly and cook slightly longer.  When I am using dough to decorate I tend to make the cookies crisper so they easily hold their shape.  For eating, I prefer a chewy cookie so I adjust the thickness and baking time accordingly.
Favorite Easy Gingerbread Cookie Recipe

Favorite Gingerbread Cookies

These gingerbread cookies have the perfect mix of warming spices and are soft in the center, but crispy on the outside. Use your favorite cookie cutters and decorate with sprinkles or icing. Perfect holiday treats that are as delicious to eat as they are to look at!
Print Pin
Course: Dessert
Cuisine: American
Keyword: Baking, Christmas, Christmas Cookies, Cookies, Holiday
Prep Time: 25 minutes
Cook Time: 10 minutes
Servings: 24
Cost: $3

Equipment

  • Nonstick rolling pin
  • Parchment paper
  • Cookie cutters

Ingredients

  • 3 cups flour
  • 2 teaspoons ground ginger
  • 1 1/4 teaspoon of ground cinnamon
  • 1 teaspoon baking soda
  • 1/4 teaspoon ground nutmeg
  • 1/4 teaspoon salt
  • 3/4 cup 1 1/2 sticks butter, softened
  • 3/4 cup firmly packed brown sugar
  • 1/2 cup molasses
  • 1 egg
  • 1 teaspoon pure vanilla extract
  • Sprinkles and raisins or currants if you like for decorating

Instructions

  • Mix flour, ginger, cinnamon, baking soda, nutmeg and salt in large bowl. Put to the side.
  • Beat butter and brown sugar in large bowl with electric mixer on medium speed until light and fluffy. Add molasses, egg and vanilla and mix well. Gradually beat in flour mixture on low speed until well mixed. Press dough into two thick flat disks. Wrap in plastic wrap. Refrigerate 4 hours or overnight or up to a couple of days. You can also freeze dough and then thaw it out when you are ready to use it.
  • Preheat oven to 350°F. Roll out dough to 1/4-inch thickness on lightly floured work surface. Cut into gingerbread men and women or desired shapes with a cookie cutter. Place 1 inch apart on ungreased baking sheets. If you are using sprinkles or raisins/currants then decorate before baking (raisins and currants won’t stick to baked cookies).
  • Bake 8 to 10 minutes or until edges of cookies are set and just begin to brown (See tips on how to avoid overcooking). Cool on baking sheets 1 to 2 minutes. Remove to wire racks and cool completely. Decorate cooled cookies as desired. Store cookies in airtight container up to 5 days.

Pillowy Soft Sugar Cookies

We love to decorate cookies for Christmas, Valentines and pretty much any holiday or celebration. Sugar cookies are a natural go-to recipe but through the years I have found most recipes result in crispy or even hard cookies. This recipe tweaks the standard sugar cookie recipe with the addition of cream cheese. The other secret is using cake flour instead of regular flour. The result? Pillowy soft sugar cookies that melt in your mouth! With snow coming later today I am planning on making a second batch!

Tips for Making Pillowy Soft Sugar Cookies

The first tip, which actually applies to all cookies, is to soften both the cream cheese and butter. I usually leave it out on the counter or use the soften function in my microwave. Softening allows the cream cheese and butter to mix in with your dry ingredients and gives an even texture to the cookie.

Second, as I noted above, cake flour is super fine flour. You can find this in the baking aisle at your local supermarket. I find King Arthur makes excellent flours for baking, and they have a cake flour version. My local supermarket also carries Swan’s Down and Soft As Silk. Either brand would work well too.

Lastly, you need to watch the baking time carefully. In order to get that soft, pillowy texture you will not want to over cook. I usually bake two trays at once and then switch the cookies from top to bottom racks midway through baking. You will need to work with your oven. The second the edges become the slightest brown, take the cookies out to cool.

Decorating soft sugar cookies

These cookies are perfect for dipping into sprinkles or some powdered sugar. As Christmas is next week I used a mix of red, green and multi colored sprinkles for an assortment. I have also used red and pink at Valentines day. My girls love to decorate cookies too so we have also frosted these cookies. Would love to hear if you have tried the recipe and how it came out. Please comment below!

Soft Sugar Cookies Recipe

Pillowy Soft Sugar Cookies

Pillowy soft sugar cookies melt in your mouth. Decorate with powdered sugar or sprinkles and you have the perfect sweet treat for holiday or anytime baking.
Print Pin
Course: Dessert, Snack
Cuisine: American
Keyword: Baking, Christmas, Christmas Cookies, Cookies, Holiday
Prep Time: 20 minutes
Cook Time: 10 minutes
Servings: 36 cookies
Cost: $4

Equipment

  • Cookie sheets

Ingredients

  • 1/2 cup butter softened (1 stick)
  • 4 ounces cream cheese room temperature
  • 1 cup granulated white sugar
  • 1 egg
  • 1 teaspoon vanilla extract
  • 1 teaspoon almond extract
  • 1/2 teaspoon baking powder
  • 1 3/4 cup cake flour see note on suggested brands
  • Sprinkles optional

Instructions

  • Line baking sheet with parchment paper or a silicon mat (I like Silpat)
  • Combine flour with baking powder in a bowl.
  • Cream together butter and cream in a separate bowl with electric or stand mixer.
  • Add sugar to butter/cream mixture and beat for 1 minute. Add egg and beat to combine. Add extracts and beat until combined. Add in baking powder and cake flour (in three sections), mixing to combine.
  • Once incorporated, refrigerate dough for at least an hour.
  • Preheat oven to 375 degrees F.
  • Dough will be sticky so use flour on your hands or wear gloves to roll out 1-2 inch balls.
  • If using sprinkles, dip into sprinkle mixture gently.
  • If you would like a dome shape, you can use the bottom of a cup to gently flatten the top of the balls but don’t flatten too much or the cookies won’t puff up or be pillowy soft.
  • Bake for 9-11 minutes. Remove cookies when you see the underside edges turning golden. You will have to watch carefully after about 8 minutes as it happens quickly. The time may also might vary for your oven and altitude.
  • Let cool on a baking rack. If frosting, let cool completely.
  • Enjoy!