Chicken Tortilla Soup (Instant Pot or Slow Cooker)

Hi all! How are you? I hope well. Busy as I am? Phew…it never stops. Work has been crazy, and now we are almost at the holiday season. Today I will share a favorite soup, chicken tortilla soup in the Instant Pot (but you can make in the slow cooker too) and also a quick catch up.

Fall has just flown. High school girl has been busy applying to colleges and yes, it affects parents too. Long gone are the days when I crammed 6 applications into Christmas break. The tours start as early as sophomore year and beyond. You can catch our tour of a few southern colleges from last summer. We had a few last minute ones too but closer to home. The good news is that she is into one school (IU) as it has rolling admissions.

With my eyes on Thanksgiving, I am already planning my menu and will likely cook much of last year’s menu (which was delicious….that stuffing is the best I promise) as well as trying at least one or two new recipes. This recipe for a fall, butternut, greens salad caught my eye yesterday from Smitten Kitchen (love her!). I am trying it tonight at home so will share the feedback if it is as good as it sounds. I plan to use dried cranberries instead of the pomegranate.

It is also countdown to Christmas. I have learned this is a great time of year to organize. I went through each closet and identified what to give away. Cleaning out the fridge and pantry are next as I prepare for holiday cooking. Now is the time to figure out if you have enough baking supplies and other ingredients. Trust me…am a pro at this point!

With all that is going on, something easy and tasty for dinner and lunch is a must. I adore soup especially in the fall and winter. Lentil and bean are two favorites, but I found myself craving something with a bit more heat. This chicken tortilla soup fits the bill perfectly. I think you could easily sub in chicken breasts or make it vegetarian and add another can of beans for some extra protein and staying power. You can also vary the spice too. By accident, when fiddling with my recipe, I added an entire can of chilies in adobo (fortunately I realized it and was able to remove all but two!). The toppings are optional (but are they really?). A squeeze of lime, some grated cheese, a dollop of sour cream and chopped cilantro taste so fresh and flavorful. If you want to lighten up, replace sour cream with plain Greek yogurt.

Without further ado, here is the recipe for Chicken Tortilla Soup. Enjoy!

Chicken Tortilla Soup (Either Instant Pot or Slow Cooker)

A flavorful, healthy, budget-friendly soup that is perfect for supper or lunch.
Course Main Course
Cuisine American, Mexican
Keyword Beans, budget friendly, Soup, Supper
Prep Time 30 minutes
Cook Time 6 hours
Cost $7

Equipment

  • Instant Pot
  • Slow cooker

Ingredients

  • 2 tablespoons vegetable oil I use avocado
  • 1 medium yellow or white onion diced
  • 2 medium jalapeno seeded membranes removed, and diced
  • 1 red or green bell pepper
  • 3 cloves garlic minced about 2 teaspoons
  • 1 teaspoon chili powder
  • 1 teaspoon ground cumin
  • 3/4 teaspoon salt plus additional to taste
  • 1 pound of boneless skinless chicken thighs or chicken breasts (about 2 breasts if you are using breasts)
  • 1 28- ounce can crushed tomatoes
  • 2 chipotle chiles in adobo chopped NOTE: I purchase these in a can and save the rest for another use – they freeze well. DO NOT use the whole can in this recipe as the soup will be too hot
  • 1 15- ounce can pinto beans rinsed and drained
  • 1 can of Mexican style corn
  • 4 cups chicken stock or broth
  • Corn tortilla strips or corn tortillas or tortilla chips. I also like the tortilla strips you buy as salad toppings.
  • Shredded cheddar or Mexican style cheese
  • Diced avocado
  • Chopped fresh cilantro
  • Lime add a slice on the side to squeeze over
  • Sour cream or plain Greek yogurt
  • Optional: Trader Joe’s Chili Lime seasoning delicious on top if you can find it!

Instructions

  • Turn Instant pot to saute, or if using your slow cooker heat a pan on the stove and heat on medium heat. Once hot, add the onion, jalapeno and bell pepper. Cook until the vegetables are softened, about 6 minutes or so. Stir in the garlic, cumin and chili powder and cook until fragrant, about 30 seconds.
  • Transfer mixture from the skillet to the bottom of a 6-quart or larger slow cooker or if using Instant pot, turn off saute function.
  • Arrange the chicken breasts on top of the mixture. Add the tomatoes, chicken stock, chilies in adobo and salt. Stir gently.
  • Turn Instant Pot to slow cooking function. Cook on LOW for 5 to 6 hours, until the chicken is falling apart tender. Dice or shred the chicken, then return it to the slow cooker. Add the canned pinto beans and Mexican corn. Let cook on low for 20 more minutes to allow the flavors to combine and everything to heat.
  • Taste and add salt or seasonings as needed. If the soup is thicker than you would like, add in the remaining 1 cup chicken broth until it reaches your desired consistency. Enjoy!

The Best Buffalo Chicken Dip in the Slow Cooker

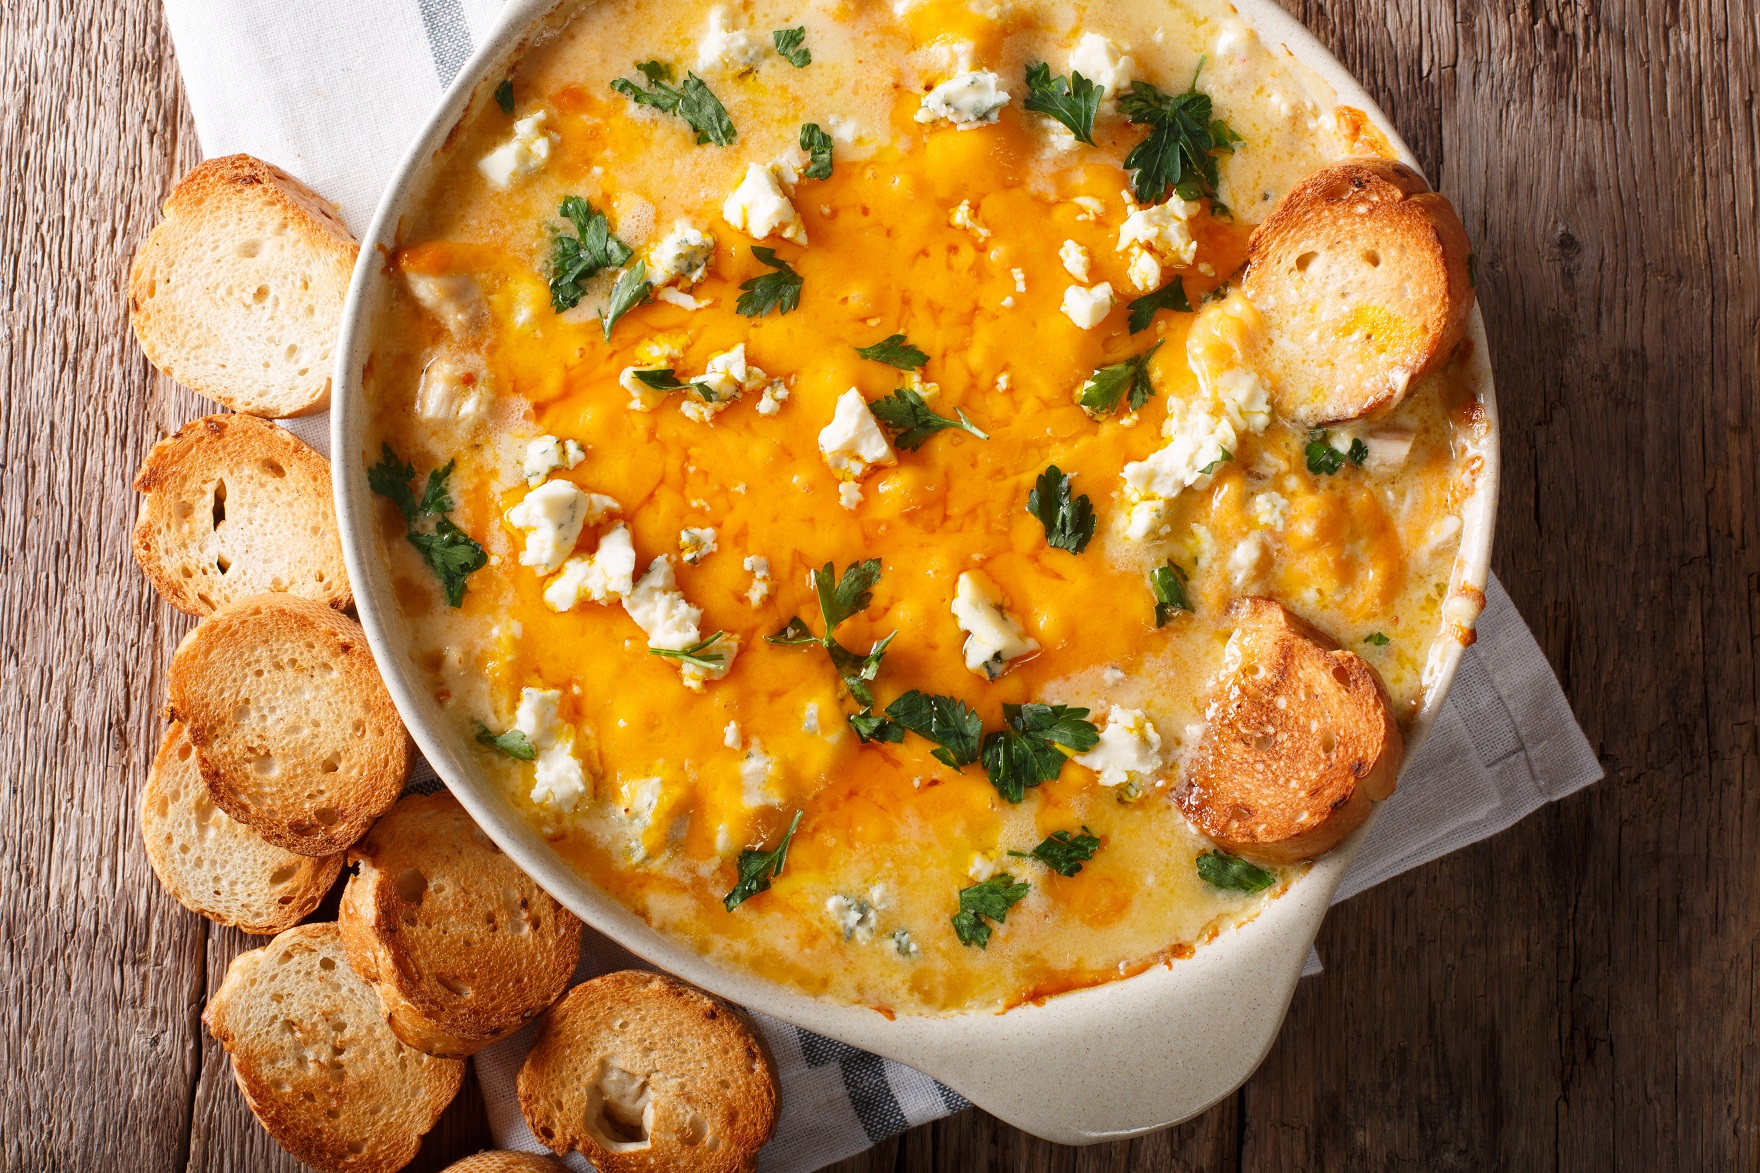
Buffalo dip is everyone’s favorite dip for any tailgate or gathering. It is also great as an après ski appetizer as it is hearty and warm which is always welcome after a day on the slopes. I have tested so many Buffalo chicken dip recipes. I have perfected this one as it is the easiest and most delicious. Buffalo Chicken Dip in the slow cooker is full of tender, shredded chicken, creamy cheese and of course a bit of heat from buffalo hot sauce.

Why is this the best recipe for buffalo chicken dip?

This version is super easy to make as it uses the slow cooker to cook the chicken and to make the rest of the dip. So only one pan to clean up. The dip also tastes better warm so you can serve it right from the slow cooker. I have a mini slow cooker that I also use which makes it easier to serve on my appetizer spread. You can also make the dip ahead of time and refrigerate it. Then simply reheat it on the stove or put it back in your slow cooker. I have also frozen it and it is delicious that way too.

Serve it with some fresh tortilla chips, celery sticks and maybe some carrots too for dipping. You won’t have leftovers.

Best buffalo chicken dip in the slow cooker

Best Buffalo Chicken Dip in Slow Cooker

This Buffalo Chicken Dip Recipe is a favorite at our tailgates and even holiday gatherings. Made with tender shredded chicken, creamy ranch dressing, tangy blue cheese, cream cheese, Buffalo hot sauce, and loads of cheese, This easy and delicious Buffalo Chicken Dip is then slow cooked until golden, bubbly, and perfect for dipping.
Print Pin
Course: Appetizer
Cuisine: American
Keyword: Appetizer, Dip, Game Day, Tailgate
Prep Time: 20 minutes
Cook Time: 3 hours
Servings: 12 servings
Cost: $7

Equipment

  • Slow cooker

Ingredients

  • 1 8 oz block of cream cheese Cut it into smaller pieces so it will melt easily
  • 1 bottle creamy Ranch dressing I use Nature's Promise organic or Hidden Valley Ranch would work too
  • 2 cups Sharp cheddar Mild cheddar or even whole milk mozzarella works too
  • 2 Boneless chicken breasts
  • 1/4 cup Hot sauce Frank's buffalo sauce is usually the brand I use
  • 1/4 cup Blue cheese dressing This can be optional. We love blue cheese so I always add it.
  • 1 tsp Garlic powder

Instructions

  • Put chicken breasts in slow cooker and cook on high for two hours. I always check on the chicken breasts as they are cooking. If they are not cooked through you may need to increase the time. I use a thermometer to check temperature. If cooking breasts from frozen meat you will need to increase the cooking time.
  • When chicken is cooked through take it out and shred with two forks. You will want a nice texture to it – not too big pieces as this will be a dip so sometimes I even chop it a bit after shredding it.
  • Pour out any juices that may have accumulated in your slow cooker. I usually wipe with a paper towel too. Then add your cream cheese and turn the slow cooker back on low. As it starts to melt, add in your ranch dressing, blue cheese dressing if you are using, hot sauce, garlic powder and cheese. Stir and cook on low for another 20 minutes or so.
  • When the mixture is bubbling on the outside, add back in your shredded chicken. Cook on low for about 45 minutes.
  • Stir and taste. If you like it hotter, add more hot sauce in small increments (I keep tasting at this point). If it is too hot, you can add more dressing.
  • Top with chopped green onion or parsley if you like. Sometimes I sprinkle on blue cheese crumbles too at this point. The dip can be served from the slow cooker directly (it is best warm) or reheated in the microwave. We always serve with tortilla chips, celery and carrot slices.

Fall Weekend Wrap Up + Apple Crisp

The weather was gorgeous this past weekend, and we did a second round of apple picking at our favorite orchard which made the most delicious apple crisp (recipe below!).

Friday I realized that I had dozens of eggs in the fridge (don’t ask) and decided to make a quiche. Then I realized I did not have prepared crust so did a quick recipe search and found this simple recipe for pie crust. Could not have been easier, was delicious and I used real ingredients like organic flour and butter so am guessing was much healthier too and without the preservatives in refrigerator crust! French guy was impressed although we both agree we need to find a low-cost source of gruyere cheese which is one reason why quiche in France is so delcious (I used sharp cheddar as that is what I had on hand).

We also had our last day at the shore which was bittersweet. Even during the pandemic, it was so great to escape to sail, kayak and hit the beach and socialize safely outside. It has been a silver lining to discover the beatuiful, CT shore and go back to my roots of sailing (and now teaching the girls to sail).

While hiking will be great during the fall, I told Mr. SB that we need a winter escape (am asking for cross country skis for Christmas). Downhill skiing may be challenging as the pandemic continues.

Sunday afternoon I tackled cleaning the basement. I actually organized the spot two years ago, and while it looked terrible in recent days, it only took me about an hour to remove unwanted items and put others away in the labeled spaces I had created years ago. I used my 5 step organization method for a particularly messy part. So nice to go in and not have stuff everywhere! I also realized that end of season or any major event should be an alert. That is the time to empty beach bags, wash towels etc. (anyone ever clean out a kid’s backpack and find 3 month old hummus?…surely not me:).

Now what about that apple crisp?

Apples from apple picking

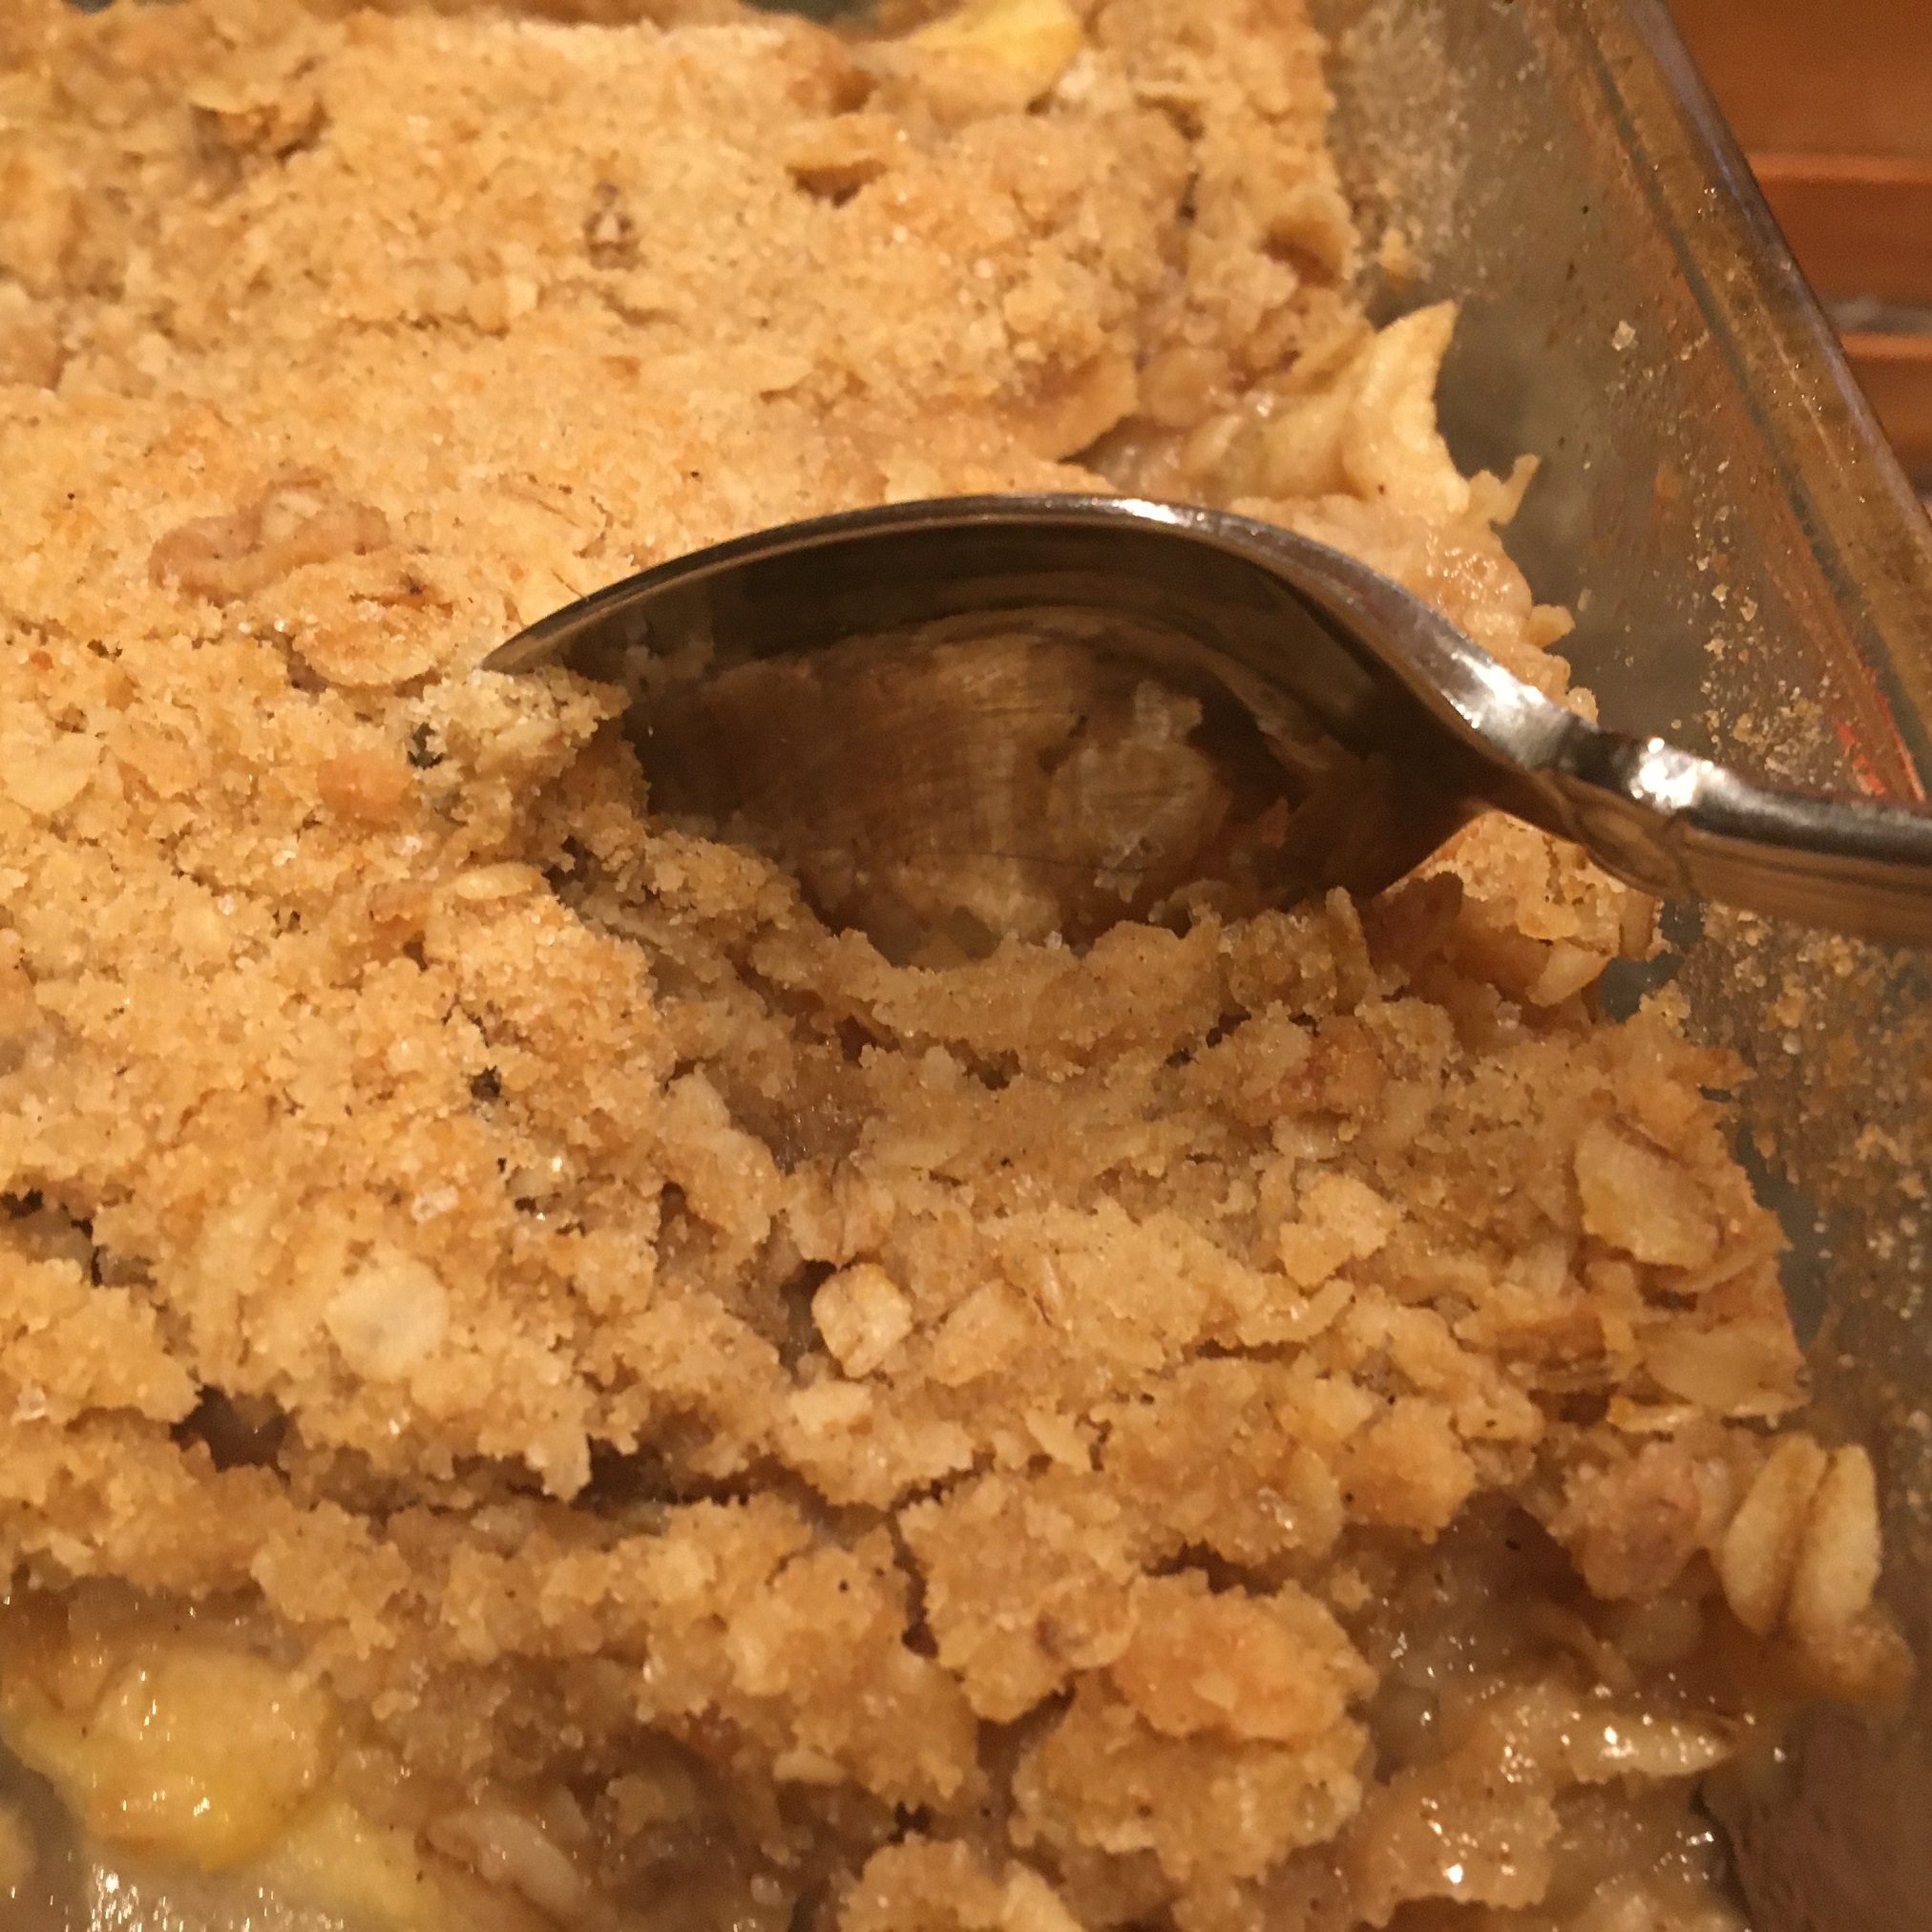
So all in all a good weekend. The apple crisp was a perfect way to end Sunday dinner. I used a mix of Jonah Gold, Granny Smith, Cortland and Mutsu apples. Typical recipes use far more sugar – while this recipe is plenty sweet I like to taste the apples. The top is a delicious mix of oats, brown sugar, cinnamon and butter. If you love crisps as much as I do, be sure to check out last week’s pumpkin crisp recipe which is also easy, perfect for fall and delicious. Super easy…enjoy!

Apple Crisp

Best Homemade Apple Crisp

Sunday’s bread recipe for warm, homemade apple crisp.  Nothing says home like apple crisp.  Top with some vanilla ice cream or whipped cream for the perfect, sweet comfort food.
Print Pin
Course: Dessert
Cuisine: American
Keyword: Apple, Dessert, Fall, Fruit dessert
Prep Time: 35 minutes
Cook Time: 40 minutes
Servings: 8 servings
Cost: $3

Equipment

  • 8 by 8 pan
  • Peeler
  • Sharp knife

Ingredients

  • 4 cups apples sliced thinly. I leave a little skin on for texture.
  • 1 tablespoon flour
  • 1/2 cup sugar I use Costco organic
  • 3/4 cup brown sugar
  • 1/3 cup butter cold and cut into smaller tablespoon sized slices
  • 3/4 cup flour
  • 1/2 cup oats
  • 1/4 tsp baking soda
  • 1/2 teaspoon salt
  • 1 teaspoon of cinnamon

Instructions

  • Preheat oven to 350 degrees
  • Combine the first three ingredients and place in a greased 8×8 baking dish.
    Sliced apples
  • Combine the remaining ingredients. I use kitchen gloves to work the butter into the dry ingredients. Mixture should look crumbly. Spread over the top of the apple mixture.
  • Bake for 30 minutes. Apples should be juicy and bubbling but hold their shape. Test with a fork or knife to determine that the apples are tender. Bake for another 5 to 10 minutes if necessary.
    Apple crisp from the oven

Kale Salad with Crispy Chickpeas and Tahini Dressing

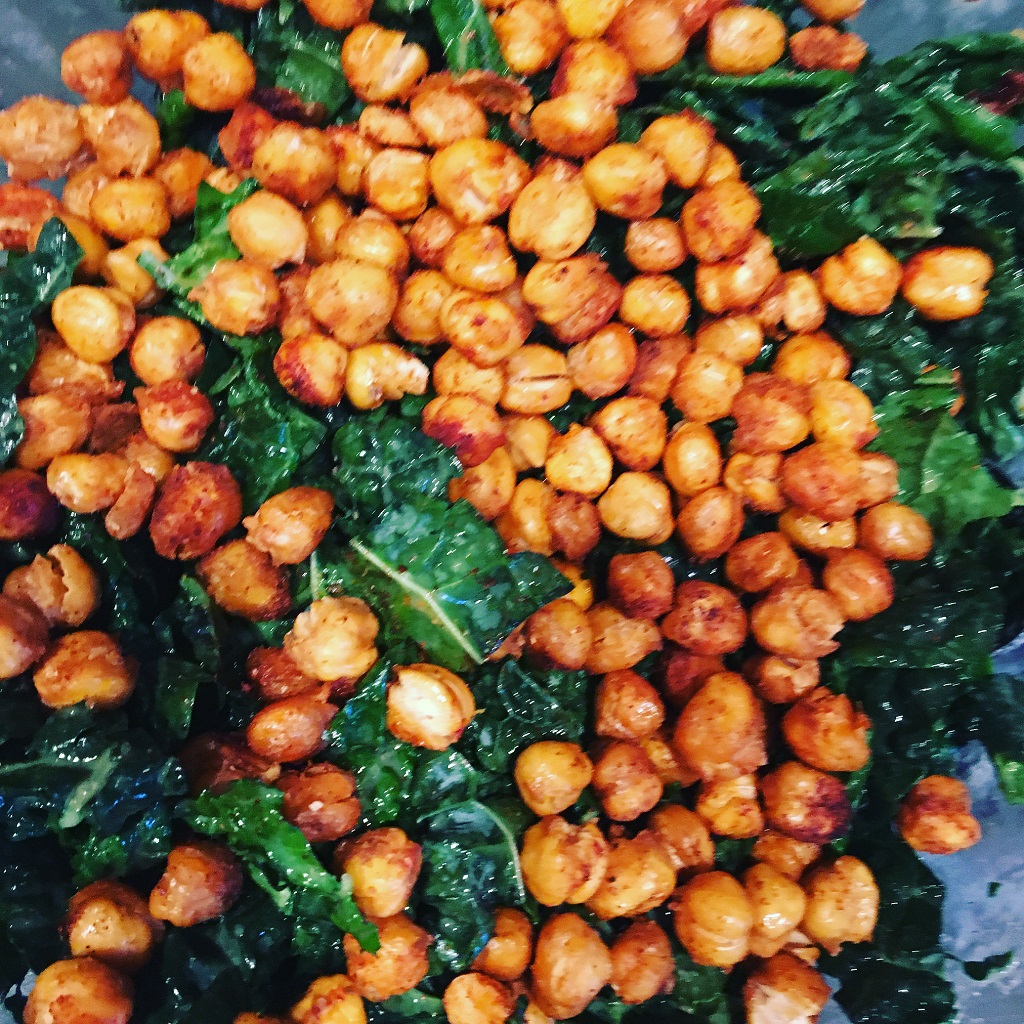
Hi there! We are enjoying fall around here and have been doing plenty of seasonal cooking. Kale is a hearty fall green that goes so well with many of the stews, soups and other fare you find this time of year. I love kales salad with crispy chickpeas and tahini dressing. Both kale and chickpeas are super healthy too. Kale is full of anti-oxidants.

Fall weekend cooking and eating

Fridays tend to be a late night for my husband so I usually cook in the Instant pot or slow cooker. The girls and I tend to eat earlier, and then when he comes in the meal is still warm. The sauces in these types of recipes make his serving as fresh as if he ate with us.

Kale salad goes well with my regular, Friday night rotations such as slow cooker pot roast, chicken marsala, meatballs or even Indian style chicken curry. This week it was foolproof pot roast (recipe coming soon).

Fall weekend look back

The weekend was full of activity. We had warm temperatures here so were thrilled to enjoy the shore, and even went clamming/oystering (with a license of course!). I finally set up my fall table took out the autumn, pumpkin dishes. I figure if we are still spending so much time at home we may as well make it pretty.

Fall pumpkin centerpiece

How do you make Kale Salad with Crispy Chickpeas and Tahini Dressing?

So moving on to my fall salad recipe – first step is to wash the kale and strip out the tough center fibers. Kale is very different than lettuce. It is heartier. As such, you will need to cut it into smaller pieces and ideally let it sit in the dressing for at least twenty minutes to marinate. I use a kitchen shears to cut the kale into smaller ribbons. Then I make the dressing:

1/2 cup of mild olive oil (or I like avocado oil)

Juice from one lemon (or 2 to 3 tablespoons or more if you like it very lemony)

2 tablespoons of tahini

1 teaspoon of sugar (mellows out the lemon)

Salt to taste

Shake in a container to mix, and then pour on your cut up kale leaves. Set aside while you make the crispy chickpeas. Enjoy!

Kale salad with crispy chickpeas and tahini dressing

Roasted Crispy Chickpeas

Crispy, spiced chickpeas are healthy and a delicious snack or topping for salad or anytime you want some crunch and texture.
Print Pin
Course: Appetizer, Snack
Cuisine: American
Keyword: GF, gluten free, vegan, vegetarian
Prep Time: 7 minutes
Cook Time: 40 minutes
Servings: 4
Calories: 75kcal
Cost: $1.50

Equipment

  • Sheet pan
  • Standard oven

Ingredients

  • 1 can of chick peas
  • 1 tablespoon of avocado or another oil that can cook at high temperature
  • 1 teaspoon of cumin
  • Salt and pepper to taste

Instructions

  • Preheat oven to 400 degrees
  • Drain chickpeas
  • Pat with paper towels and let dry. It is important that the chickpeas dry before cooking or else you will steam them when you go to roast them.
  • Toss chickpeas with the oil and cumin powder.
  • Lay evenly on a baking sheet. I like to line my baking sheet with foil to avoid mess.
    Crispy roasted chick peas
  • Put pan in middle of preheated oven and cook for thirty to forty minutes. Shake to turn halfway through cooking.
  • Let cool and chickpeas will continue to crisp.

Notes

Serve over salad or as a snack.  Chick peas are best eaten day of preparation.  If refrigerated they may soften.  You can also vary the spices.  Curry powder or smoked paprika are also delicious spices to try.

Nutrition

Calories: 75kcal

Potato Salad Recipe (No Mayo)

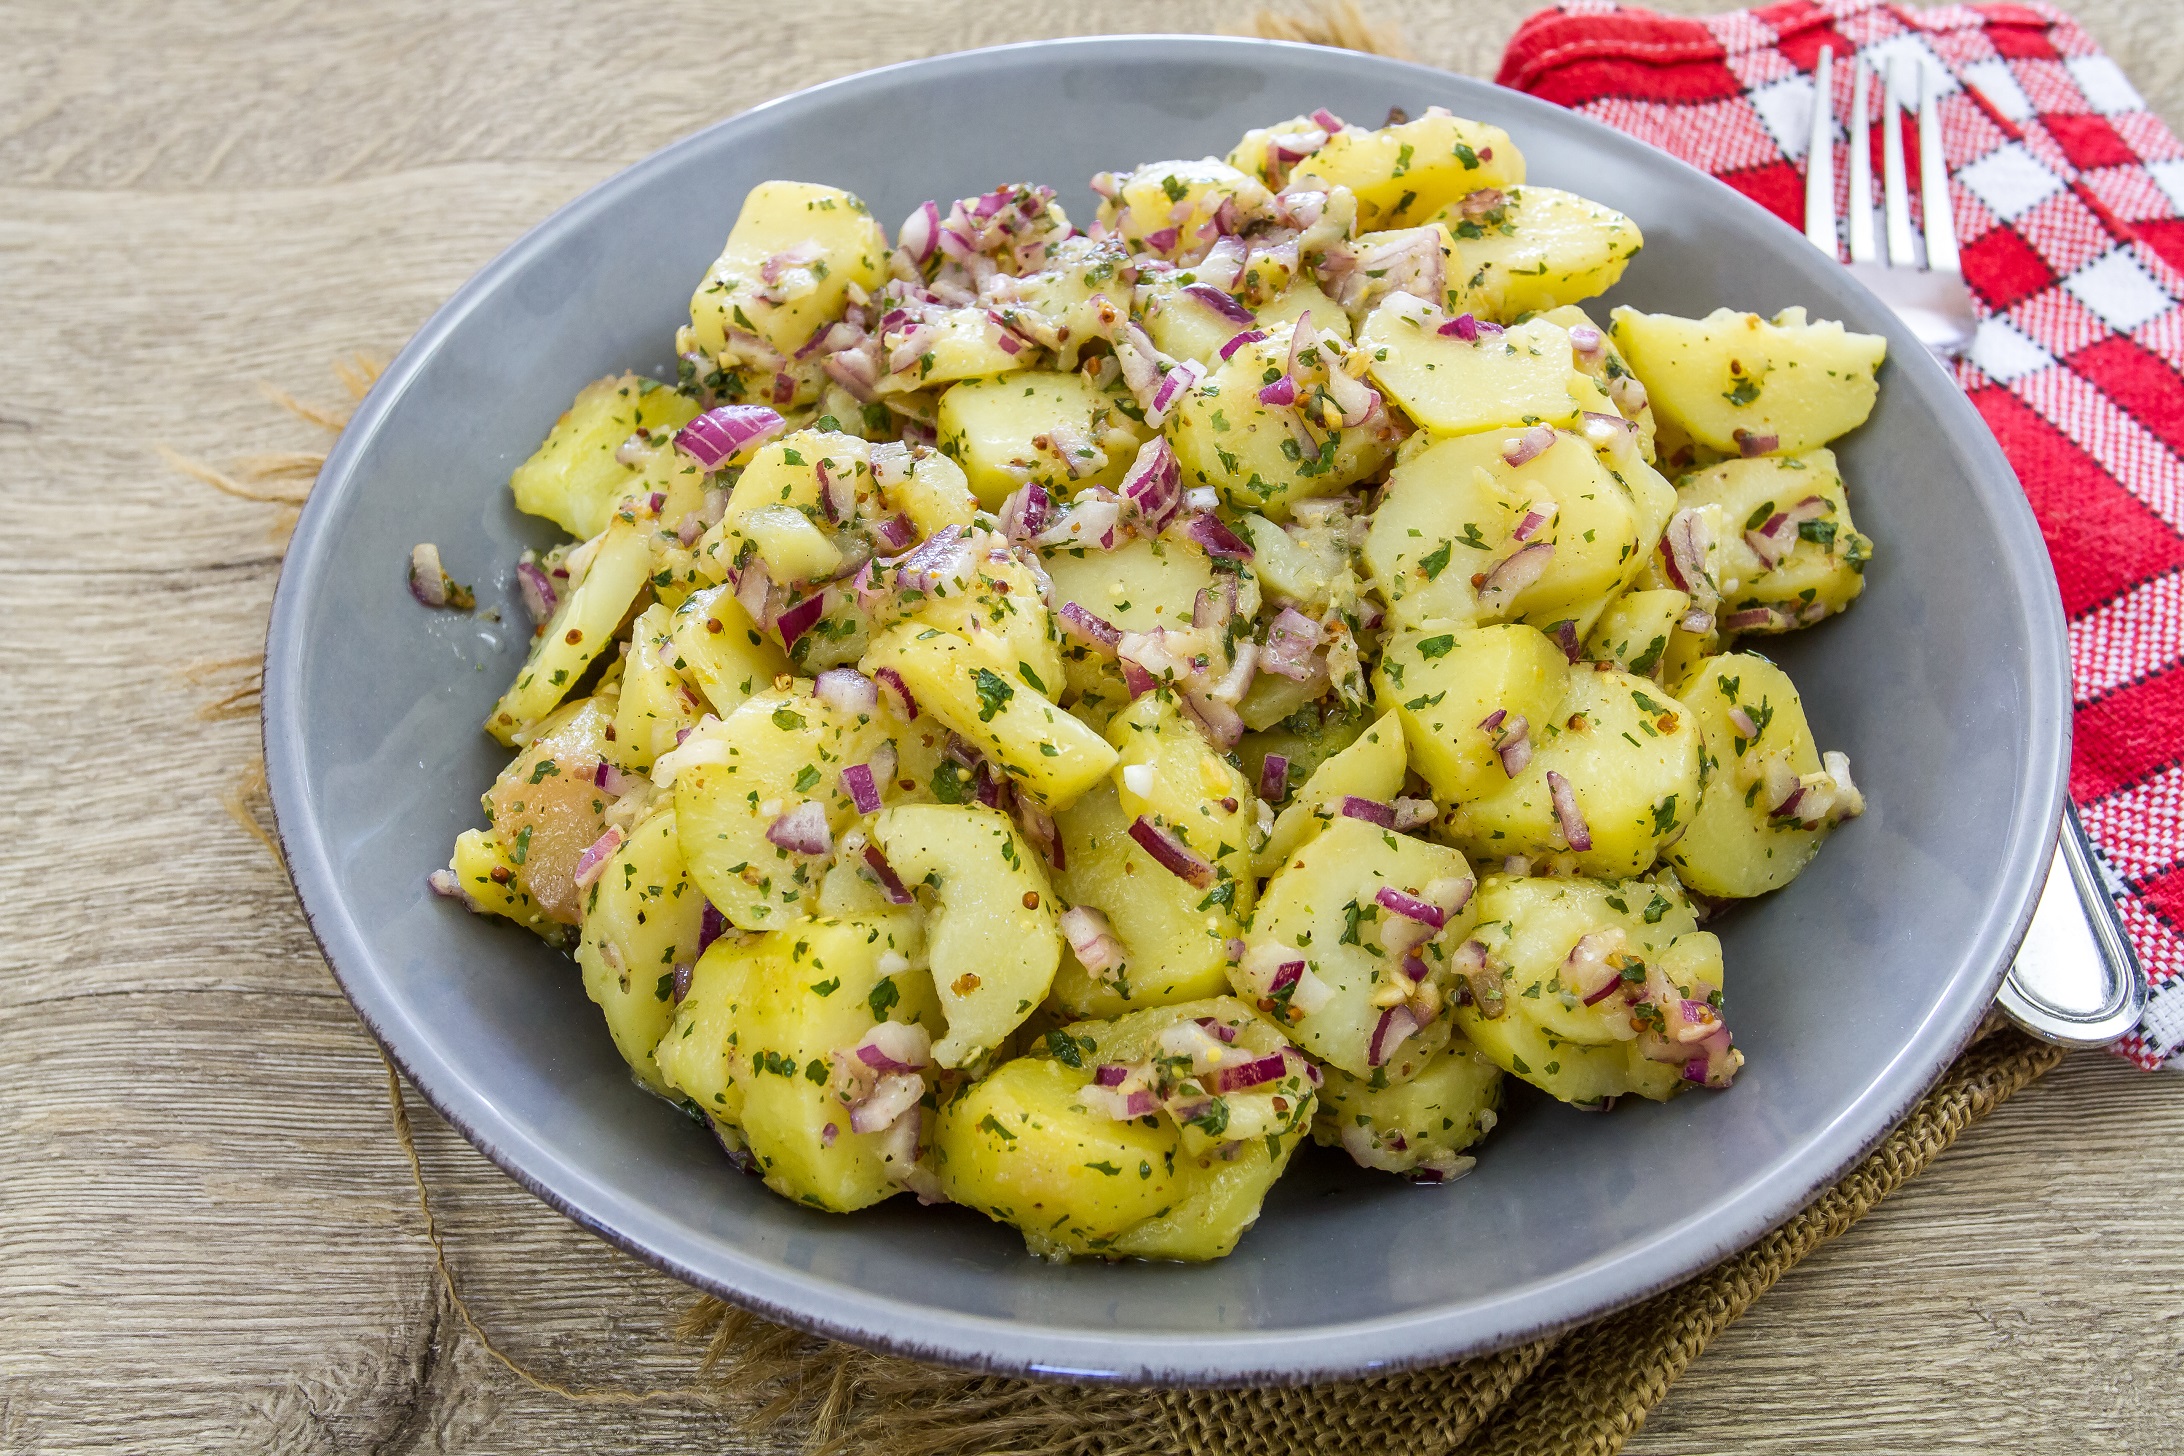
I prepared this super flavorful, easy potato salad recipe (No Mayo) this morning.  It is delicious, full of flavor, and I promise it comes out perfect every time!  No mushy, watery potatoes here.  The tangy vinaigrette is French inspired with a hint of Dijon mustard and plenty of herbs.  This is the sort of potato salad I grew to adore on my many trips to France.  I also like mayo sometimes but not on my potato salad.

I serve this potato salad warm, at room temperature or chilled.  Furthermore, it will last in the fridge for up to five days (if you do not eat it all at once…it is that good!).  And, it is vegan, vegetarian and gluten free so it will please many eaters.

Creamy new (or thin skinned) potatoes are paired with an herby vinaigrette dressing which combines virgin olive oil, wine vinegar and Dijon mustard.  Add a crunch of red onion, a bit of chives and a generous dose of herbs and you have a perfect potato salad recipe.  And bonus – if you can find a mix of potatoes as I did, the purple variety is particularly healthy!

Where does potato salad originate?

Potato salad is German but varieties also come from France.  Americans have embraced potato salad, and there are many varieties both with mayo and no mayo.  Historians believe that potatoes originated in South America.  Peru is well known for having many varieties of potatoes – up to 400!

Are potatoes healthy for me?

Potatoes have a bad rap as adding to weight gain and being full of carbs.   However, the way you prepare them makes a huge difference.  Deep fried potatoes for chips and fries are high in carbs, fats and calories, and the deep-frying removes much of the nutrition.  Simply boiled or baked potatoes are full of fiber and contain plenty of vitamin C.  I used a mix of heirloom fingerling potatoes today, and was happy to find out on Dr. Axe that they are very high in vitamins and antioxidants.

Can I substitute some of these ingredients?

Yes.  This potato salad recipe is very versatile.  You can add in chopped celery, hard cooked eggs, other fresh herbs such as basil and cilantro.  Experiment with what you like best!

Potato Salad Recipe (No Mayo)

Potato Salad Recipe (No Mayo)

Tender, creamy new potatoes are combined with a tangy, French inspired dressing. Finely chopped red onions add crunch and fresh and dried herbs add bold bursts of flavor.
Print Pin
Course: Salad, Side Dish
Cuisine: American, French, German
Keyword: Potato, Salad, Sides
Prep Time: 20 minutes
Cook Time: 11 minutes
Servings: 6
Cost: $5

Equipment

  • Equipment
  • Large Saucepan
  • Small mixing bowl
  • Whisk

Ingredients

Ingredients

  • 2 pounds heirloom potatoes or thin skinned red potatoes
  • 2 TBS granulated sugar plus a ½ teaspoon for vinaigrette
  • 4 TBS white wine or red wine vinegar – divided in half
  • Kosher salt
  • Freshly ground pepper
  • Garlic salt to taste
  • 1 TBS of Herbes de Provence
  • ½ cup extra virgin olive oil I like Kirkland
  • 3-4 cloves garlic – minced
  • 2 tsp Dijon mustard Grey Poupon works well
  • ¼ – ½ tsp crushed red pepper flakes
  • ½ cup fresh parsley – gently packed & chopped
  • ¼ cup fresh dill – gently packed & chopped
  • 2 TBS of fresh chives chopped
  • 1 small red onion – finely diced about ¾ cup

Instructions

Instructions

  • Wash and quarter potatoes: It is important that you half or quarter the potatoes (depending on their size) so that all of the pieces are close to the same size. If the sizes vary, then some of the potatoes will become over cooked (this is where mushy potatoes happen!). You will also want to wash and chop your herbs, onion, garlic at this point too so that making the dressing moves quickly.
  • Cook the potatoes: Cover potatoes with cold water in a large sauce pan. Add potatoes and bring the water to a gentle boil over high heat. Once boiling add in 2 tablespoons of salt, 2 tablespoons of the sugar and 2 tablespoons of vinegar. Reduce heat to maintain a simmer and cook, stirring occasionally, until the potatoes are fork tender, about 9-11 minutes. Drain the potatoes in a colander and transfer to a large mixing bowl.
  • While the potatoes are cooking, make the dressing: In a small bowl, whisk together oil, garlic, remaining 2 tablespoons of vinegar, Dijon, crushed red pepper flakes, Herbes de Provence and a ½ teaspoon of sugar. Season with 3/4 teaspoon of kosher salt and ¼ teaspoon ground black pepper. Whisk until fully combined. Add in the parsley, chives and dill. Stir until combined. Set aside.
  • Finish the potato salad: Drizzle half of the dressing over the warm potatoes and gently toss to combine. Add in the red onion. Combine gently again. Drizzle in the remaining dressing to taste. Gently combine until everything is coated. Taste and adjust for seasoning with salt and pepper.
  • Serve the salad: Serve warm, at room temperature or chilled. If serving warm and right away, let it sit out on the counter for at least 10 minutes for the flavors to come together.

Notes

Do NOT continuously boil the potatoes at a high heat or you run the risk of the potatoes falling apart, and becoming mushy/watery.
As soon as you drain the potatoes toss in the dressing. Warm potatoes soak up the dressing. Cold potatoes will not (and the dressing could become congealed when it hits the cold potatoes).