The Best Buffalo Chicken Dip in the Slow Cooker

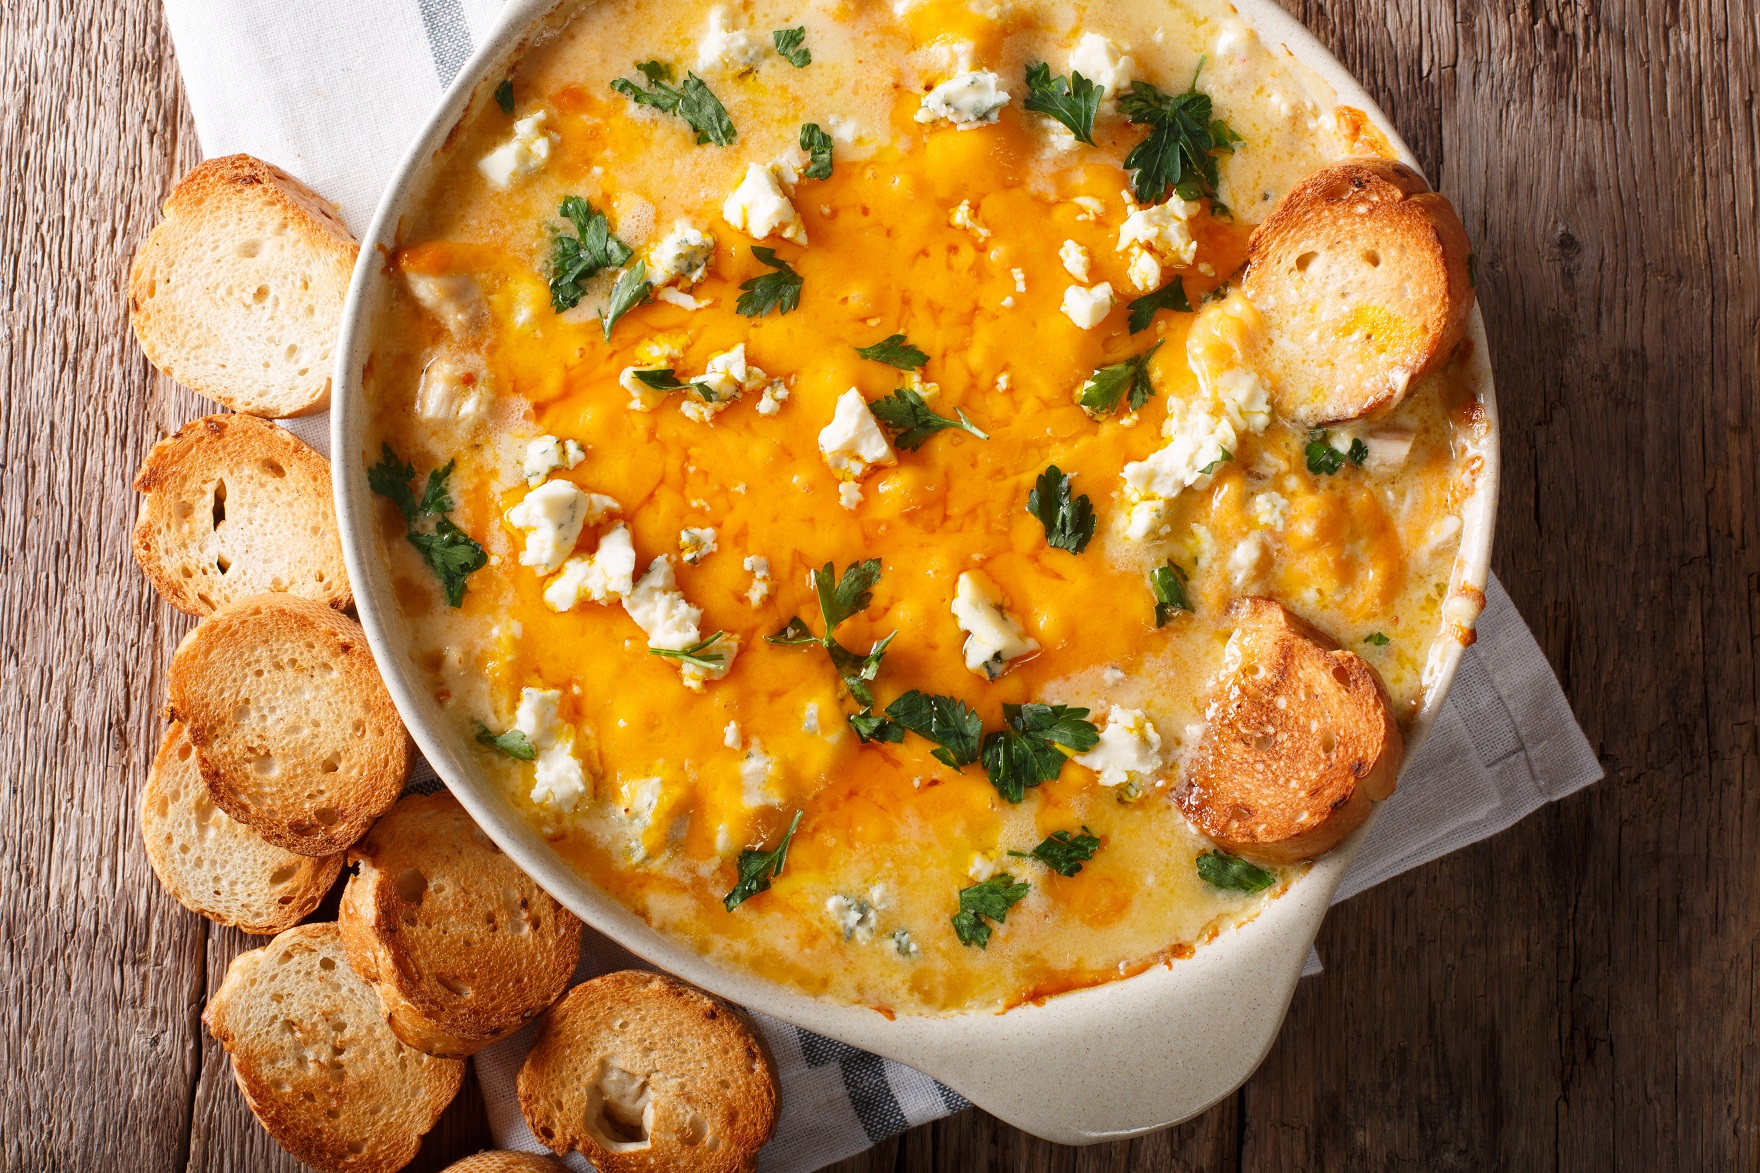
Buffalo dip is everyone’s favorite dip for any tailgate or gathering. It is also great as an après ski appetizer as it is hearty and warm which is always welcome after a day on the slopes. I have tested so many Buffalo chicken dip recipes. I have perfected this one as it is the easiest and most delicious. Buffalo Chicken Dip in the slow cooker is full of tender, shredded chicken, creamy cheese and of course a bit of heat from buffalo hot sauce.

Why is this the best recipe for buffalo chicken dip?

This version is super easy to make as it uses the slow cooker to cook the chicken and to make the rest of the dip. So only one pan to clean up. The dip also tastes better warm so you can serve it right from the slow cooker. I have a mini slow cooker that I also use which makes it easier to serve on my appetizer spread. You can also make the dip ahead of time and refrigerate it. Then simply reheat it on the stove or put it back in your slow cooker. I have also frozen it and it is delicious that way too.

Serve it with some fresh tortilla chips, celery sticks and maybe some carrots too for dipping. You won’t have leftovers.

Best buffalo chicken dip in the slow cooker

Best Buffalo Chicken Dip in Slow Cooker

This Buffalo Chicken Dip Recipe is a favorite at our tailgates and even holiday gatherings. Made with tender shredded chicken, creamy ranch dressing, tangy blue cheese, cream cheese, Buffalo hot sauce, and loads of cheese, This easy and delicious Buffalo Chicken Dip is then slow cooked until golden, bubbly, and perfect for dipping.
Print Pin
Course: Appetizer
Cuisine: American
Keyword: Appetizer, Dip, Game Day, Tailgate
Prep Time: 20 minutes
Cook Time: 3 hours
Servings: 12 servings
Cost: $7

Equipment

  • Slow cooker

Ingredients

  • 1 8 oz block of cream cheese Cut it into smaller pieces so it will melt easily
  • 1 bottle creamy Ranch dressing I use Nature's Promise organic or Hidden Valley Ranch would work too
  • 2 cups Sharp cheddar Mild cheddar or even whole milk mozzarella works too
  • 2 Boneless chicken breasts
  • 1/4 cup Hot sauce Frank's buffalo sauce is usually the brand I use
  • 1/4 cup Blue cheese dressing This can be optional. We love blue cheese so I always add it.
  • 1 tsp Garlic powder

Instructions

  • Put chicken breasts in slow cooker and cook on high for two hours. I always check on the chicken breasts as they are cooking. If they are not cooked through you may need to increase the time. I use a thermometer to check temperature. If cooking breasts from frozen meat you will need to increase the cooking time.
  • When chicken is cooked through take it out and shred with two forks. You will want a nice texture to it – not too big pieces as this will be a dip so sometimes I even chop it a bit after shredding it.
  • Pour out any juices that may have accumulated in your slow cooker. I usually wipe with a paper towel too. Then add your cream cheese and turn the slow cooker back on low. As it starts to melt, add in your ranch dressing, blue cheese dressing if you are using, hot sauce, garlic powder and cheese. Stir and cook on low for another 20 minutes or so.
  • When the mixture is bubbling on the outside, add back in your shredded chicken. Cook on low for about 45 minutes.
  • Stir and taste. If you like it hotter, add more hot sauce in small increments (I keep tasting at this point). If it is too hot, you can add more dressing.
  • Top with chopped green onion or parsley if you like. Sometimes I sprinkle on blue cheese crumbles too at this point. The dip can be served from the slow cooker directly (it is best warm) or reheated in the microwave. We always serve with tortilla chips, celery and carrot slices.

Christmas Tree Cutting Tailgate Menu

It is really starting to look like Christmas in Connecticut. That means it is time for my favorite holiday tradition, a Christmas tree hunting adventure! For years the Sunday’s Bread family has been donning warm winter clothes and sturdy boots to take a hayride into the fields of the Connecticut countryside to cut down a fresh tree.

On our first trip to the farm we noticed families from around CT and NY enjoying delicious tailgate spreads. Given that we are all-in foodies around here we just had to do the same. Read on for our favorite Christmas Tree Cutting tailgate menu, some tips and more about this wonderful tradition. As you can see, GG, was all-in with her favorite tartan scarf.

Christmas tree cutting tailgate menu
GG sporting a tartan scarf before the Christmas tree cutting

Christmas tree cutting tips

We started cutting down a fresh tree twelve years ago. The girls were so young. While now the hayride is optional back then we had to take it as they could not walk that far. So first tip – check the weather and it is likely you will need to wear warm clothes and boots. If the day is going to be cold, you may even want some hand and toe warmers.

The atmosphere is very festive. Where we go they even have oxen (see picture). They also have a cute Christmas market where you can buy ornaments, wreaths and of course trees. We prefer the adventure of walking through the fields to find one. Your own cut tree is as fresh as you can get so they last easily through the holidays. I guess you can tell that I am a fresh tree gal. There has never been a question of fresh versus artificial at the SB house. I love the smell of fresh pine, and the way the white lights glow against the needles.

Oxen at Christmas tree cutting tailgate
Each of the oxen weighs 600 pounds!

As much as I love a fresh tree, there are a few items you may want to bring with you (even if you buy one from the market or local home store). While our tree farm does provide some cord to tie the tree to the roof, we always install our ski rack and bring our own set of cords for tying it securely. As I love the Christmas market and often buy a wreath or other items, I usually bring a plastic bag for the trunk so that the needles do not get everywhere.

Once you find your tree, perhaps the most important tip is to stay next to it. Our girls usually disagree about which tree is coming home with us so that means one of us has to stay with the trees under consideration. Mr SB then uses one of the farm’s saws (they give you those), and we all help securely get it down. At our farm, you are given a tag and part of the tag stays with the tree. You move the tree to the side and then they will pick it up and put it on their wagon to bring it to the parking area.

Christmas tree cutting tailgate menu

A note on Christmas tree decorating

Growing up in Rhode Island, we always had a beautiful tree. As I adore Christmas and all of the preparations I often decorated it. I was the most enthusiastic one especially after my sisters had left for college. You could say I am bit of an expert at this point. Now, I love taking out the antique ornaments. Some ornaments are from my grandparents – at least 100 years old at this point. We have also collected ornaments from around the world. We have brought back ornaments from our tours of the National Parks, Mexico, France, South America and pretty much everywhere we have traveled.

What do I do with the girls’ home made ornaments?

As for the home made ornaments from Sunday School or school – well, it all goes on the tree. I love the memories. I know in the blogging world, the trend is a super coordinated, perfect tree – that is just not me. It does not bring me joy. So, up goes the cardboard cutout with a little photo of my college girl when she was five. I add some beautiful gold ribbon as a garland along with candy canes and gingerbread cookies. At least in our eyes the tree is very beautiful and full of Christmas spirit, memories and meaning.

Christmas tree cutting tailgate tips

Back to the tree cutting, we usually go with other families. As the farms can be crowded, we caravan so we can park next to each other. We all bring our favorite menu items. So here is the menu – it may be a bit eclectic but delicious all of the same and travels easily. Oh, and Mr. SB loves to bring his portable grill.

I am including his recipe too. The caper mayonnaise is to die for, and that leftover Thanksgiving turkey is delectable when dipped in it (shh don’t tell). I also love the mayo slathered on some sourdough bread piled high with turkey for the best sandwich ever. It would even make a delicious dip for crudite or some plain ol potato chips.

Christmas tree cutting tailgate menu

OK our tailgate philosophy is pretty simple. Delicious, easy food that can be consumed ideally with your fingers (finger food:). I love to make it cute with a tartan tablecloth, festive ice bucket decorated with candy canes (a galvanized steel bucket that I picked up at Michaels a few years ago) and matching tartan plates/cups. All easy and no fuss.

Christmas tree cutting tailgate menu
An easy Christmas tree cutting tailgate…plenty of yummy food and drink!

The best ever sliders with caper mayonnaise

Mimi’s buffalo chicken dip with tortilla chips

Vegetarian wraps

Red cabbage and carrot slaw with an apple cider vinaigrette

Bagels and cream cheese

Chocolate cookies with peppermint kisses

Assorted Christmas cookies including gingerbread men/women and Christmas trees

Mimosas

Bloody Marys

Hot chocolate

Soft drinks

We brought the buffalo dip in an insulated cooler and then reheated it on the grill. Mr. SB prepared the meat at home so it was ready to go on site. We used a folding table versus our tailgate as it was just easier to lay out the spread.

Mr. SB grilling the best-ever sliders on his portable grill

After a hearty tailgate we ventured out into the farm. We found our tree and even decorated it that evening (GG was tired!). We had some leftover turkey from Thanksgiving so I made my Turkey Tetrazzini and we chilled out while watching the Christmas Chronicles. Is there a better day than that? Would love to hear your Christmas and holiday traditions. Check back as I will be sharing how to decorate your mantle with natural greens and more!

Christmas tree cutting tailgate menu and tips
GG sleeping after a long day of tree hunting…our tree decorated

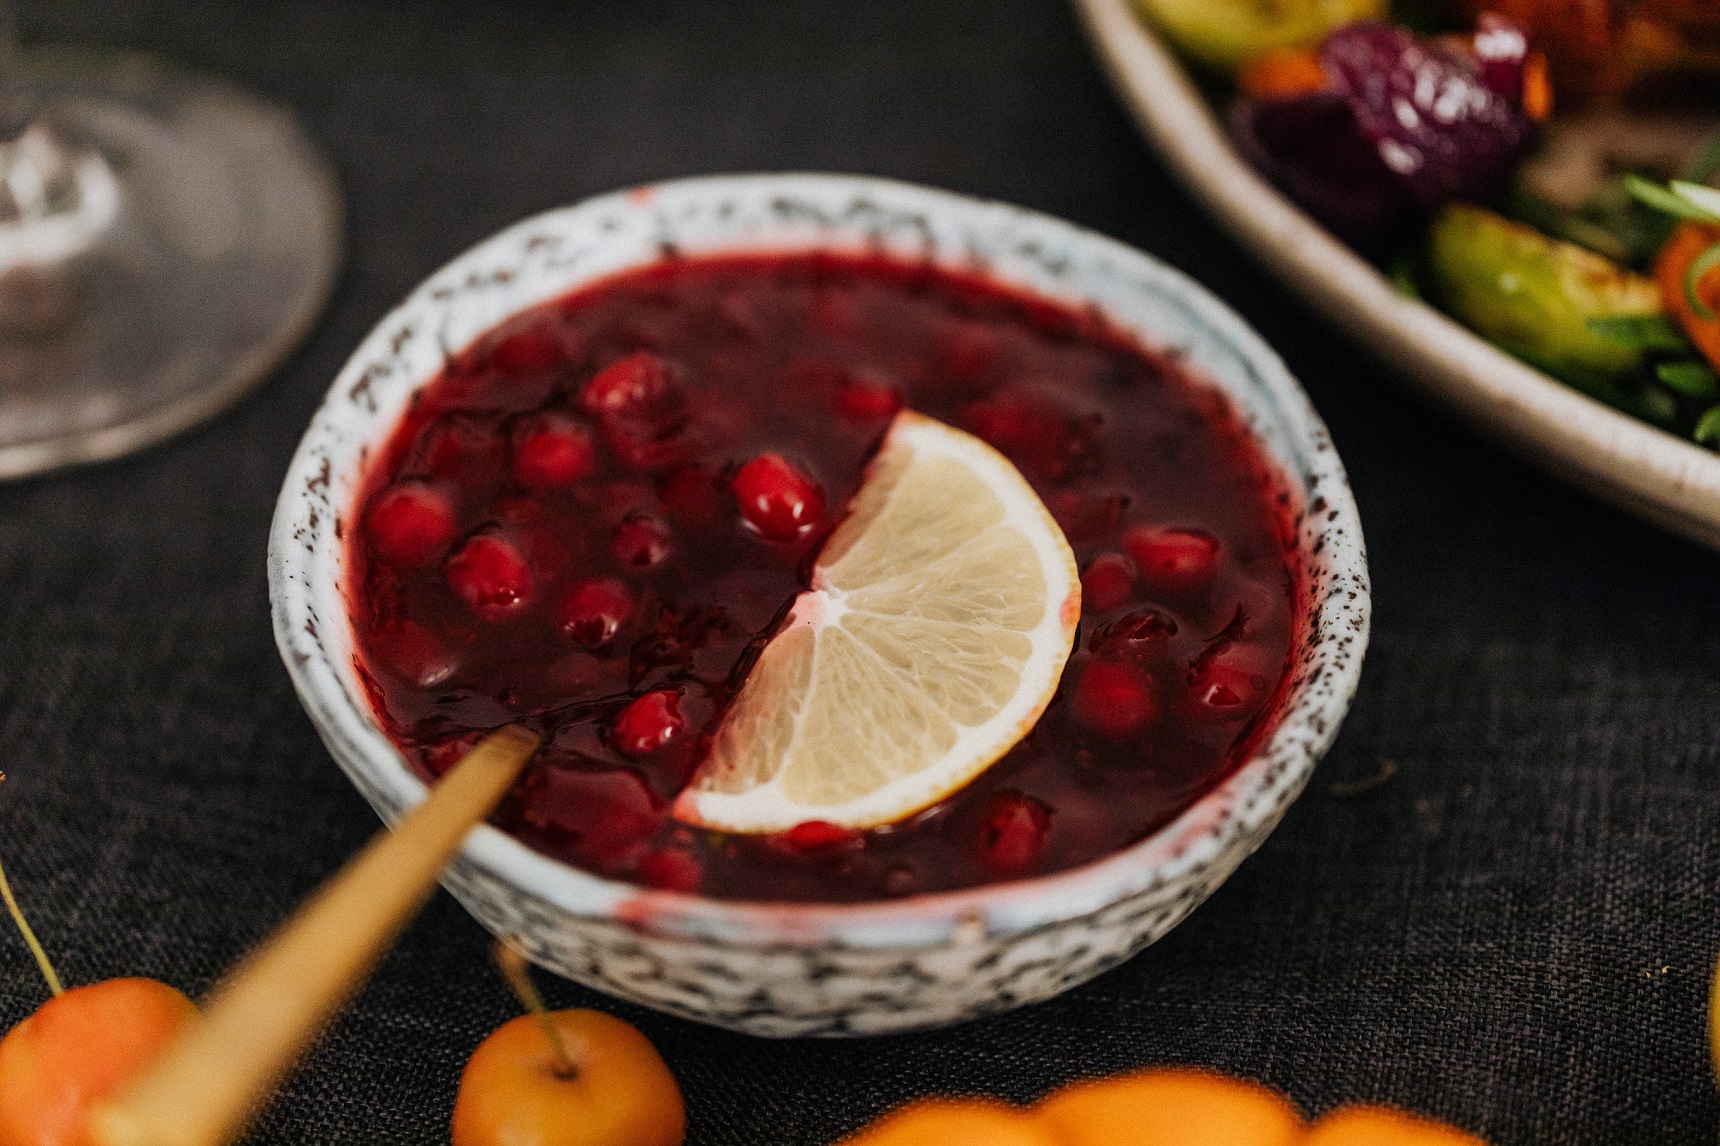
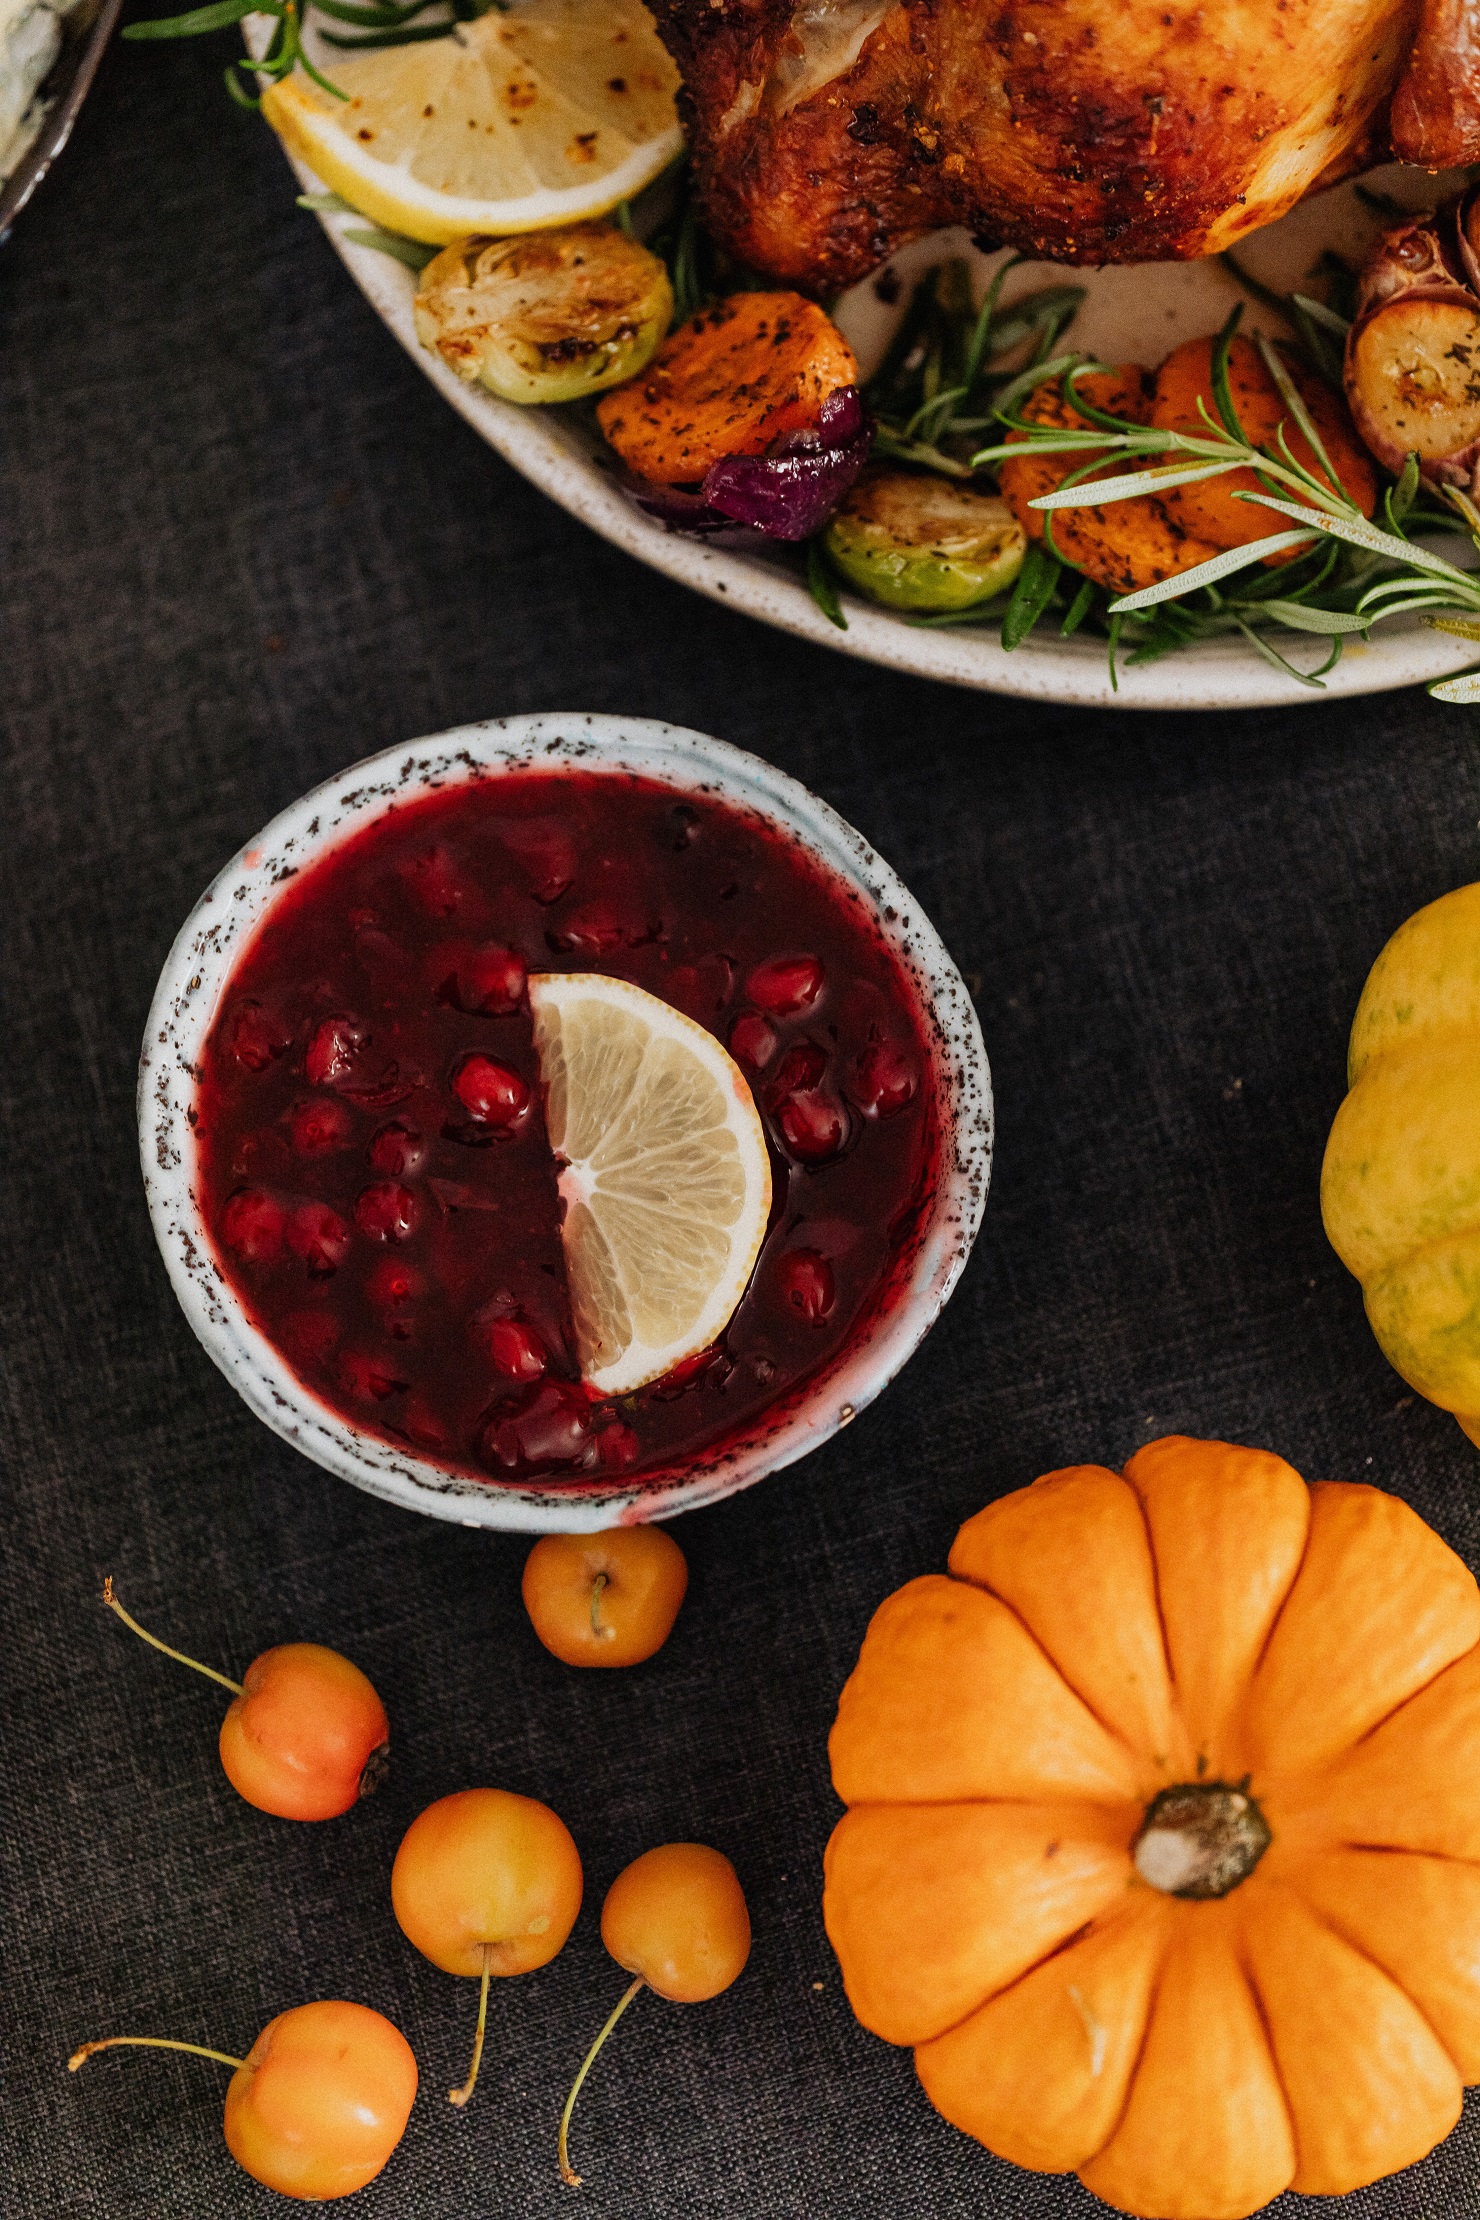
Fresh Cranberry Sauce

Hi all. How was your Thanksgiving weekend? The weather was beautiful in CT. While it was just the four of us we went all out on the food. Mr. SB ended up roasting the turkey in our rotisserie oven. It was delicious. I think I also perfected my home made stuffing. The girls and Mr. SB commented on the crisp aspect. While I love Thanksgiving dinner, there is often a lack of diversity in texture so a bit of crunch is unexpected and welcome. I feel the same way about fresh cranberry sauce.

Homemade cranberry sauce balances the meal

With so many rich sauces and flavors, the acidity in the cranberries really balances the rest of the meal. Fresh holiday cranberry sauce is also perfect for Christmas. The deep red of the cranberries complements any festive meal.

Are cranberries good for you?

I adore cranberries so I was thrilled to learn that they are full of antioxidants. In fact, they are one of the top ten antioxidant foods! Interesting fact too – cranberries have been harvested in North America for over 500 years.

Good for you and delicious? All the more reason to make fresh homemade holiday cranberry sauce. Here is my very quick and delicious recipe.

Fresh Cranberry Sauce

Fresh Homemade Holiday Cranberry Sauce

Homemade cranberry sauce is so easy to make that you will never even think of buying a can of cranberry again! Cranberry sauce adds a delicious tartness to any meal and the crimson color is perfect for holiday entertaining. Orange juice adds some zest and depth of flavor.
Print Pin
Course: Side Dish
Cuisine: American
Keyword: Christmas, Cranberry, Holiday, Thanksgiving
Prep Time: 5 minutes
Cook Time: 10 minutes
Servings: 4 1/2 cup servings
Calories: 51kcal
Cost: $3

Equipment

  • Heavy bottom sauce pan

Ingredients

  • 1 12 oz Fresh cranberries Rinsed. Remove any damaged berries.
  • 1/2 cup sugar I use organic cane sugar
  • 1/2 cup orange juice
  • 1/2 cup water

Instructions

  • Combine sugar, orange juice and water in a medium saucepan. Bring to boil; add cranberries, return to boil. Reduce heat and boil gently for 10 minutes, stirring every once in awhile. Cool at room temperature. Refrigerate until serving time.

Nutrition

Serving: 1g | Calories: 51kcal

Our Thanksgiving Menu

Hi all! I am getting excited to cook and have our Thanksgiving menu all picked out. In the spirit of organization, I even did the shopping on Sunday to avoid the crowds. Normally we head to a relative’s for a lovely and large Thanksgiving. This year they are wisely not holding that gathering due to the pandemic. So Mr. SB and I will be cooking Thanksgiving for just the four of us.

We actually always cook our own Thanksgiving as I had found through the years that I love leftovers. We also host a Friendsgiving with a college friend and her children. I also like to make the family favorites that I grew up with as our family always hosted our aunts, uncles and cousins.

Thanksgiving Memories

I have very fond memories of waking up and my mom and dad would already be hard at work. My dad took care of preparing the turkey. My mom would make all kinds of sides – mashed potatoes (a must in our house and quickly depleted when my three cousins arrived), pureed butternut squash, peas, stuffing, creamed onions and at least two or three pies. I remember loving the apple, cranberry pie she made one year.

Conversation would last well beyond dinner. I used to love hearing my mom and aunts telling stories about my grandparents who had died when I was very young. Some holidays there were heated political conversations but always in good humor and with no lasting ill will (life seemed easier in that way back then!).

This year, while our gathering will be small, it will still be special. I am going to use our china and good silverware and pick up some fresh flowers.

The food will include a mix of old favorites and a few new recipes. I love to try one or two new recipes every holiday to keep it fresh.

The 2020 Thanksgiving Menu

I plan to make the following – and am sharing my recipe for the best stuffing ever (home made and easy as can be…just some chopping).

Turkey smoked on the Big Green Egg (Mr. SB’s specialty:)

The best stuffing with celery and leeks. I adapted this from the NYT Cooking and it is delicious. Feel free to experiment with the herbs you like best too. I may even use a bit of my meat share’s bacon to flavor it this year.

Roasted brussels sprouts with bacon

Roasted butternut squash with sage

Home made cranberry sauce

Mashed potatoes

Gravy

And, I am trying out a gratin of celery root, potatoes and rutabaga that I found in this month’s Food and Wine (way out of my comfort zone!).

Pumpkin bread

Pumpkin cake in the slow cooker (am trying this one too for the first time). It looks so easy and with just the four of us I think a homey, easy dessert will be welcome.

What dishes will you be making? Any special family traditions?

Oh, and on Friday we go to cut down our Christmas tree and tailgate with friends. Will be sharing what I make for that too! Happy Thanksgiving everyone.

Thanksgiving stuffing

Best Ever Thanksgiving Stuffing (with a crisp outer edge) with Celery and Leeks

Home made stuffing is easy to make and well worth the effort. This version has a crispy outside and a tender, custard-like interior that is full of fresh flavor from the leeks and celery. Get a good loaf of ciabatta or sour dough and hand tear it for the best results.
Print Pin
Course: Side Dish
Cuisine: American
Keyword: Side Dish, Stuffing, Thanksgiving
Prep Time: 1 hour 20 minutes
Cook Time: 55 minutes
Servings: 8
Cost: $8

Equipment

  • 3 quart baking dish

Ingredients

  • 1 large loaf bread preferably sourdough or ciabatta (about 1¼ pounds)
  • ¼ cup olive oil
  • 8 tablespoons unsalted butter
  • 6 garlic cloves thinly sliced
  • 2 large leeks white and light green parts, chopped
  • Salt and freshly ground black pepper to taste
  • 6 celery stalks chopped
  • ½ cup dry white wine I like Pinot Grigio
  • 2 ½ cups chicken broth
  • 3 large eggs
  • ½ cup finely chopped parsley
  • ¼ cup finely chopped chives
  • 2 tablespoons shredded sage leaves and thyme leaves

Instructions

  • Preheat oven to 375 degrees. In a large skillet over medium-high heat, combine olive oil and 4 tablespoons butter. Once the oil and butter has melted, add the garlic and leeks. Season with salt and pepper and cook, stirring occasionally, until leeks are bright green and softened about 8 to 10 minutes.
  • Then add celery, and season with salt and pepper. Cook, stirring occasionally until bright green and tender, 4 to 6 minutes. Add white wine, and cook until reduced by about three-quarters, 3 to 4 minutes. Remove from heat.
  • Whisk together broth and eggs in a medium bowl. Place bread in a large bowl big enough for mixing. Add the leek and celery mixture, parsley, chives and marjoram. Stir to coat so that everything is evenly distributed. Pour the egg mixture over everything and toss a few times. Let sit a minute or two and give another toss. Repeat twice until all the liquid has absorbed and evenly distributed to each and every piece of bread.
  • Transfer mixture to a 2 1/2- to 3-quart baking dish (a 9-by-13 pan also works), making sure not to pack it too tightly. Dot the top with the remaining 4 tablespoons butter, making sure to pay extra attention to the corners, where the stuffing will get the crispiest.
  • Cover with foil and bake until the stuffing is sizzling at the edges and completely cooked through, 25 to 30 minutes. If it’s not yet time to serve, remove stuffing from oven and set aside.
  • When ready to serve, remove foil and increase temperature to 425 degrees. Bake stuffing until crispy, crunchy and deliciously golden brown on top, 20 to 25 minutes. Sprinkle some chopped parsley on top if desired.

One Bowl Pumpkin Bars with Cream Cheese Frosting

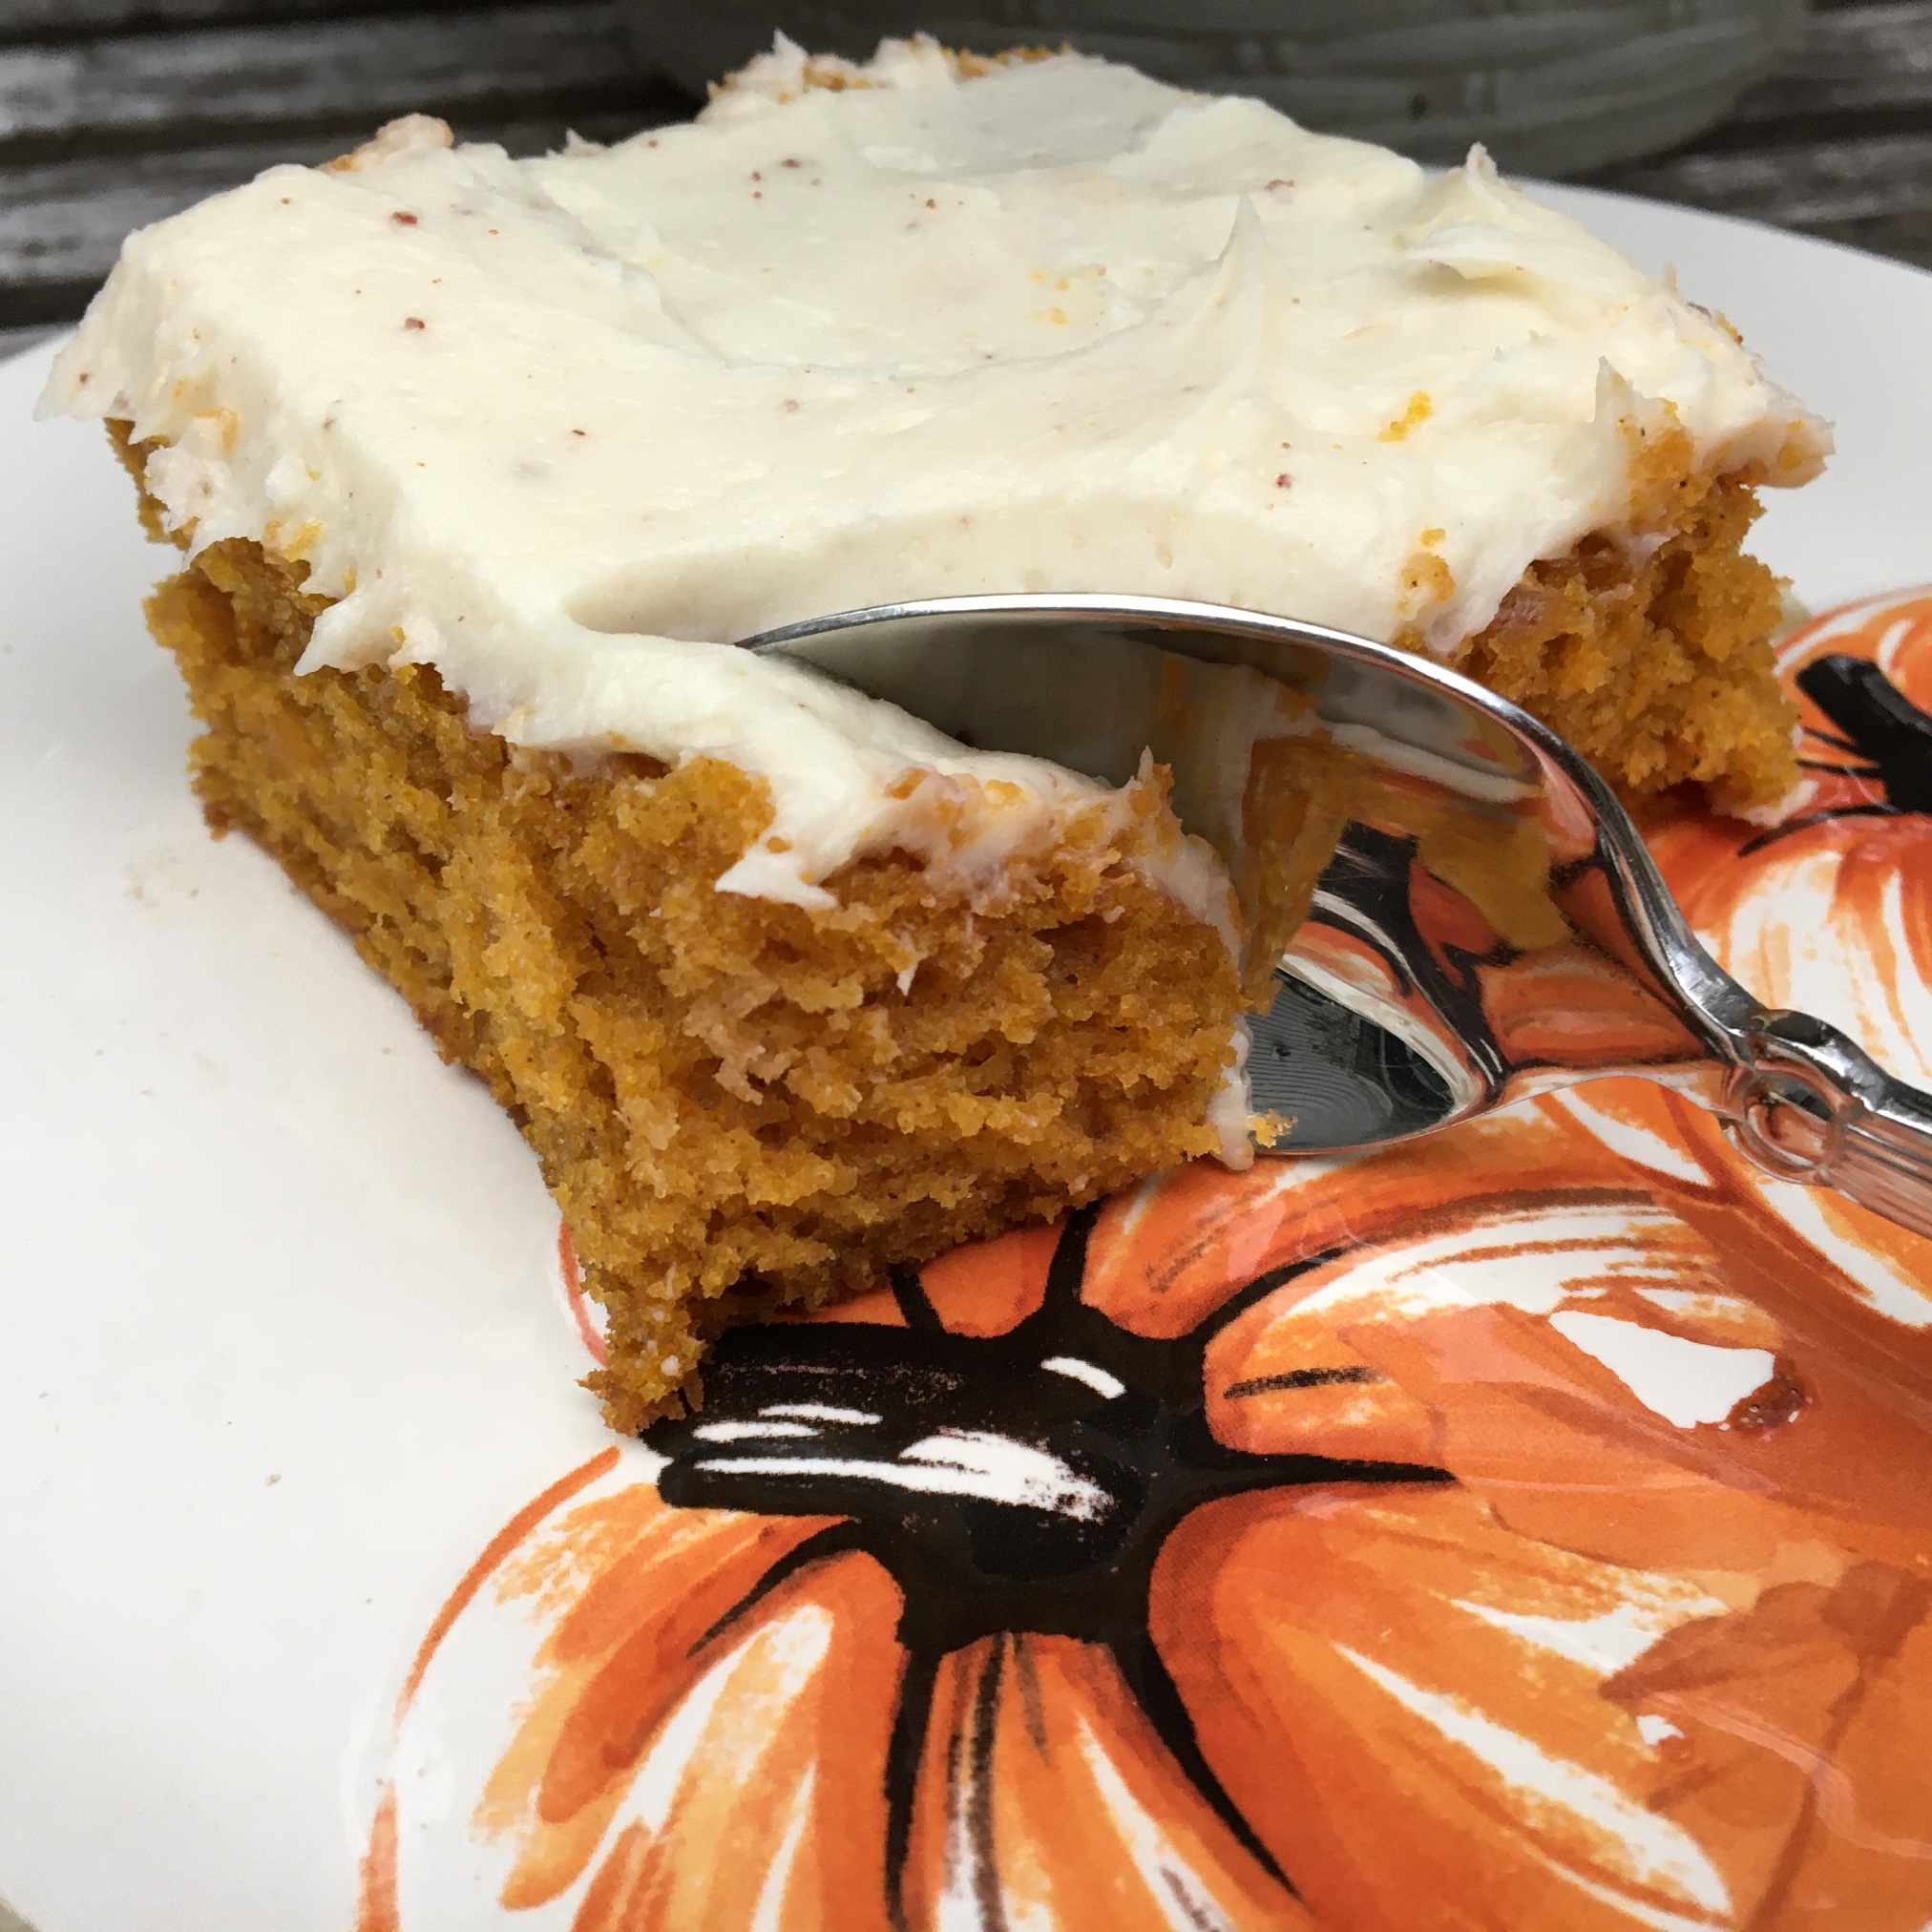
Hi friends.  I hope your week is going well.  I have been cooking and baking and can’t wait to share some recipes with you.  Today, I will be sharing one bowl pumpkin bars with cream cheese frosting.  I really do not like pumpkin pie but I love pumpkin desserts such as pumpkin crisp and pumpkin bars.  These bars have a brown butter cream cheese frosting which is simply divine and very easy to make.

Pumpkin is good for you!

Pumpkin is very nutritious with tons of beta carotene which helps your body convert vitamin A and help your vision and brain function.  Pumpkins were discovered 7,500 years ago in Central and South America.  Today of course we use pumpkin for pies, desserts, soups and more.  

Pumpkins were discovered 7,500 years ago in South and Central America

A note about brown butter

Browning the butter adds a complexity to the flavors of this frosting and is very simple to do.  Melt the butter in a small saucepan.  I recommend using a light colored bottom so you can monitor the browning.  You do not want it to burn (and that is easy to do).  You will need to watch the butter carefully and stir occasionally.  I like to leave the brown bits as it adds flecks to the frosting (and tastes delicious).  You could strain it if you do not like that effect.

What do you need to make one bowl pumpkin bars with cream cheese frosting?

  • I used a 10x15x1 silpat jelly roll pan and mat.
  • Spices.   I use a pumpkin spice blend by McCormick.  You can find this or other brands easily at the supermarket

My girls loved the pumpkin bars and have even been eating them for breakfast for a change and a treat.  I am also planning on bringing them to a friends’ fall fest party.  

Pumpkin bars with cream cheese frosting

One Bowl Pumpkin Bars with Brown Butter Cream Cheese Frosting

Simply delicious, one bowl pumpkin bars with brown butter cream cheese frosting are delectable!  Tender pumpkin bars full of pumpkin spice flavor topped with a generous amount of browned butter cream cheese frosting.  Perfect for dessert, a treat or even breakfast.
Print Pin
Course: Breakfast, Dessert
Cuisine: American
Prep Time: 20 minutes
Cook Time: 35 minutes
Servings: 20
Cost: $4

Equipment

  • Jelly roll pan or high edged cookie sheet
  • Electric mixer

Ingredients

  • 2 cups all purpose flour
  • 1 cup sugar preferably organic cane
  • 1/2 cup brown sugar
  • 1 tbsp pumpkin pie spice
  • 1/2 tsp salt
  • 1 tsp baking soda
  • 2 tsp baking powder
  • 4 eggs room temperature, lightly beaten
  • 1 cup vegetable oil I used avocado oil
  • 15 oz can pumpkin puree. NOT pumpkin pie filling
  • Brown Butter Cream Cheese Frosting
  • 1/2 cup butter
  • 8 oz cream cheese softened
  • 2 tsp vanilla extract
  • 5 to 6 cups powdered sugar
  • 1 teaspoon or so of pumpkin pie spice to dust on top

Instructions

  • Instructions
  • Preheat oven to 350F. Spray a jelly roll pan or cookie sheet with high edges with nonstick cooking spray and line with parchment paper. Set aside.
  • In a large bowl, whisk together flour, sugar, brown sugar, pumpkin pie spice, salt, baking soda, and baking powder.
  • Stir in eggs, vegetable oil, and pumpkin puree until combined.
  • Pour batter into prepared pan. Smooth out batter so it is even in pan.
  • Bake for 25 to 30 minutes or until an inserted toothpick comes out clean. Cool completely on a wire rack before frosting.
  • Frost with brown butter cream cheese frosting.
  • Refrigerate unless serving immediately.
  • Brown Butter Cream Cheese Frosting
  • Heat butter in a small saucepan with a light bottom over low heat until completely melted. Continue heating, stirring occasionally, until light golden brown in color. Remove from heat and let cool.
  • Combine cooled brown butter and cream cheese in a medium bowl. Beat on medium speed until light and fluffy.

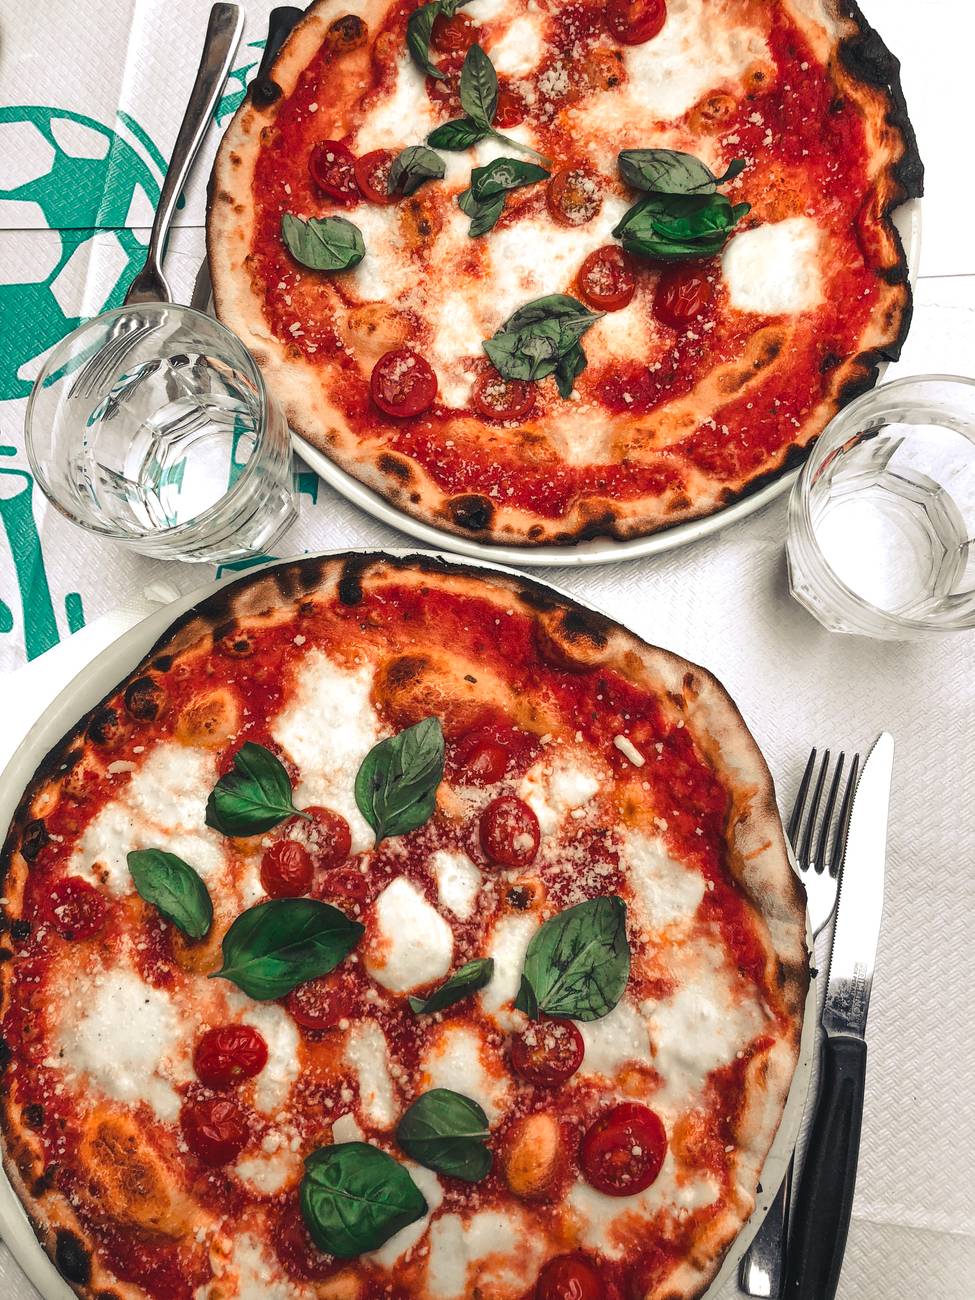
5 Ways To Make Frozen Pizza Taste Like Take Out (at a Fraction of the Cost)

Transforming a cardboard-like frozen pizza into a delicious meal is entirely doable, super easy and economical. In fact, you can easily make your frozen pizza taste like takeout with a few simple steps.

We have all been there…dinner needs to be on the table and we have nothing prepared…

It is also one of those recipes for what I call “on your last nerve” meal ideas. “On your last nerve” recipes do not really qualify as “recipes” but may just save your “last nerve” mid week (or anytime). When I meal plan on Saturdays and Wednesdays (usually) I always factor in a few items that can be stored in the freezer and easily made for mid week. I find these options are particularly handy after a long work day or driving around to extra curriculars.

What is a On Your Last Nerve Recipe?

Sometimes these are items I cook myself and have frozen for a quick reheat in the microwave or instant pot. Occasionally they are freezer favorites from Trader Joes or Costco, and often they may have a base of store prepared food with a few items to doctor it up for something way better than what could be served directly from the freezer. I always keep a few items in my freezer such as Costco’s frozen cheese pizza (4 for $9 in my area) and recommend that you do too.

How to Make a Frozen Pizza Taste Like Something You Want to Eat?

Normally I am not a fan of frozen pizza. The cheese never freezes well (as is usually the case with dairy items), and the crust is like cardboard. Additionally, in my book, there is never enough cheese or any of the toppings that make pizza so delicious. So here are my go-to tips:

  1. Shop your fridge and pantry: Either fresh or leftover vegetables make excellent toppings. Leftover cooked mushrooms, peppers, onions and eggplant are delicious as a topping. In the summer I always have a basil plant too that I will top the pizza with fresh shards of that summery goodness.
  2. Keep ingredients on hand. I also always have onions and garlic. A quick sauté with some Italian seasoning or oregano can really up the flavor. Canned, sliced olives are delicious too. Costco Pesto, and pretty much any brand of pasta sauce are good bases. And, I always have flatbread (Aldi and Trader Joes have good options) as well as the Costco cheese pizza with a breadcrumb crust. Spices are key too. Nothing fancy – just some dried oregano and basil and maybe a bit of garlic salt if you like.
  3. Cheese! If you buy a frozen pizza the cheese is awful. Cardboard shreds. I usually don’t bother to scrape it off but always add either fresh mozzarella or if I don’t have that at least some of the sliced variety.
  4. Freezer toppings. Sliced, uncured pepperoni and salami are always in the freezer. I take them out a few minutes beforehand (or take a few slices and defrost in the microwave). Other toppings might include frozen pre-cooked rotisserie chicken or if we are doing a Meatless Monday we leave out the meat.
  5. Finish with a yummy glaze. Balsamic glaze adds just the right touch of tartness to the melted cheese. I have also known to drizzle a little truffle (fancy!) oil or garlic infused oil too. This pizza is so economical no matter how you finish it that I say go ahead…be fancy!

A Few Last Recommendations to Make Frozen Pizza Taste Like Takeout

We all have those nights when we are on our last nerve. For those moments, I always keep frozen pizza and some add ons to make frozen pizza taste like takeout. Make a quick salad of pre-washed lettuce and some favorite veggies and you are done…very little clean up too!

Fall Weekend Wrap Up + Apple Crisp

The weather was gorgeous this past weekend, and we did a second round of apple picking at our favorite orchard which made the most delicious apple crisp (recipe below!).

Friday I realized that I had dozens of eggs in the fridge (don’t ask) and decided to make a quiche. Then I realized I did not have prepared crust so did a quick recipe search and found this simple recipe for pie crust. Could not have been easier, was delicious and I used real ingredients like organic flour and butter so am guessing was much healthier too and without the preservatives in refrigerator crust! French guy was impressed although we both agree we need to find a low-cost source of gruyere cheese which is one reason why quiche in France is so delcious (I used sharp cheddar as that is what I had on hand).

We also had our last day at the shore which was bittersweet. Even during the pandemic, it was so great to escape to sail, kayak and hit the beach and socialize safely outside. It has been a silver lining to discover the beatuiful, CT shore and go back to my roots of sailing (and now teaching the girls to sail).

While hiking will be great during the fall, I told Mr. SB that we need a winter escape (am asking for cross country skis for Christmas). Downhill skiing may be challenging as the pandemic continues.

Sunday afternoon I tackled cleaning the basement. I actually organized the spot two years ago, and while it looked terrible in recent days, it only took me about an hour to remove unwanted items and put others away in the labeled spaces I had created years ago. I used my 5 step organization method for a particularly messy part. So nice to go in and not have stuff everywhere! I also realized that end of season or any major event should be an alert. That is the time to empty beach bags, wash towels etc. (anyone ever clean out a kid’s backpack and find 3 month old hummus?…surely not me:).

Now what about that apple crisp?

Apples from apple picking

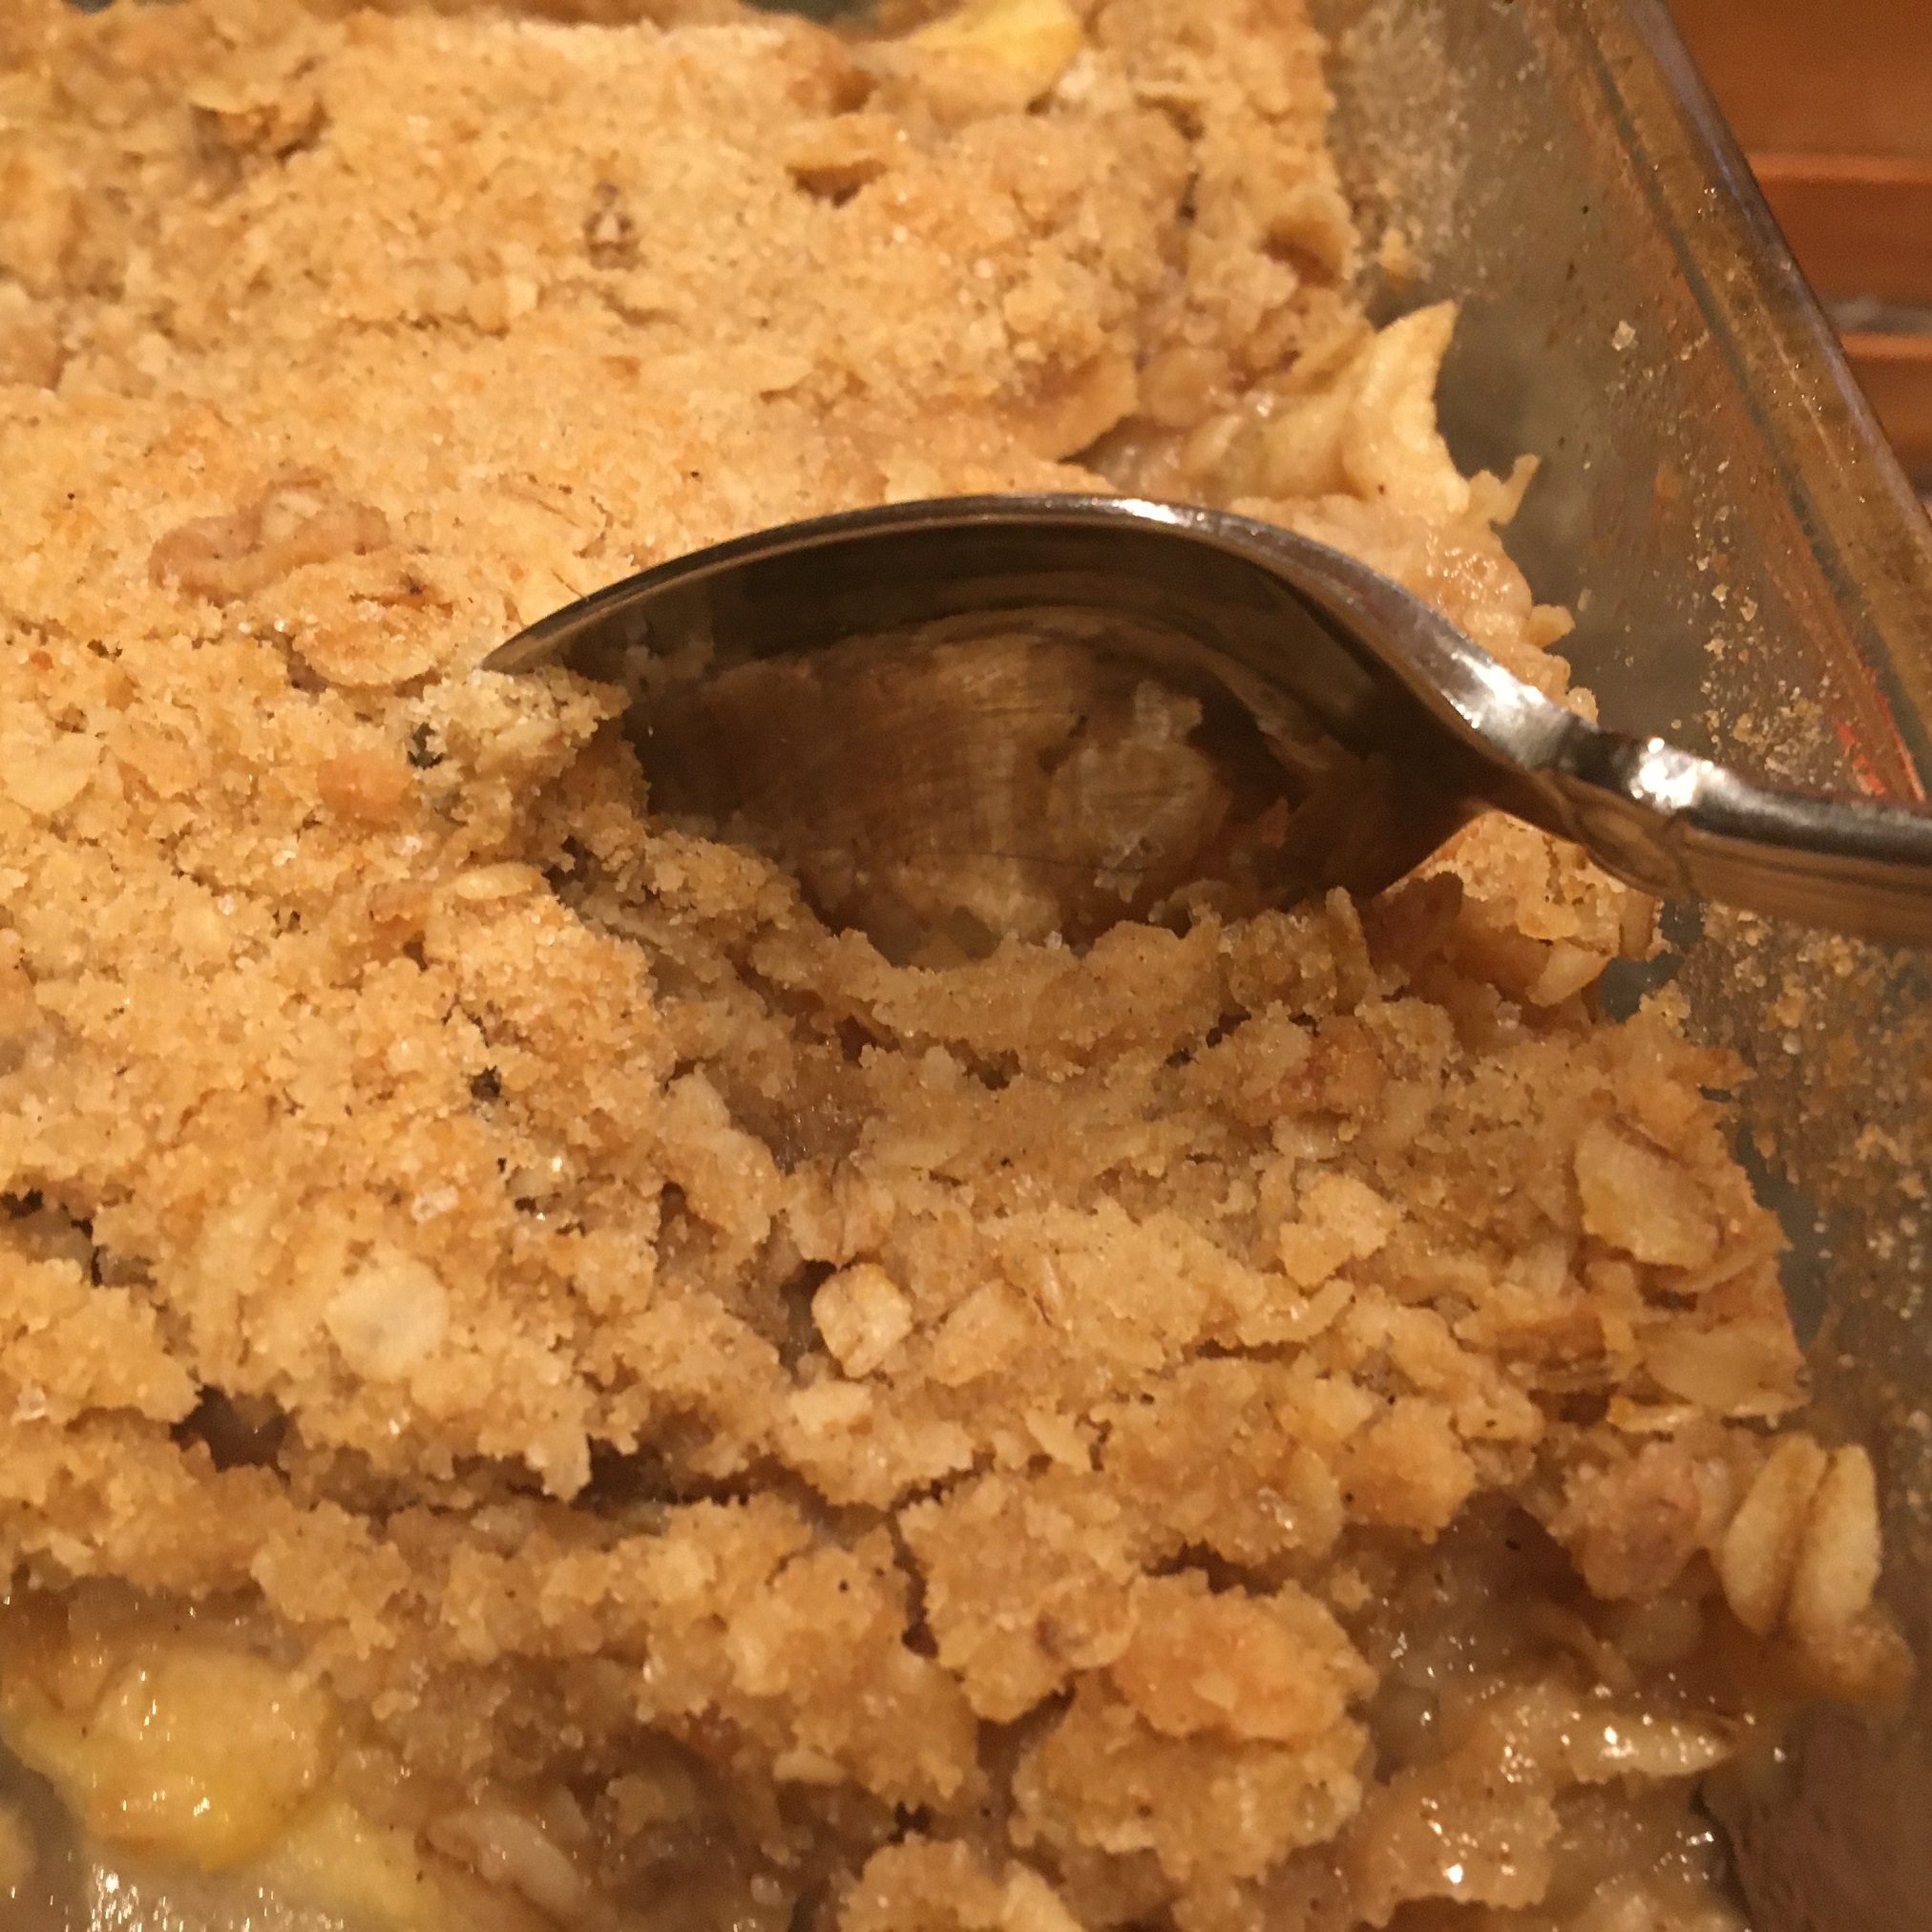
So all in all a good weekend. The apple crisp was a perfect way to end Sunday dinner. I used a mix of Jonah Gold, Granny Smith, Cortland and Mutsu apples. Typical recipes use far more sugar – while this recipe is plenty sweet I like to taste the apples. The top is a delicious mix of oats, brown sugar, cinnamon and butter. If you love crisps as much as I do, be sure to check out last week’s pumpkin crisp recipe which is also easy, perfect for fall and delicious. Super easy…enjoy!

Apple Crisp

Best Homemade Apple Crisp

Sunday’s bread recipe for warm, homemade apple crisp.  Nothing says home like apple crisp.  Top with some vanilla ice cream or whipped cream for the perfect, sweet comfort food.
Print Pin
Course: Dessert
Cuisine: American
Keyword: Apple, Dessert, Fall, Fruit dessert
Prep Time: 35 minutes
Cook Time: 40 minutes
Servings: 8 servings
Cost: $3

Equipment

  • 8 by 8 pan
  • Peeler
  • Sharp knife

Ingredients

  • 4 cups apples sliced thinly. I leave a little skin on for texture.
  • 1 tablespoon flour
  • 1/2 cup sugar I use Costco organic
  • 3/4 cup brown sugar
  • 1/3 cup butter cold and cut into smaller tablespoon sized slices
  • 3/4 cup flour
  • 1/2 cup oats
  • 1/4 tsp baking soda
  • 1/2 teaspoon salt
  • 1 teaspoon of cinnamon

Instructions

  • Preheat oven to 350 degrees
  • Combine the first three ingredients and place in a greased 8×8 baking dish.
    Sliced apples
  • Combine the remaining ingredients. I use kitchen gloves to work the butter into the dry ingredients. Mixture should look crumbly. Spread over the top of the apple mixture.
  • Bake for 30 minutes. Apples should be juicy and bubbling but hold their shape. Test with a fork or knife to determine that the apples are tender. Bake for another 5 to 10 minutes if necessary.
    Apple crisp from the oven

Fall Weekend Wrap Up + Pumpkin Crisp

We had beautiful, crisp weather in the New York area this weekend. The weekend was full of cooking autumn dinners and dessert (pumpkin crisp recipe to follow!). I also tackled organizing the bathroom top to bottom so will be sharing that as well. Of course I used my foolproof steps to do so. But let’s talk food.

What did I cook this weekend?

Fridays as always are evenings where my Mr. SB comes in late. Last week was a stressful one (hence my lack of blog posts) so cooking something yummy on Friday was a great stress reliever. I admit – I love pumpkin both in savory and sweet dishes (with the exception of pumpkin pie…not sure why I do not like pumpkin pie!). So I went in search of a savory, pumpkin-based sauce and found a great recipe from Rachel Rae. Rachel is famous for her 30-minute meals and this recipe for pasta with pumpkin sage sauce and sweet Italian sausage was delicious. It also refrigerated well so we had leftovers last night:)

Saturday morning meant looking in the fridge/freezer at leftovers and figuring out what kind of home made soup to make. It turns out the easiest pot roast recipe in the world also makes a fantastic Beef and Barley soup. I promise recipes to come. In the meantime a quick photo.

Beef and barley soup from leftover pot roast.  Delicious and hearty.

Pumpkin Crisp – the perfect fall dessert

So here’s the deal – I love pumpkin bread, pumpkin spice and most pumpkin desserts (except pumpkin pie). A few years back I had pumpkin bars which had this delicious, gingerbread crust and tender filling. It made me think about why not having a pumpkin crisp with those same flavors. Combine all that gingery goodness into a crumbly mixture and layer it on top of the yummy part of pumpkin. It came out delicious. So here is the recipe…enjoy!

Pumpkin Crisp

Pumpkin Crisp

Creamy custard, pumpkin spice goodness topped with a gingerbread crisp. Nothing better on a fall day and a great addition to Thanksgiving too!
Print Pin
Course: Dessert
Cuisine: American
Keyword: Crisp, Dessert, Fall, Pumpkin
Prep Time: 25 minutes
Cook Time: 40 minutes
Servings: 8
Cost: 4

Equipment

  • Deep square or rectangle pan.

Ingredients

  • 1 15 ounce can pumpkin puree
  • 2/3 c sugar
  • 1 5 oz can evaporated milk
  • 3 eggs
  • 1 tsp vanilla extract
  • tsp of nutmeg
  • ¼ tsp of cinnamon
  • 2 tsp pumpkin pie spice or more if you love pumpkin spice!
  • 1/4 tsp salt
  • 1 c Gingersnap cookie flour made by putting Gingersnap cookies in the food processor
  • 1 c quick oats
  • 1/3 c brown sugar
  • 1/4 tsp baking soda
  • 1/4 tsp baking powder
  • 1/2 c butter softened
  • ½ tsp of pumpkin pie spice

Instructions

  • Preheat oven to 350°F.
  • Grease a deep square or rectangular pan or a 2-3 qt casserole dish.
  • In a large bowl, whisk together the first ingredients through salt, and then pour into the prepared dish.
    Pumpkin custard
  • In a medium bowl, combine the ground up gingersnap cookies, oats, brown sugar, pumpkin pie spice, baking soda and powder. Then, use a fork to incorporate the butter into the dry mixture.
  • Bake the custard for 20 minutes. Once you see it start to harden at the edges and set, you can add the crumble topping. If you add the crumble mixture right away it may sink!
  • Bake for another 20 to 25 minutes, or until the center of the pumpkin pie filling reaches 175°F. The center will still have a little wiggle, but it won’t be super runny.
    Pumpkin Crisp from the oven
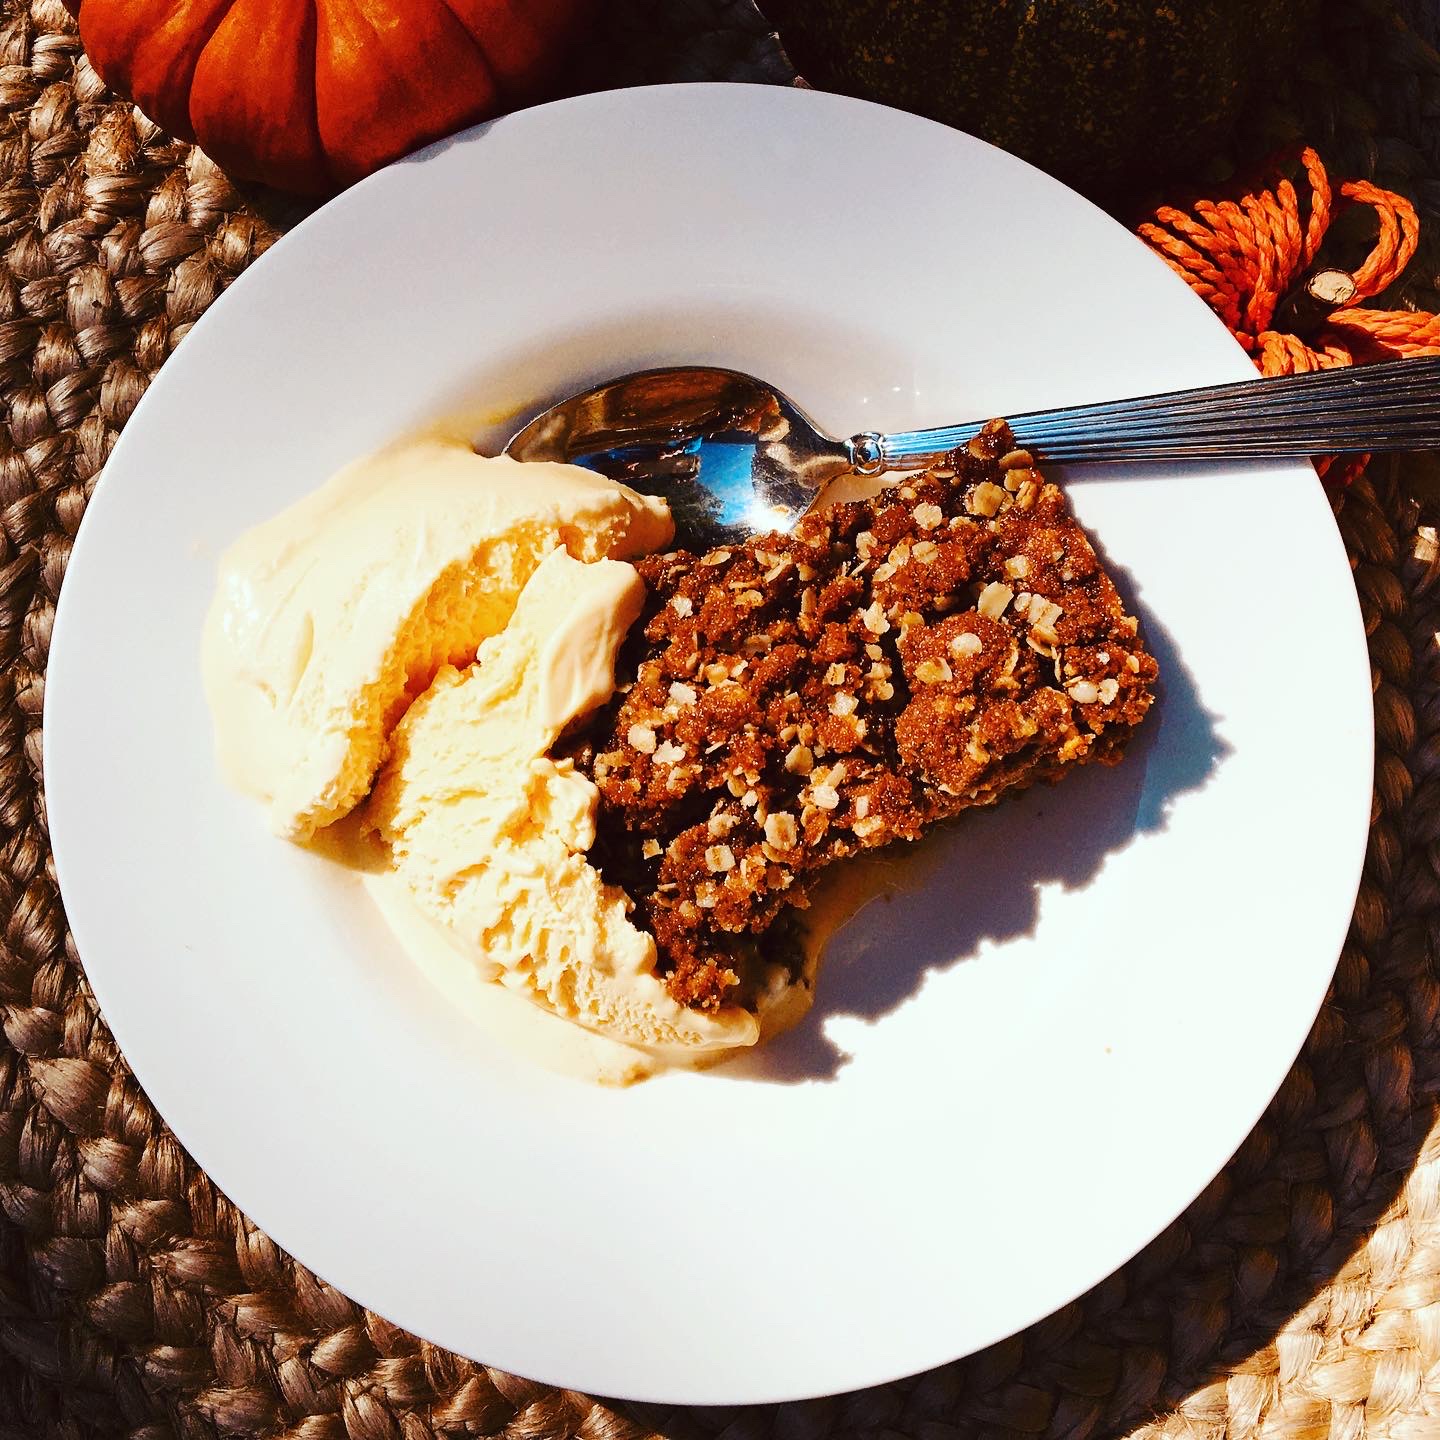
  • Serve with ice cream and a drizzle of caramel sauce if you so desire.

Notes

Pumpkin crisp is best served warm with some ice cream or whipped cream on the side.  

Kale Salad with Crispy Chickpeas and Tahini Dressing

Hi there! We are enjoying fall around here and have been doing plenty of seasonal cooking. Kale is a hearty fall green that goes so well with many of the stews, soups and other fare you find this time of year. I love kales salad with crispy chickpeas and tahini dressing. Both kale and chickpeas are super healthy too. Kale is full of anti-oxidants.

Fall weekend cooking and eating

Fridays tend to be a late night for my husband so I usually cook in the Instant pot or slow cooker. The girls and I tend to eat earlier, and then when he comes in the meal is still warm. The sauces in these types of recipes make his serving as fresh as if he ate with us.

Kale salad goes well with my regular, Friday night rotations such as slow cooker pot roast, chicken marsala, meatballs or even Indian style chicken curry. This week it was foolproof pot roast (recipe coming soon).

Fall weekend look back

The weekend was full of activity. We had warm temperatures here so were thrilled to enjoy the shore, and even went clamming/oystering (with a license of course!). I finally set up my fall table took out the autumn, pumpkin dishes. I figure if we are still spending so much time at home we may as well make it pretty.

Fall pumpkin centerpiece

How do you make Kale Salad with Crispy Chickpeas and Tahini Dressing?

So moving on to my fall salad recipe – first step is to wash the kale and strip out the tough center fibers. Kale is very different than lettuce. It is heartier. As such, you will need to cut it into smaller pieces and ideally let it sit in the dressing for at least twenty minutes to marinate. I use a kitchen shears to cut the kale into smaller ribbons. Then I make the dressing:

1/2 cup of mild olive oil (or I like avocado oil)

Juice from one lemon (or 2 to 3 tablespoons or more if you like it very lemony)

2 tablespoons of tahini

1 teaspoon of sugar (mellows out the lemon)

Salt to taste

Shake in a container to mix, and then pour on your cut up kale leaves. Set aside while you make the crispy chickpeas. Enjoy!

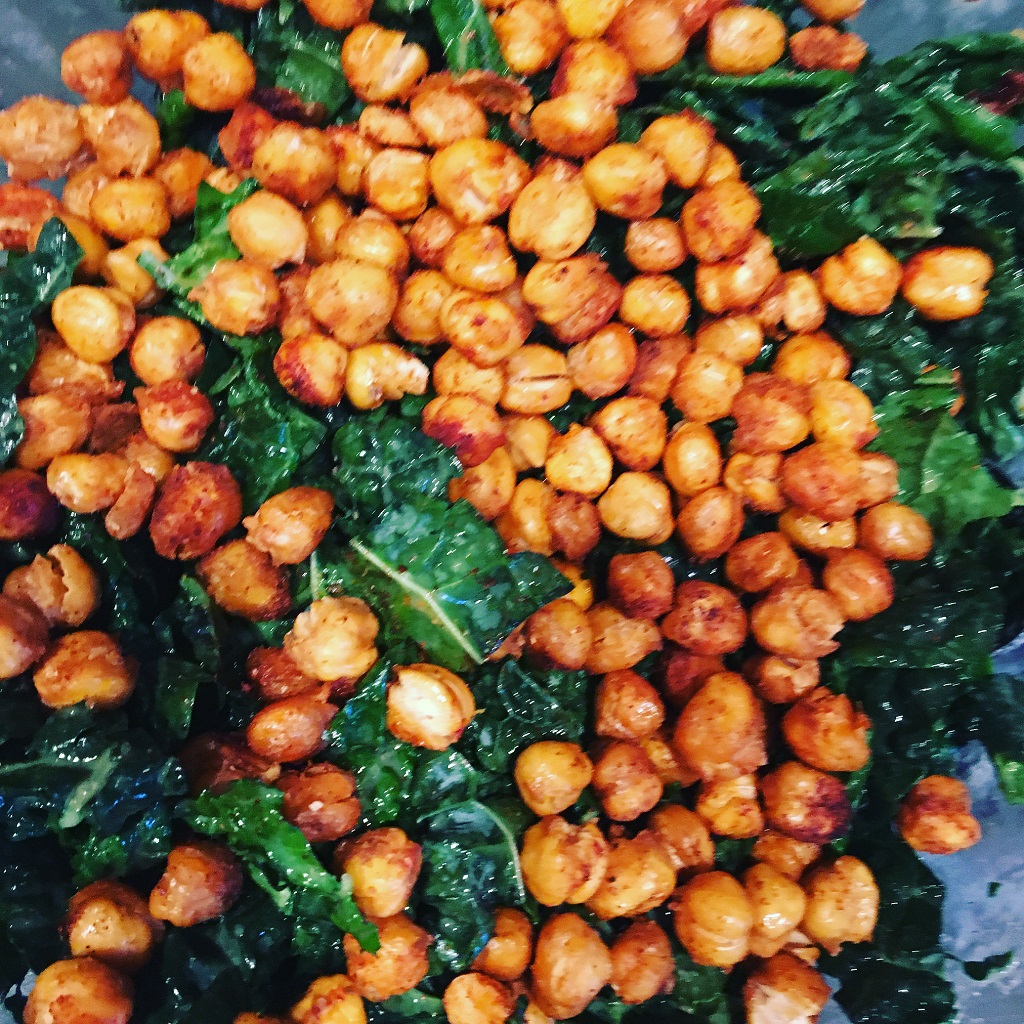
Kale salad with crispy chickpeas and tahini dressing

Roasted Crispy Chickpeas

Crispy, spiced chickpeas are healthy and a delicious snack or topping for salad or anytime you want some crunch and texture.
Print Pin
Course: Appetizer, Snack
Cuisine: American
Keyword: GF, gluten free, vegan, vegetarian
Prep Time: 7 minutes
Cook Time: 40 minutes
Servings: 4
Calories: 75kcal
Cost: $1.50

Equipment

  • Sheet pan
  • Standard oven

Ingredients

  • 1 can of chick peas
  • 1 tablespoon of avocado or another oil that can cook at high temperature
  • 1 teaspoon of cumin
  • Salt and pepper to taste

Instructions

  • Preheat oven to 400 degrees
  • Drain chickpeas
  • Pat with paper towels and let dry. It is important that the chickpeas dry before cooking or else you will steam them when you go to roast them.
  • Toss chickpeas with the oil and cumin powder.
  • Lay evenly on a baking sheet. I like to line my baking sheet with foil to avoid mess.
    Crispy roasted chick peas
  • Put pan in middle of preheated oven and cook for thirty to forty minutes. Shake to turn halfway through cooking.
  • Let cool and chickpeas will continue to crisp.

Notes

Serve over salad or as a snack.  Chick peas are best eaten day of preparation.  If refrigerated they may soften.  You can also vary the spices.  Curry powder or smoked paprika are also delicious spices to try.

Nutrition

Calories: 75kcal

HomeMade Salted Caramel Sauce (No Thermometer Required)

So I have been baking since I was ten years old. I sort of enter a transcendental state when mixing up butter, sugar, flour and creating something delicious and decadent to eat. I love to bake cakes, cookies, bars, muffins…you name it. But candy (which may not really be considered baking?) has always been off the list. It seems intimidating and too complicated with the requisite thermometers and equipment. Then I figured out how to make homemade Salted Caramel sauce (Without a Candy Thermometer). As they say, necessity breeds invention so let’s take a moment to visit Brittany, France a beautiful seaside region known for its sel (salt!).

Salted Caramel Paradise in Brittany

We visited Brittany in France last summer. I promise to share our fantastic trip at some point. We stayed in a seaside village called Concarneau. In addition to eating plenty of fresh seafood and shellfish we discovered French salted caramel (By the way, Brittany or Bretagne is known as a shellfish capital with the most incredible oysters!).


The American craze for salted caramel sauce is apparently pre-dated by several centuries in France. Salted caramel can be found in many Breton shops and is absolutely delicious thanks to something called Guérande sea salt which is an essential ingredient along with the famous Breton beurre (butter!) which is another main ingredient to caramel.

Of course the Sunday’s Bread family brought home a case of the Breton salted caramel drug…oops I meant sauce but sadly it was all gone far too soon. My thoughts turned to how can I make this delectable treat? ? And, what about my aversion to candy thermometers? Is it even possible

Yes it is. This recipe for salted caramel sauce is so delicious, and it does NOT need a thermometer. I adapted the recipe for caramels from the Fannie Farmer cookbook (which my mom gave me when I was about 18).

Not saying I will not try candy recipes requiring a thermometer at some point but as a first step, this is perfect – and it comes out so delicious every time. Oh, and it takes about 15 minutes to make – and you may just want a spoon handy! And if there is any left over, homemade salted caramel sauce is a lovely gift!

Breton Salted Caramel Sauce No Candy Thermometer Needed

Mimi’s HomeMade Salted Caramel Sauce

Print Pin

Ingredients

  • 1 cup granulated sugar
  • 6 Tablespoons salted butter cut into six tablespoon pieces Room temperature
  • 1/2 cup heavy cream You could use light cream (but not milk)
  • 1 teaspoon of sea salt or to taste

Instructions

  • Melt the sugar in a heavy bottomed saucepan stirring constantly and watching carefully to make sure it does not burn. Sugar will turn into an amber colored substance at this point.
  • Once sugar is completely melted, immediately add the butter. Be careful in this step because the caramel will bubble rapidly when the butter is added.
  • Stir the butter into the caramel until it is completely melted, about 2 minutes. If you notice the butter separating or if the sugar clumped up, remove from heat and stir quickly to combine it again. I wear gloves and use a splatter screen at this step. Keep whisking until it comes back together, even if it takes 3-4 minutes. It will eventually– just keep whisking. Return to heat when it’s combined again.)
  • Very slowly drizzle in 1/2 cup of heavy cream while stirring. Since the heavy cream is colder than the caramel, the mixture will rapidly bubble when added. Allow the mixture to boil for 1 minute. It will rise in the pan as it boils. Watch that it does not boil over.
  • Remove from heat and stir in 1 teaspoon of salt. Allow to slightly cool down before using. Caramel thickens as it cools.
  • Cover tightly and store for up to 1 month in the refrigerator. Caramel will thicken in the refrigerator. You can reheat in the microwave or on the stove to desired consistency.

Notes

This recipe can be made ahead and stored in the refrigerator for a few days.  You can also freeze it for 3 months in an airtight container.  
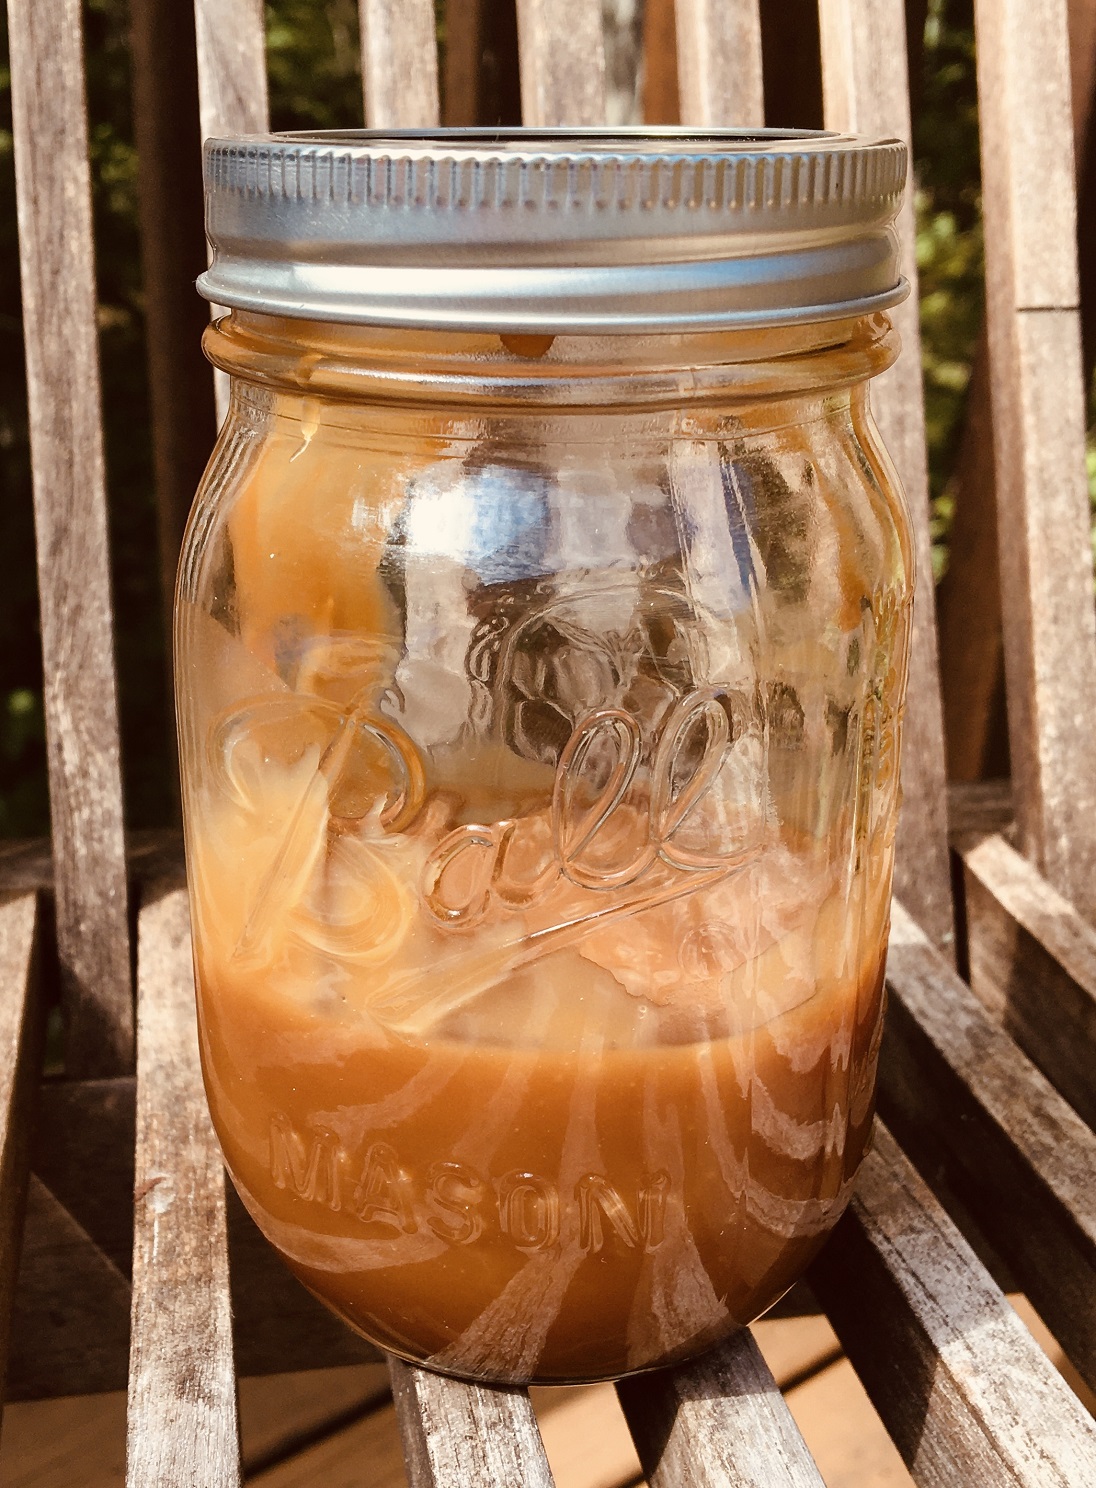
I love storing my caramel in a Mason Jar (see photo).  As it makes a lovely gift, I have been known to make my own labels too.