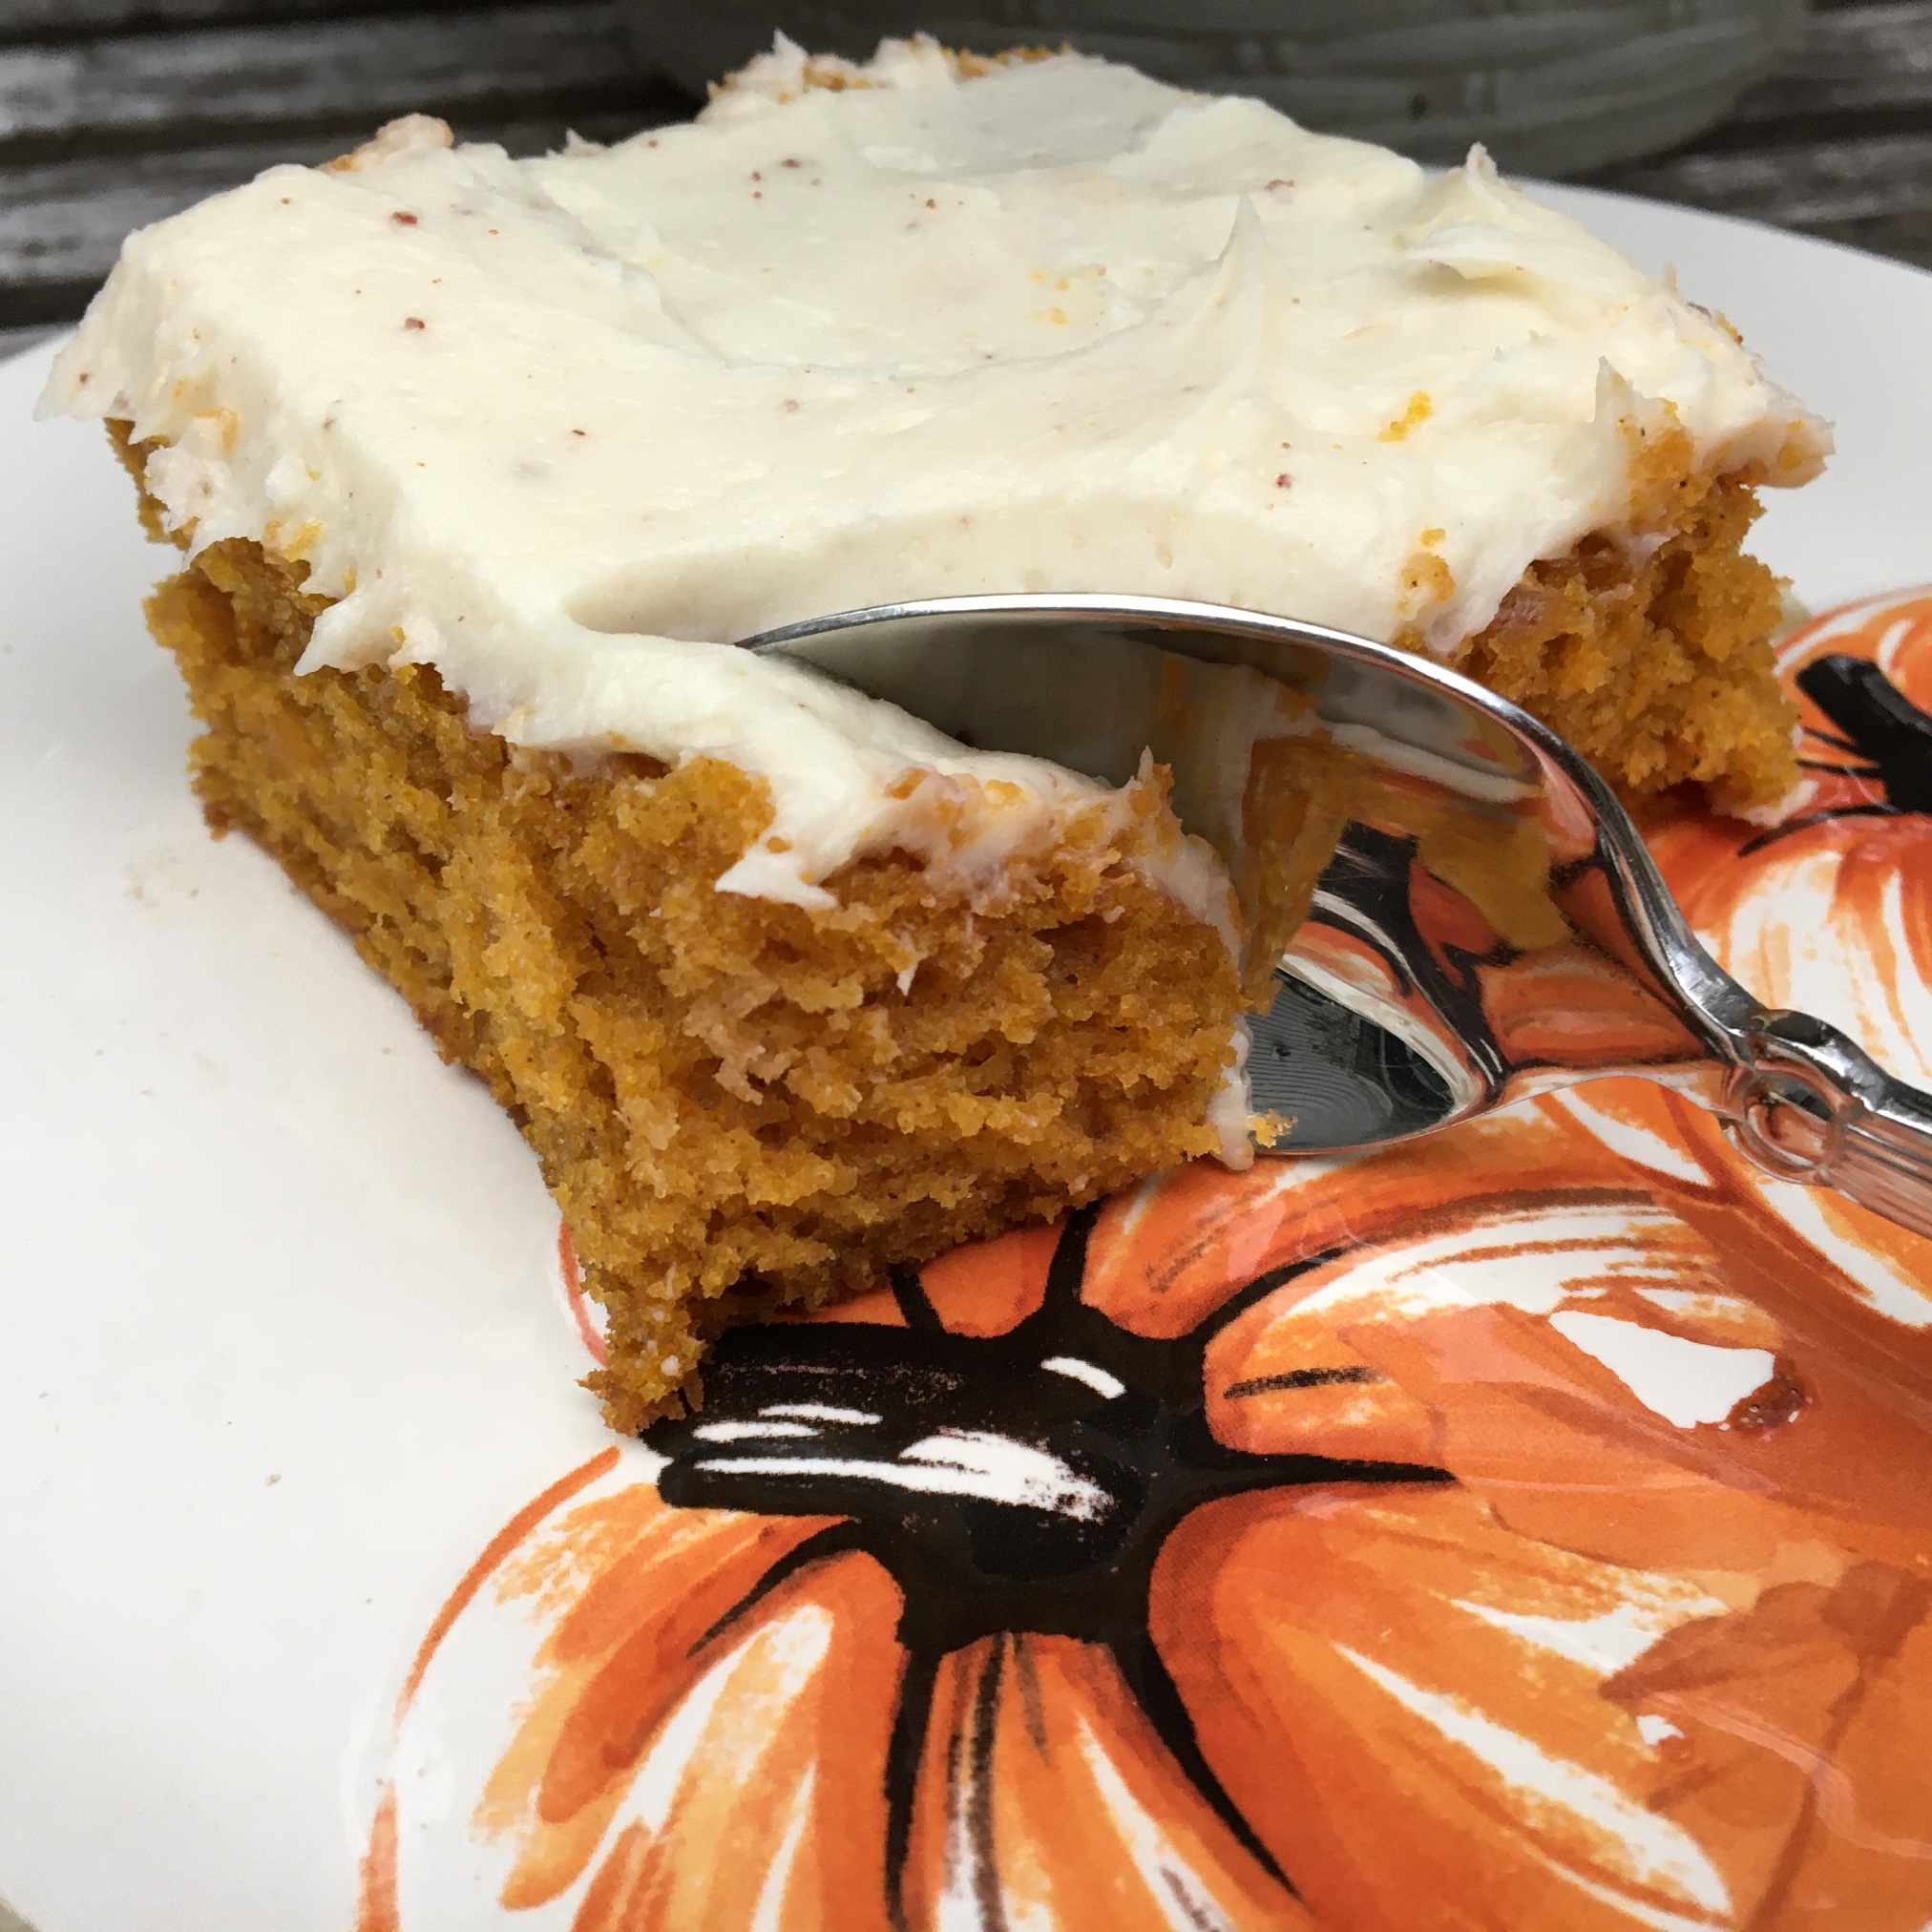
One Bowl Pumpkin Bars with Cream Cheese Frosting

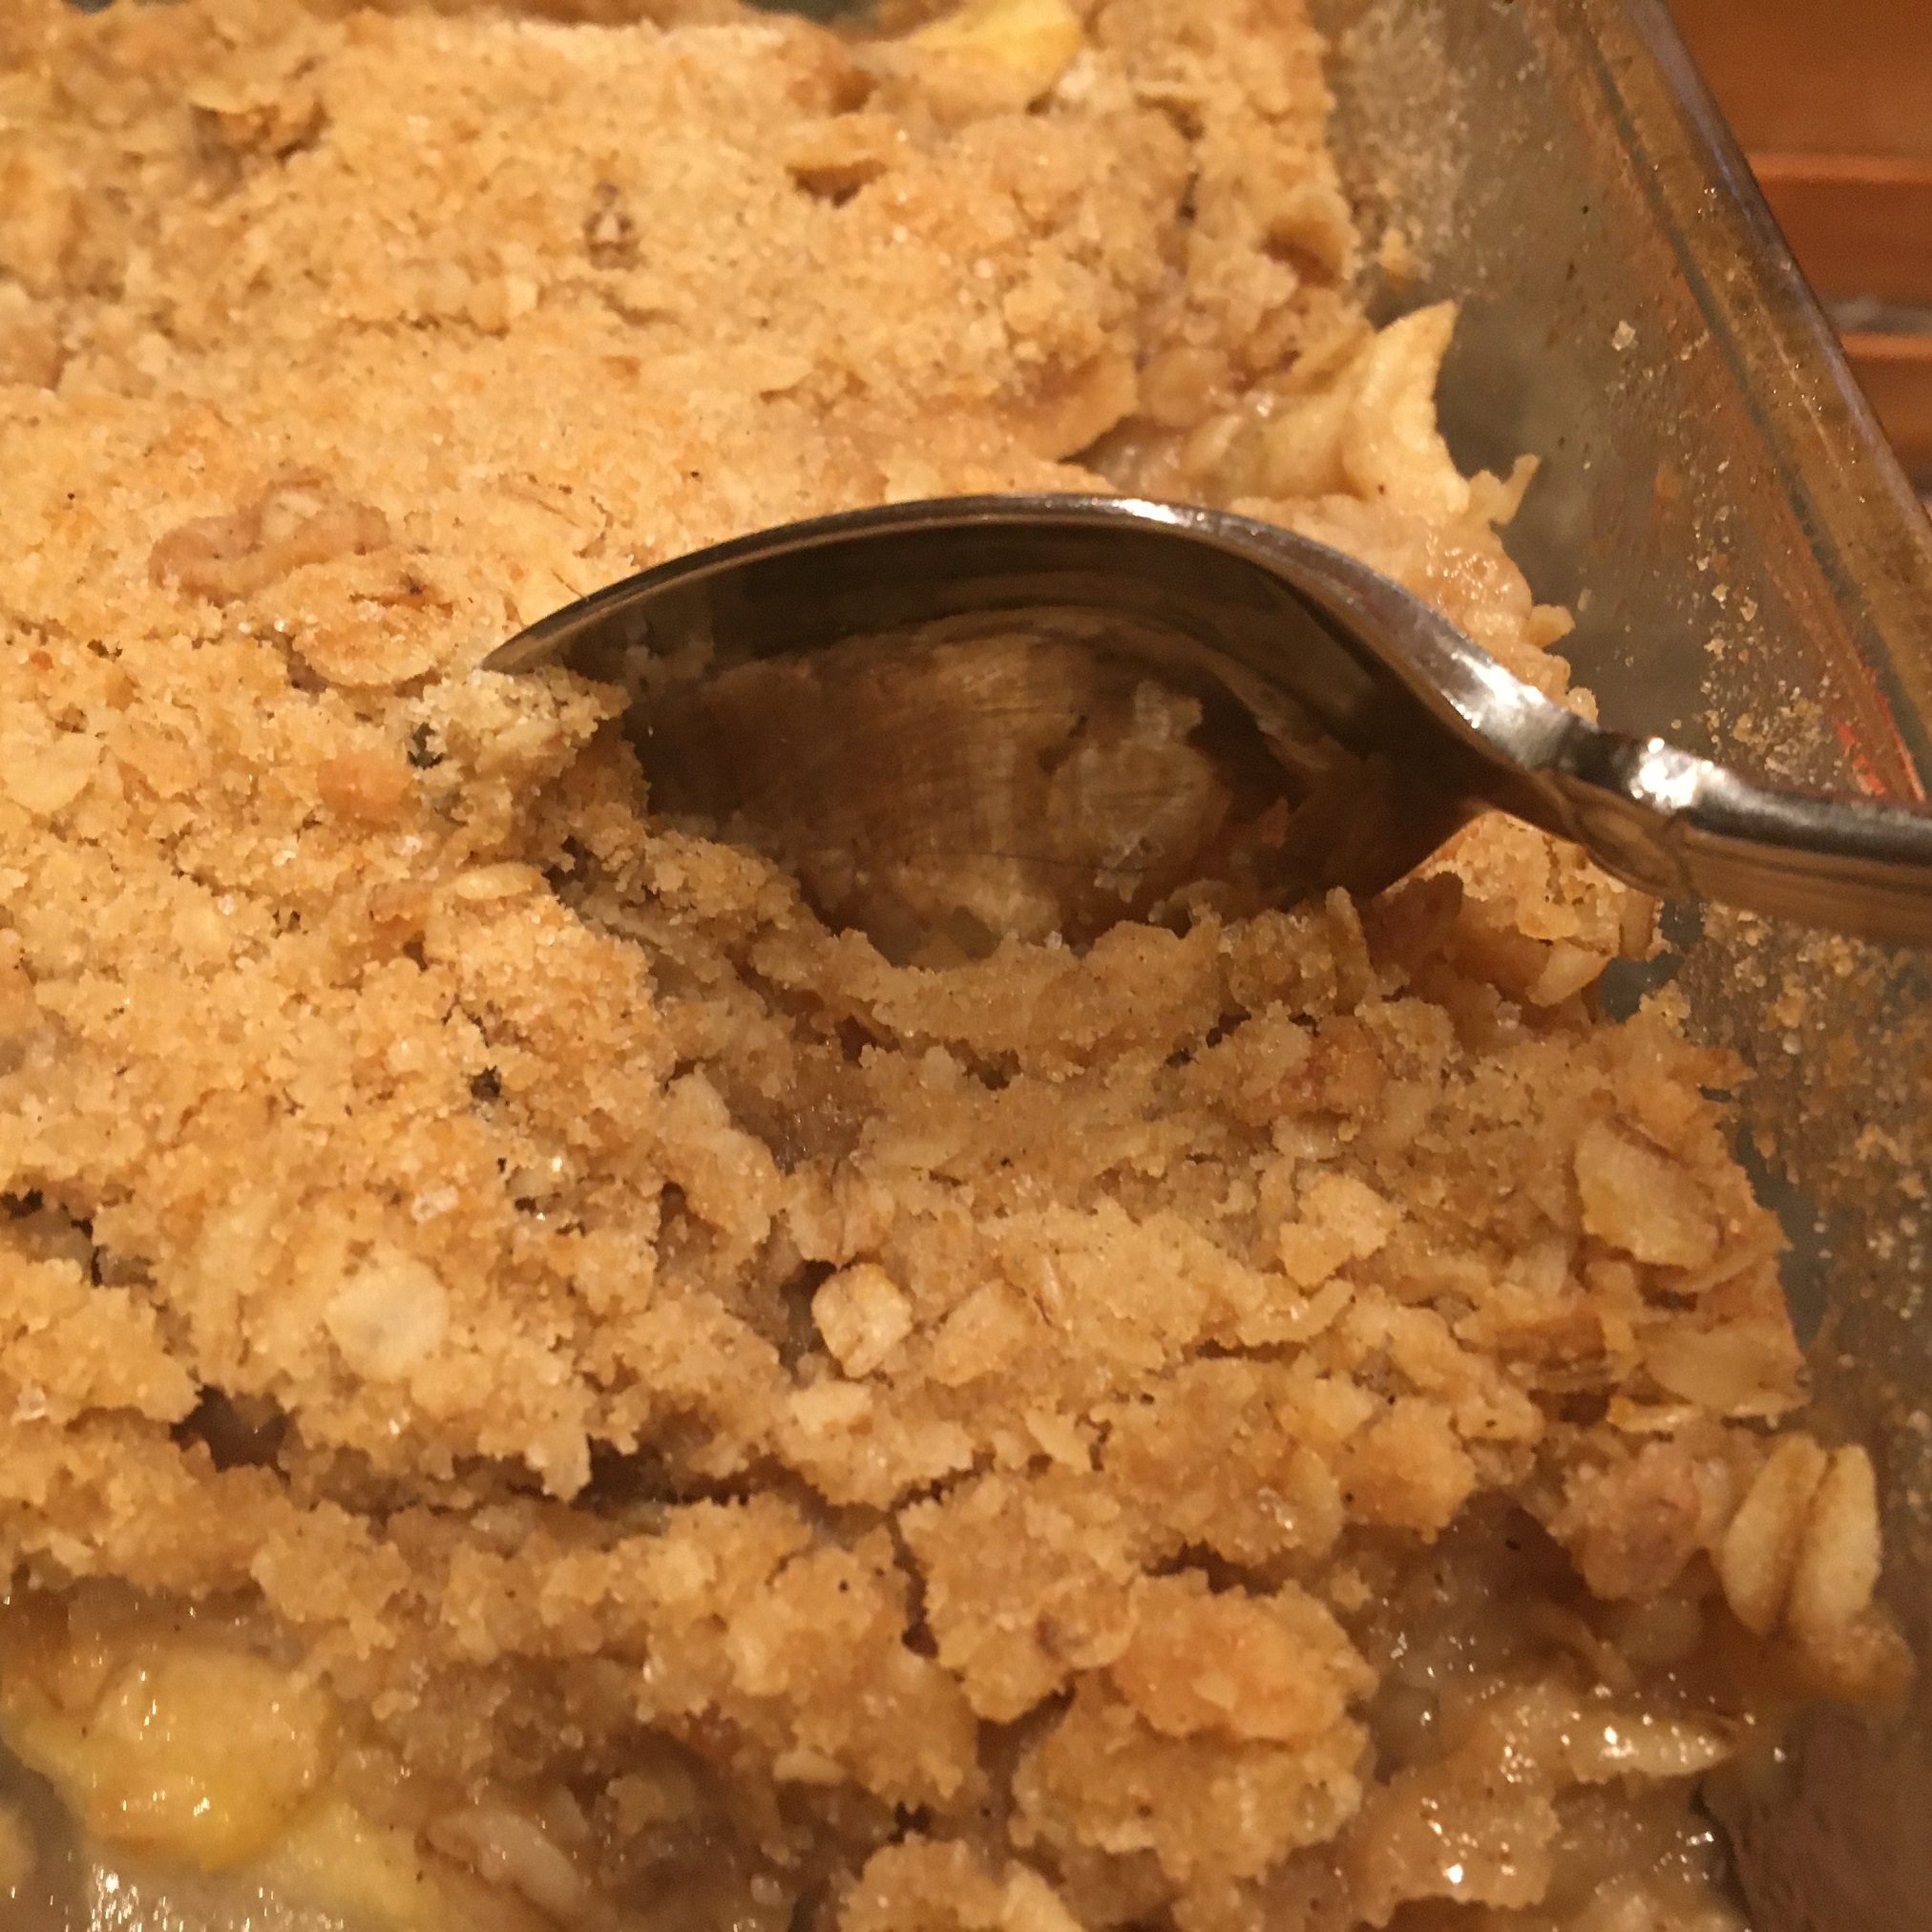
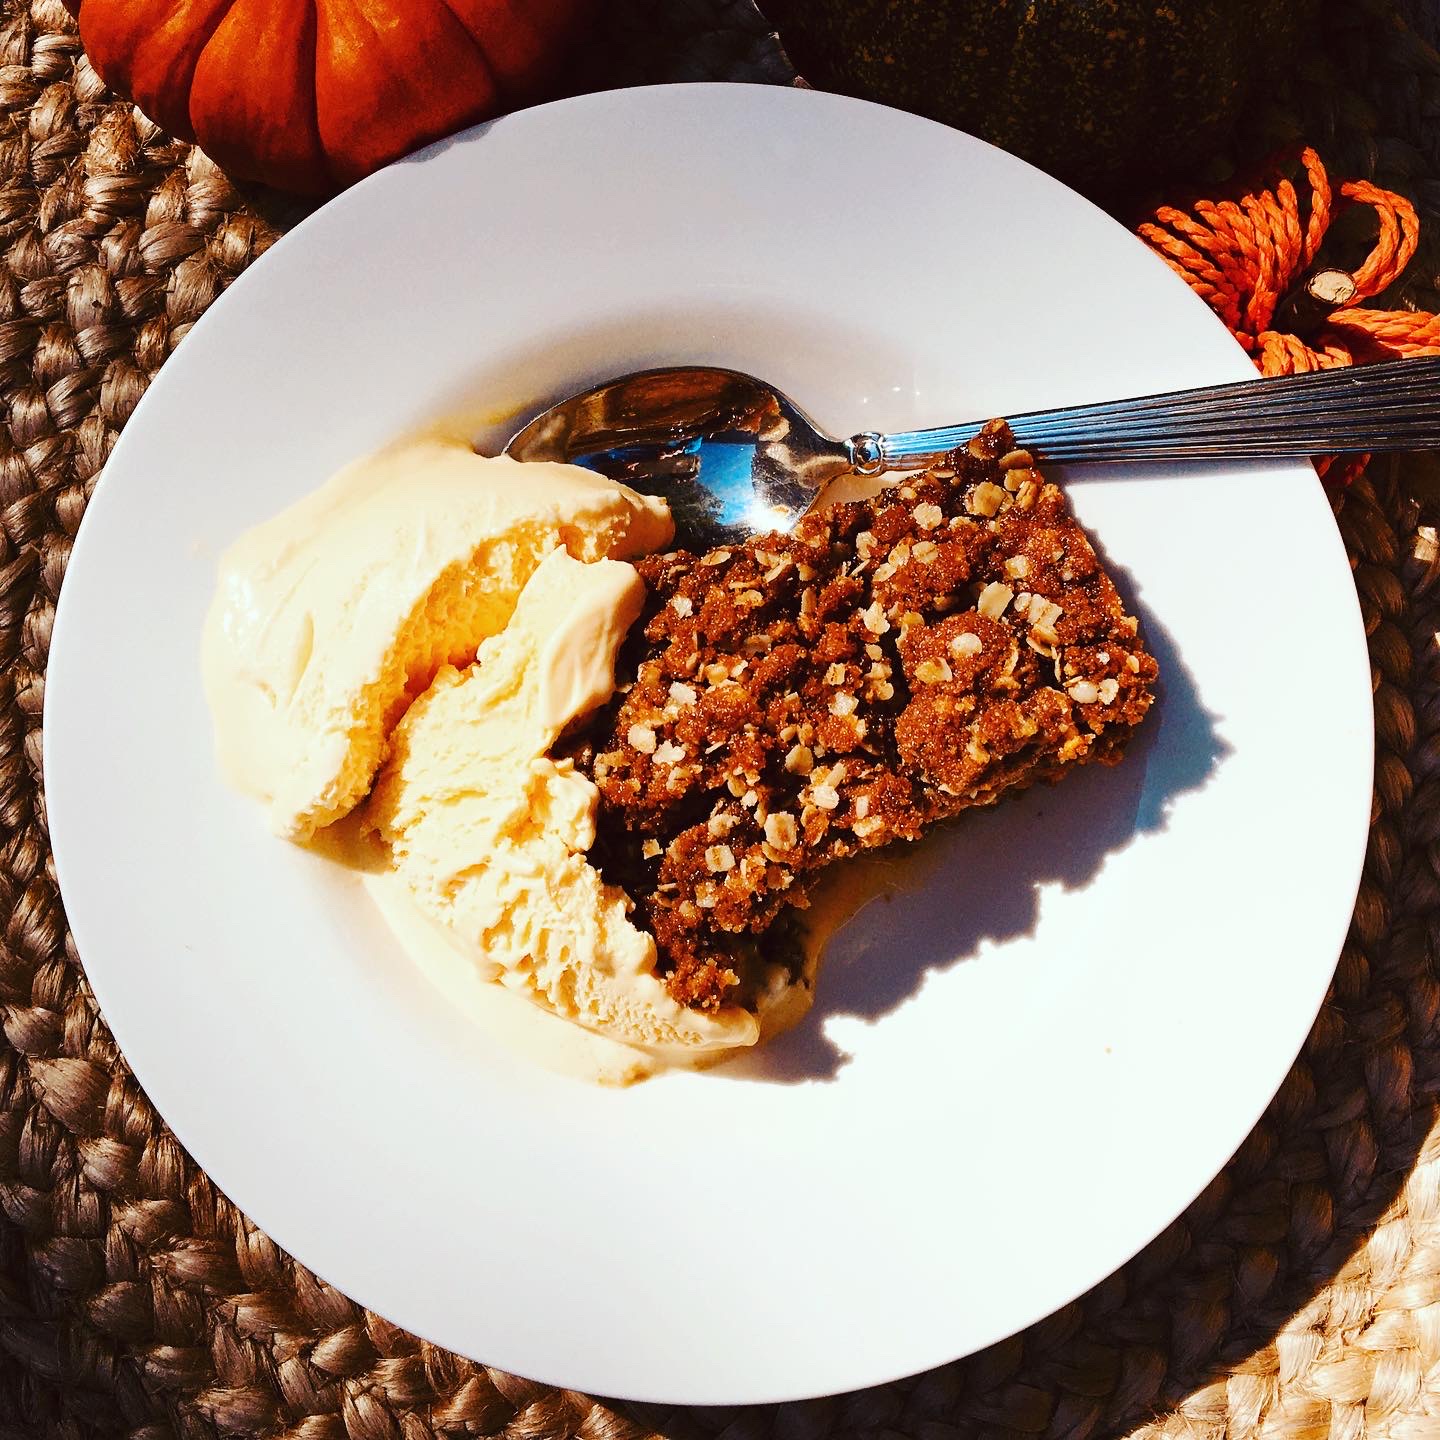
Hi friends.  I hope your week is going well.  I have been cooking and baking and can’t wait to share some recipes with you.  Today, I will be sharing one bowl pumpkin bars with cream cheese frosting.  I really do not like pumpkin pie but I love pumpkin desserts such as pumpkin crisp and pumpkin bars.  These bars have a brown butter cream cheese frosting which is simply divine and very easy to make.

Pumpkin is good for you!

Pumpkin is very nutritious with tons of beta carotene which helps your body convert vitamin A and help your vision and brain function.  Pumpkins were discovered 7,500 years ago in Central and South America.  Today of course we use pumpkin for pies, desserts, soups and more.  

Pumpkins were discovered 7,500 years ago in South and Central America

A note about brown butter

Browning the butter adds a complexity to the flavors of this frosting and is very simple to do.  Melt the butter in a small saucepan.  I recommend using a light colored bottom so you can monitor the browning.  You do not want it to burn (and that is easy to do).  You will need to watch the butter carefully and stir occasionally.  I like to leave the brown bits as it adds flecks to the frosting (and tastes delicious).  You could strain it if you do not like that effect.

What do you need to make one bowl pumpkin bars with cream cheese frosting?

  • I used a 10x15x1 silpat jelly roll pan and mat.
  • Spices.   I use a pumpkin spice blend by McCormick.  You can find this or other brands easily at the supermarket

My girls loved the pumpkin bars and have even been eating them for breakfast for a change and a treat.  I am also planning on bringing them to a friends’ fall fest party.  

Pumpkin bars with cream cheese frosting

One Bowl Pumpkin Bars with Brown Butter Cream Cheese Frosting

Simply delicious, one bowl pumpkin bars with brown butter cream cheese frosting are delectable!  Tender pumpkin bars full of pumpkin spice flavor topped with a generous amount of browned butter cream cheese frosting.  Perfect for dessert, a treat or even breakfast.
Print Pin
Course: Breakfast, Dessert
Cuisine: American
Prep Time: 20 minutes
Cook Time: 35 minutes
Servings: 20
Cost: $4

Equipment

  • Jelly roll pan or high edged cookie sheet
  • Electric mixer

Ingredients

  • 2 cups all purpose flour
  • 1 cup sugar preferably organic cane
  • 1/2 cup brown sugar
  • 1 tbsp pumpkin pie spice
  • 1/2 tsp salt
  • 1 tsp baking soda
  • 2 tsp baking powder
  • 4 eggs room temperature, lightly beaten
  • 1 cup vegetable oil I used avocado oil
  • 15 oz can pumpkin puree. NOT pumpkin pie filling
  • Brown Butter Cream Cheese Frosting
  • 1/2 cup butter
  • 8 oz cream cheese softened
  • 2 tsp vanilla extract
  • 5 to 6 cups powdered sugar
  • 1 teaspoon or so of pumpkin pie spice to dust on top

Instructions

  • Instructions
  • Preheat oven to 350F. Spray a jelly roll pan or cookie sheet with high edges with nonstick cooking spray and line with parchment paper. Set aside.
  • In a large bowl, whisk together flour, sugar, brown sugar, pumpkin pie spice, salt, baking soda, and baking powder.
  • Stir in eggs, vegetable oil, and pumpkin puree until combined.
  • Pour batter into prepared pan. Smooth out batter so it is even in pan.
  • Bake for 25 to 30 minutes or until an inserted toothpick comes out clean. Cool completely on a wire rack before frosting.
  • Frost with brown butter cream cheese frosting.
  • Refrigerate unless serving immediately.
  • Brown Butter Cream Cheese Frosting
  • Heat butter in a small saucepan with a light bottom over low heat until completely melted. Continue heating, stirring occasionally, until light golden brown in color. Remove from heat and let cool.
  • Combine cooled brown butter and cream cheese in a medium bowl. Beat on medium speed until light and fluffy.

5 Ways To Make Frozen Pizza Taste Like Take Out (at a Fraction of the Cost)

Transforming a cardboard-like frozen pizza into a delicious meal is entirely doable, super easy and economical. In fact, you can easily make your frozen pizza taste like takeout with a few simple steps.

We have all been there…dinner needs to be on the table and we have nothing prepared…

It is also one of those recipes for what I call “on your last nerve” meal ideas. “On your last nerve” recipes do not really qualify as “recipes” but may just save your “last nerve” mid week (or anytime). When I meal plan on Saturdays and Wednesdays (usually) I always factor in a few items that can be stored in the freezer and easily made for mid week. I find these options are particularly handy after a long work day or driving around to extra curriculars.

What is a On Your Last Nerve Recipe?

Sometimes these are items I cook myself and have frozen for a quick reheat in the microwave or instant pot. Occasionally they are freezer favorites from Trader Joes or Costco, and often they may have a base of store prepared food with a few items to doctor it up for something way better than what could be served directly from the freezer. I always keep a few items in my freezer such as Costco’s frozen cheese pizza (4 for $9 in my area) and recommend that you do too.

How to Make a Frozen Pizza Taste Like Something You Want to Eat?

Normally I am not a fan of frozen pizza. The cheese never freezes well (as is usually the case with dairy items), and the crust is like cardboard. Additionally, in my book, there is never enough cheese or any of the toppings that make pizza so delicious. So here are my go-to tips:

  1. Shop your fridge and pantry: Either fresh or leftover vegetables make excellent toppings. Leftover cooked mushrooms, peppers, onions and eggplant are delicious as a topping. In the summer I always have a basil plant too that I will top the pizza with fresh shards of that summery goodness.
  2. Keep ingredients on hand. I also always have onions and garlic. A quick sauté with some Italian seasoning or oregano can really up the flavor. Canned, sliced olives are delicious too. Costco Pesto, and pretty much any brand of pasta sauce are good bases. And, I always have flatbread (Aldi and Trader Joes have good options) as well as the Costco cheese pizza with a breadcrumb crust. Spices are key too. Nothing fancy – just some dried oregano and basil and maybe a bit of garlic salt if you like.
  3. Cheese! If you buy a frozen pizza the cheese is awful. Cardboard shreds. I usually don’t bother to scrape it off but always add either fresh mozzarella or if I don’t have that at least some of the sliced variety.
  4. Freezer toppings. Sliced, uncured pepperoni and salami are always in the freezer. I take them out a few minutes beforehand (or take a few slices and defrost in the microwave). Other toppings might include frozen pre-cooked rotisserie chicken or if we are doing a Meatless Monday we leave out the meat.
  5. Finish with a yummy glaze. Balsamic glaze adds just the right touch of tartness to the melted cheese. I have also known to drizzle a little truffle (fancy!) oil or garlic infused oil too. This pizza is so economical no matter how you finish it that I say go ahead…be fancy!

A Few Last Recommendations to Make Frozen Pizza Taste Like Takeout

We all have those nights when we are on our last nerve. For those moments, I always keep frozen pizza and some add ons to make frozen pizza taste like takeout. Make a quick salad of pre-washed lettuce and some favorite veggies and you are done…very little clean up too!

Fall Weekend Wrap Up + Apple Crisp

The weather was gorgeous this past weekend, and we did a second round of apple picking at our favorite orchard which made the most delicious apple crisp (recipe below!).

Friday I realized that I had dozens of eggs in the fridge (don’t ask) and decided to make a quiche. Then I realized I did not have prepared crust so did a quick recipe search and found this simple recipe for pie crust. Could not have been easier, was delicious and I used real ingredients like organic flour and butter so am guessing was much healthier too and without the preservatives in refrigerator crust! French guy was impressed although we both agree we need to find a low-cost source of gruyere cheese which is one reason why quiche in France is so delcious (I used sharp cheddar as that is what I had on hand).

We also had our last day at the shore which was bittersweet. Even during the pandemic, it was so great to escape to sail, kayak and hit the beach and socialize safely outside. It has been a silver lining to discover the beatuiful, CT shore and go back to my roots of sailing (and now teaching the girls to sail).

While hiking will be great during the fall, I told Mr. SB that we need a winter escape (am asking for cross country skis for Christmas). Downhill skiing may be challenging as the pandemic continues.

Sunday afternoon I tackled cleaning the basement. I actually organized the spot two years ago, and while it looked terrible in recent days, it only took me about an hour to remove unwanted items and put others away in the labeled spaces I had created years ago. I used my 5 step organization method for a particularly messy part. So nice to go in and not have stuff everywhere! I also realized that end of season or any major event should be an alert. That is the time to empty beach bags, wash towels etc. (anyone ever clean out a kid’s backpack and find 3 month old hummus?…surely not me:).

Now what about that apple crisp?

Apples from apple picking

So all in all a good weekend. The apple crisp was a perfect way to end Sunday dinner. I used a mix of Jonah Gold, Granny Smith, Cortland and Mutsu apples. Typical recipes use far more sugar – while this recipe is plenty sweet I like to taste the apples. The top is a delicious mix of oats, brown sugar, cinnamon and butter. If you love crisps as much as I do, be sure to check out last week’s pumpkin crisp recipe which is also easy, perfect for fall and delicious. Super easy…enjoy!

Apple Crisp

Best Homemade Apple Crisp

Sunday’s bread recipe for warm, homemade apple crisp.  Nothing says home like apple crisp.  Top with some vanilla ice cream or whipped cream for the perfect, sweet comfort food.
Print Pin
Course: Dessert
Cuisine: American
Keyword: Apple, Dessert, Fall, Fruit dessert
Prep Time: 35 minutes
Cook Time: 40 minutes
Servings: 8 servings
Cost: $3

Equipment

  • 8 by 8 pan
  • Peeler
  • Sharp knife

Ingredients

  • 4 cups apples sliced thinly. I leave a little skin on for texture.
  • 1 tablespoon flour
  • 1/2 cup sugar I use Costco organic
  • 3/4 cup brown sugar
  • 1/3 cup butter cold and cut into smaller tablespoon sized slices
  • 3/4 cup flour
  • 1/2 cup oats
  • 1/4 tsp baking soda
  • 1/2 teaspoon salt
  • 1 teaspoon of cinnamon

Instructions

  • Preheat oven to 350 degrees
  • Combine the first three ingredients and place in a greased 8×8 baking dish.
    Sliced apples
  • Combine the remaining ingredients. I use kitchen gloves to work the butter into the dry ingredients. Mixture should look crumbly. Spread over the top of the apple mixture.
  • Bake for 30 minutes. Apples should be juicy and bubbling but hold their shape. Test with a fork or knife to determine that the apples are tender. Bake for another 5 to 10 minutes if necessary.
    Apple crisp from the oven

Fall Weekend Wrap Up + Pumpkin Crisp

We had beautiful, crisp weather in the New York area this weekend. The weekend was full of cooking autumn dinners and dessert (pumpkin crisp recipe to follow!). I also tackled organizing the bathroom top to bottom so will be sharing that as well. Of course I used my foolproof steps to do so. But let’s talk food.

What did I cook this weekend?

Fridays as always are evenings where my Mr. SB comes in late. Last week was a stressful one (hence my lack of blog posts) so cooking something yummy on Friday was a great stress reliever. I admit – I love pumpkin both in savory and sweet dishes (with the exception of pumpkin pie…not sure why I do not like pumpkin pie!). So I went in search of a savory, pumpkin-based sauce and found a great recipe from Rachel Rae. Rachel is famous for her 30-minute meals and this recipe for pasta with pumpkin sage sauce and sweet Italian sausage was delicious. It also refrigerated well so we had leftovers last night:)

Saturday morning meant looking in the fridge/freezer at leftovers and figuring out what kind of home made soup to make. It turns out the easiest pot roast recipe in the world also makes a fantastic Beef and Barley soup. I promise recipes to come. In the meantime a quick photo.

Beef and barley soup from leftover pot roast.  Delicious and hearty.

Pumpkin Crisp – the perfect fall dessert

So here’s the deal – I love pumpkin bread, pumpkin spice and most pumpkin desserts (except pumpkin pie). A few years back I had pumpkin bars which had this delicious, gingerbread crust and tender filling. It made me think about why not having a pumpkin crisp with those same flavors. Combine all that gingery goodness into a crumbly mixture and layer it on top of the yummy part of pumpkin. It came out delicious. So here is the recipe…enjoy!

Pumpkin Crisp

Pumpkin Crisp

Creamy custard, pumpkin spice goodness topped with a gingerbread crisp. Nothing better on a fall day and a great addition to Thanksgiving too!
Print Pin
Course: Dessert
Cuisine: American
Keyword: Crisp, Dessert, Fall, Pumpkin
Prep Time: 25 minutes
Cook Time: 40 minutes
Servings: 8
Cost: 4

Equipment

  • Deep square or rectangle pan.

Ingredients

  • 1 15 ounce can pumpkin puree
  • 2/3 c sugar
  • 1 5 oz can evaporated milk
  • 3 eggs
  • 1 tsp vanilla extract
  • tsp of nutmeg
  • ¼ tsp of cinnamon
  • 2 tsp pumpkin pie spice or more if you love pumpkin spice!
  • 1/4 tsp salt
  • 1 c Gingersnap cookie flour made by putting Gingersnap cookies in the food processor
  • 1 c quick oats
  • 1/3 c brown sugar
  • 1/4 tsp baking soda
  • 1/4 tsp baking powder
  • 1/2 c butter softened
  • ½ tsp of pumpkin pie spice

Instructions

  • Preheat oven to 350°F.
  • Grease a deep square or rectangular pan or a 2-3 qt casserole dish.
  • In a large bowl, whisk together the first ingredients through salt, and then pour into the prepared dish.
    Pumpkin custard
  • In a medium bowl, combine the ground up gingersnap cookies, oats, brown sugar, pumpkin pie spice, baking soda and powder. Then, use a fork to incorporate the butter into the dry mixture.
  • Bake the custard for 20 minutes. Once you see it start to harden at the edges and set, you can add the crumble topping. If you add the crumble mixture right away it may sink!
  • Bake for another 20 to 25 minutes, or until the center of the pumpkin pie filling reaches 175°F. The center will still have a little wiggle, but it won’t be super runny.
    Pumpkin Crisp from the oven
  • Serve with ice cream and a drizzle of caramel sauce if you so desire.

Notes

Pumpkin crisp is best served warm with some ice cream or whipped cream on the side.