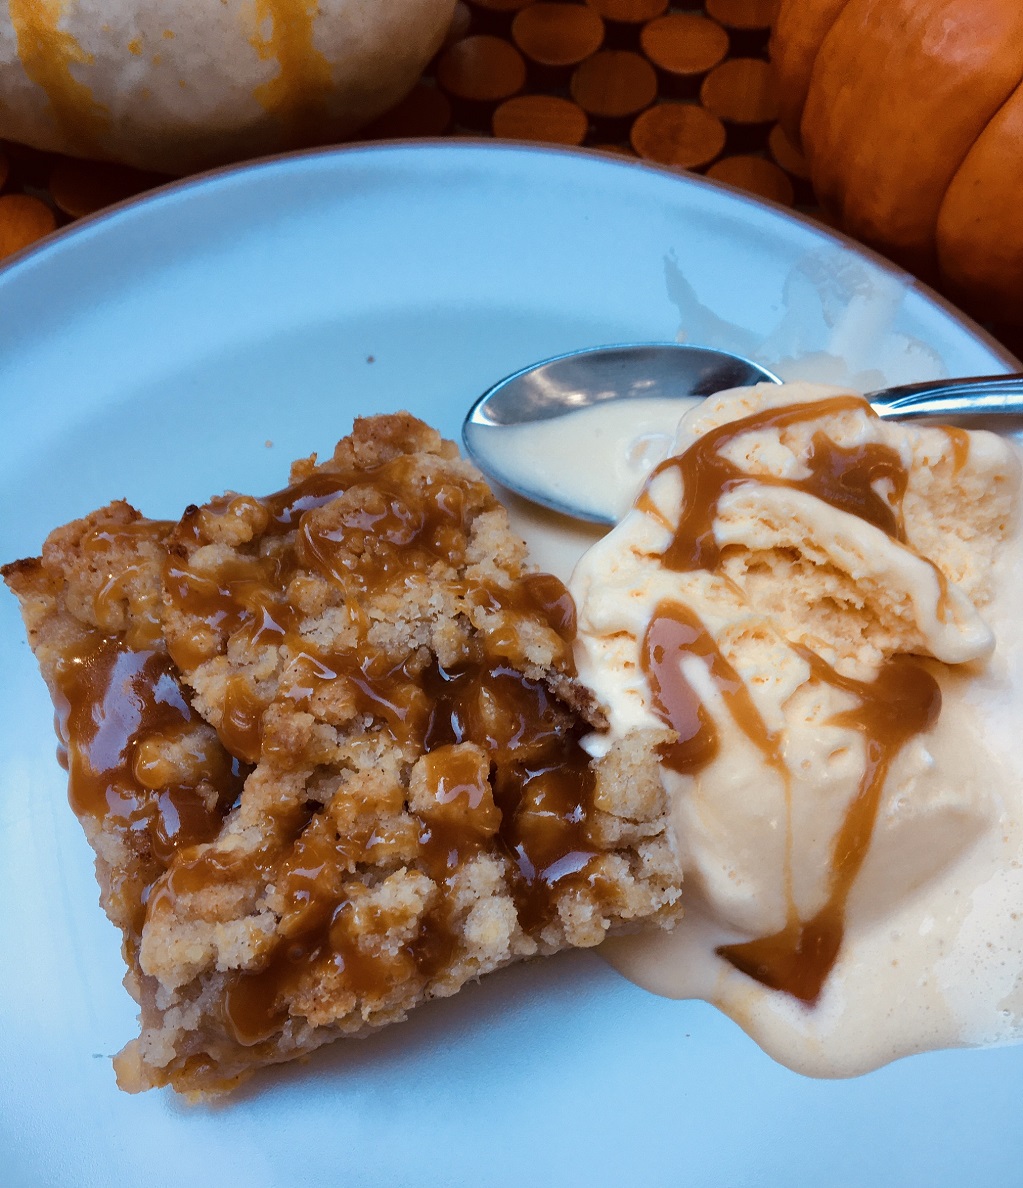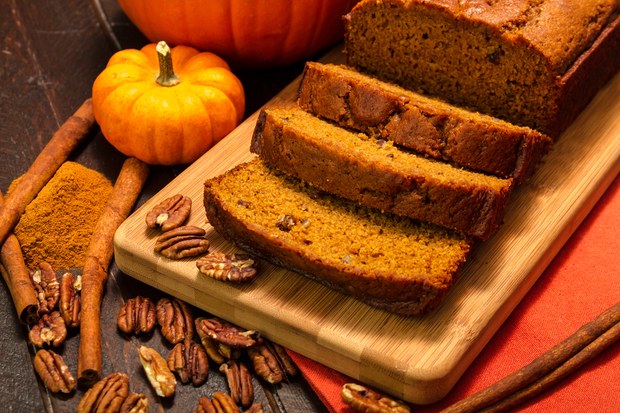
HomeMade Salted Caramel Sauce (No Thermometer Required)
So I have been baking since I was ten years old. I sort of enter a transcendental state when mixing up butter, sugar, flour and creating something delicious and decadent to eat. I love to bake cakes, cookies, bars, muffins…you name it. But candy (which may not really be considered baking?) has always been off the list. It seems intimidating and too complicated with the requisite thermometers and equipment. Then I figured out how to make homemade Salted Caramel sauce (Without a Candy Thermometer). As they say, necessity breeds invention so let’s take a moment to visit Brittany, France a beautiful seaside region known for its sel (salt!).
Salted Caramel Paradise in Brittany
We visited Brittany in France last summer. I promise to share our fantastic trip at some point. We stayed in a seaside village called Concarneau. In addition to eating plenty of fresh seafood and shellfish we discovered French salted caramel (By the way, Brittany or Bretagne is known as a shellfish capital with the most incredible oysters!).
The American craze for salted caramel sauce is apparently pre-dated by several centuries in France. Salted caramel can be found in many Breton shops and is absolutely delicious thanks to something called Guérande sea salt which is an essential ingredient along with the famous Breton beurre (butter!) which is another main ingredient to caramel.
Of course the Sunday’s Bread family brought home a case of the Breton salted caramel drug…oops I meant sauce but sadly it was all gone far too soon. My thoughts turned to how can I make this delectable treat? ? And, what about my aversion to candy thermometers? Is it even possible
Yes it is. This recipe for salted caramel sauce is so delicious, and it does NOT need a thermometer. I adapted the recipe for caramels from the Fannie Farmer cookbook (which my mom gave me when I was about 18).
Not saying I will not try candy recipes requiring a thermometer at some point but as a first step, this is perfect – and it comes out so delicious every time. Oh, and it takes about 15 minutes to make – and you may just want a spoon handy! And if there is any left over, homemade salted caramel sauce is a lovely gift!

Ingredients
- 1 cup granulated sugar
- 6 Tablespoons salted butter cut into six tablespoon pieces Room temperature
- 1/2 cup heavy cream You could use light cream (but not milk)
- 1 teaspoon of sea salt or to taste
Instructions
- Melt the sugar in a heavy bottomed saucepan stirring constantly and watching carefully to make sure it does not burn. Sugar will turn into an amber colored substance at this point.
- Once sugar is completely melted, immediately add the butter. Be careful in this step because the caramel will bubble rapidly when the butter is added.
- Stir the butter into the caramel until it is completely melted, about 2 minutes. If you notice the butter separating or if the sugar clumped up, remove from heat and stir quickly to combine it again. I wear gloves and use a splatter screen at this step. Keep whisking until it comes back together, even if it takes 3-4 minutes. It will eventually– just keep whisking. Return to heat when it’s combined again.)
- Very slowly drizzle in 1/2 cup of heavy cream while stirring. Since the heavy cream is colder than the caramel, the mixture will rapidly bubble when added. Allow the mixture to boil for 1 minute. It will rise in the pan as it boils. Watch that it does not boil over.
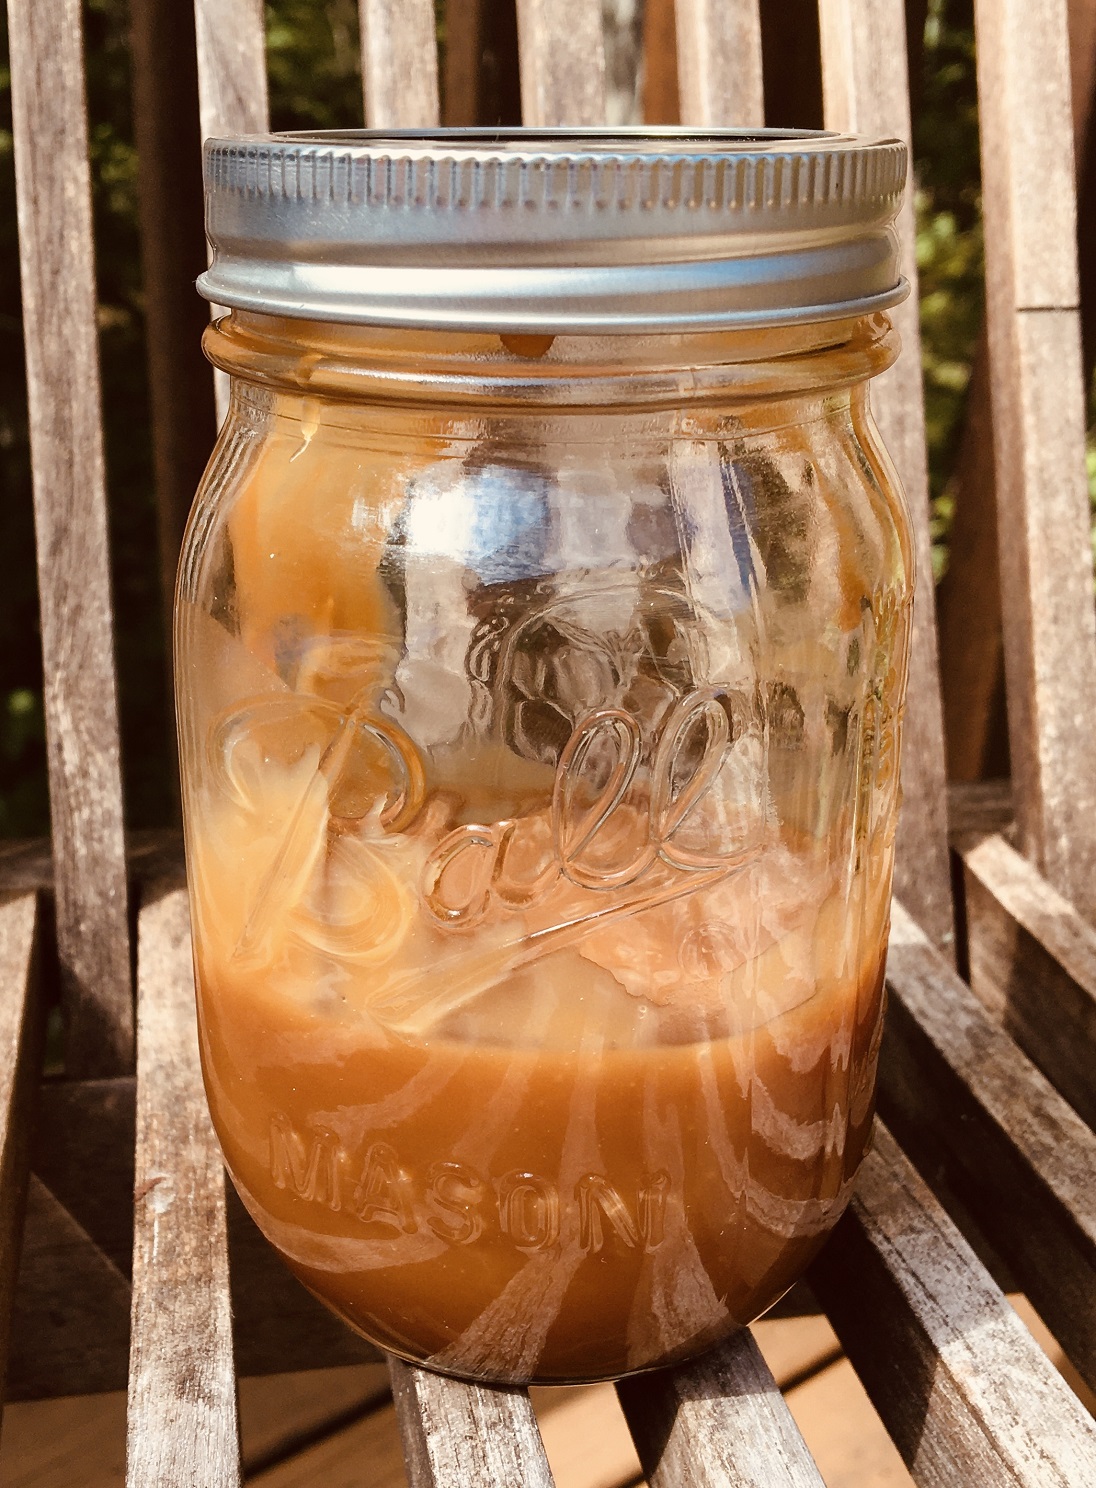
- Remove from heat and stir in 1 teaspoon of salt. Allow to slightly cool down before using. Caramel thickens as it cools.
- Cover tightly and store for up to 1 month in the refrigerator. Caramel will thicken in the refrigerator. You can reheat in the microwave or on the stove to desired consistency.