Holidays 2025 and the Best Green Bean Recipe!
Happy Holidays friends! It has been awhile but today I am excited to share Sunday’s Bread holidays 2025!
Our season began with our usual Friendsgiving which we host and enjoy with my college friend and her children. I made the best stuffing ever which is always a hit. Mr SB put the turkey in our rotisserie. Post holiday I made Alison Roman’s turkey pot pie with puff pastry – it was delicious – the best way to use all that turkey! I love the Friendsgiving tradition as it is of course great to get together with friends but also because it makes me go through our dishes, silver etc. and get organized for the entire season!
After a wonderful family Thanksgiving, we headed to Maple Row Farm to cut down our tree and of course, tailgate. As always Mr. SB’s sliders with caper mayo were a hit as was my buffalo dip. We love this tradition and have been going to Maple Row since 2007! That evening I put the lights on and we decorate over the weekend.
The next weekend came our town’s holiday house tour. My friend unfortunately was ill that day so I ended up going with CG1 for a fun and festive girls day. The theme were historic houses and of course I was inspired by the dehydrated oranges adorning all of the mantels, wreaths etc. I came home and immediately took our dehydrator to make my own:) They took a long time but in the end it was fun to do. and also inspired me to decorate our living room.

The front step was next with urns filled with fresh magnolias, winter berries and greens some of which I picked from the forest around our house! I purchased the urns from Wayfair and was really pleased with the quality. So many are made of cheap plastic and look that way…below are photos of the front door (btw Costco wreath with a home made bow), and decorated lanterns.


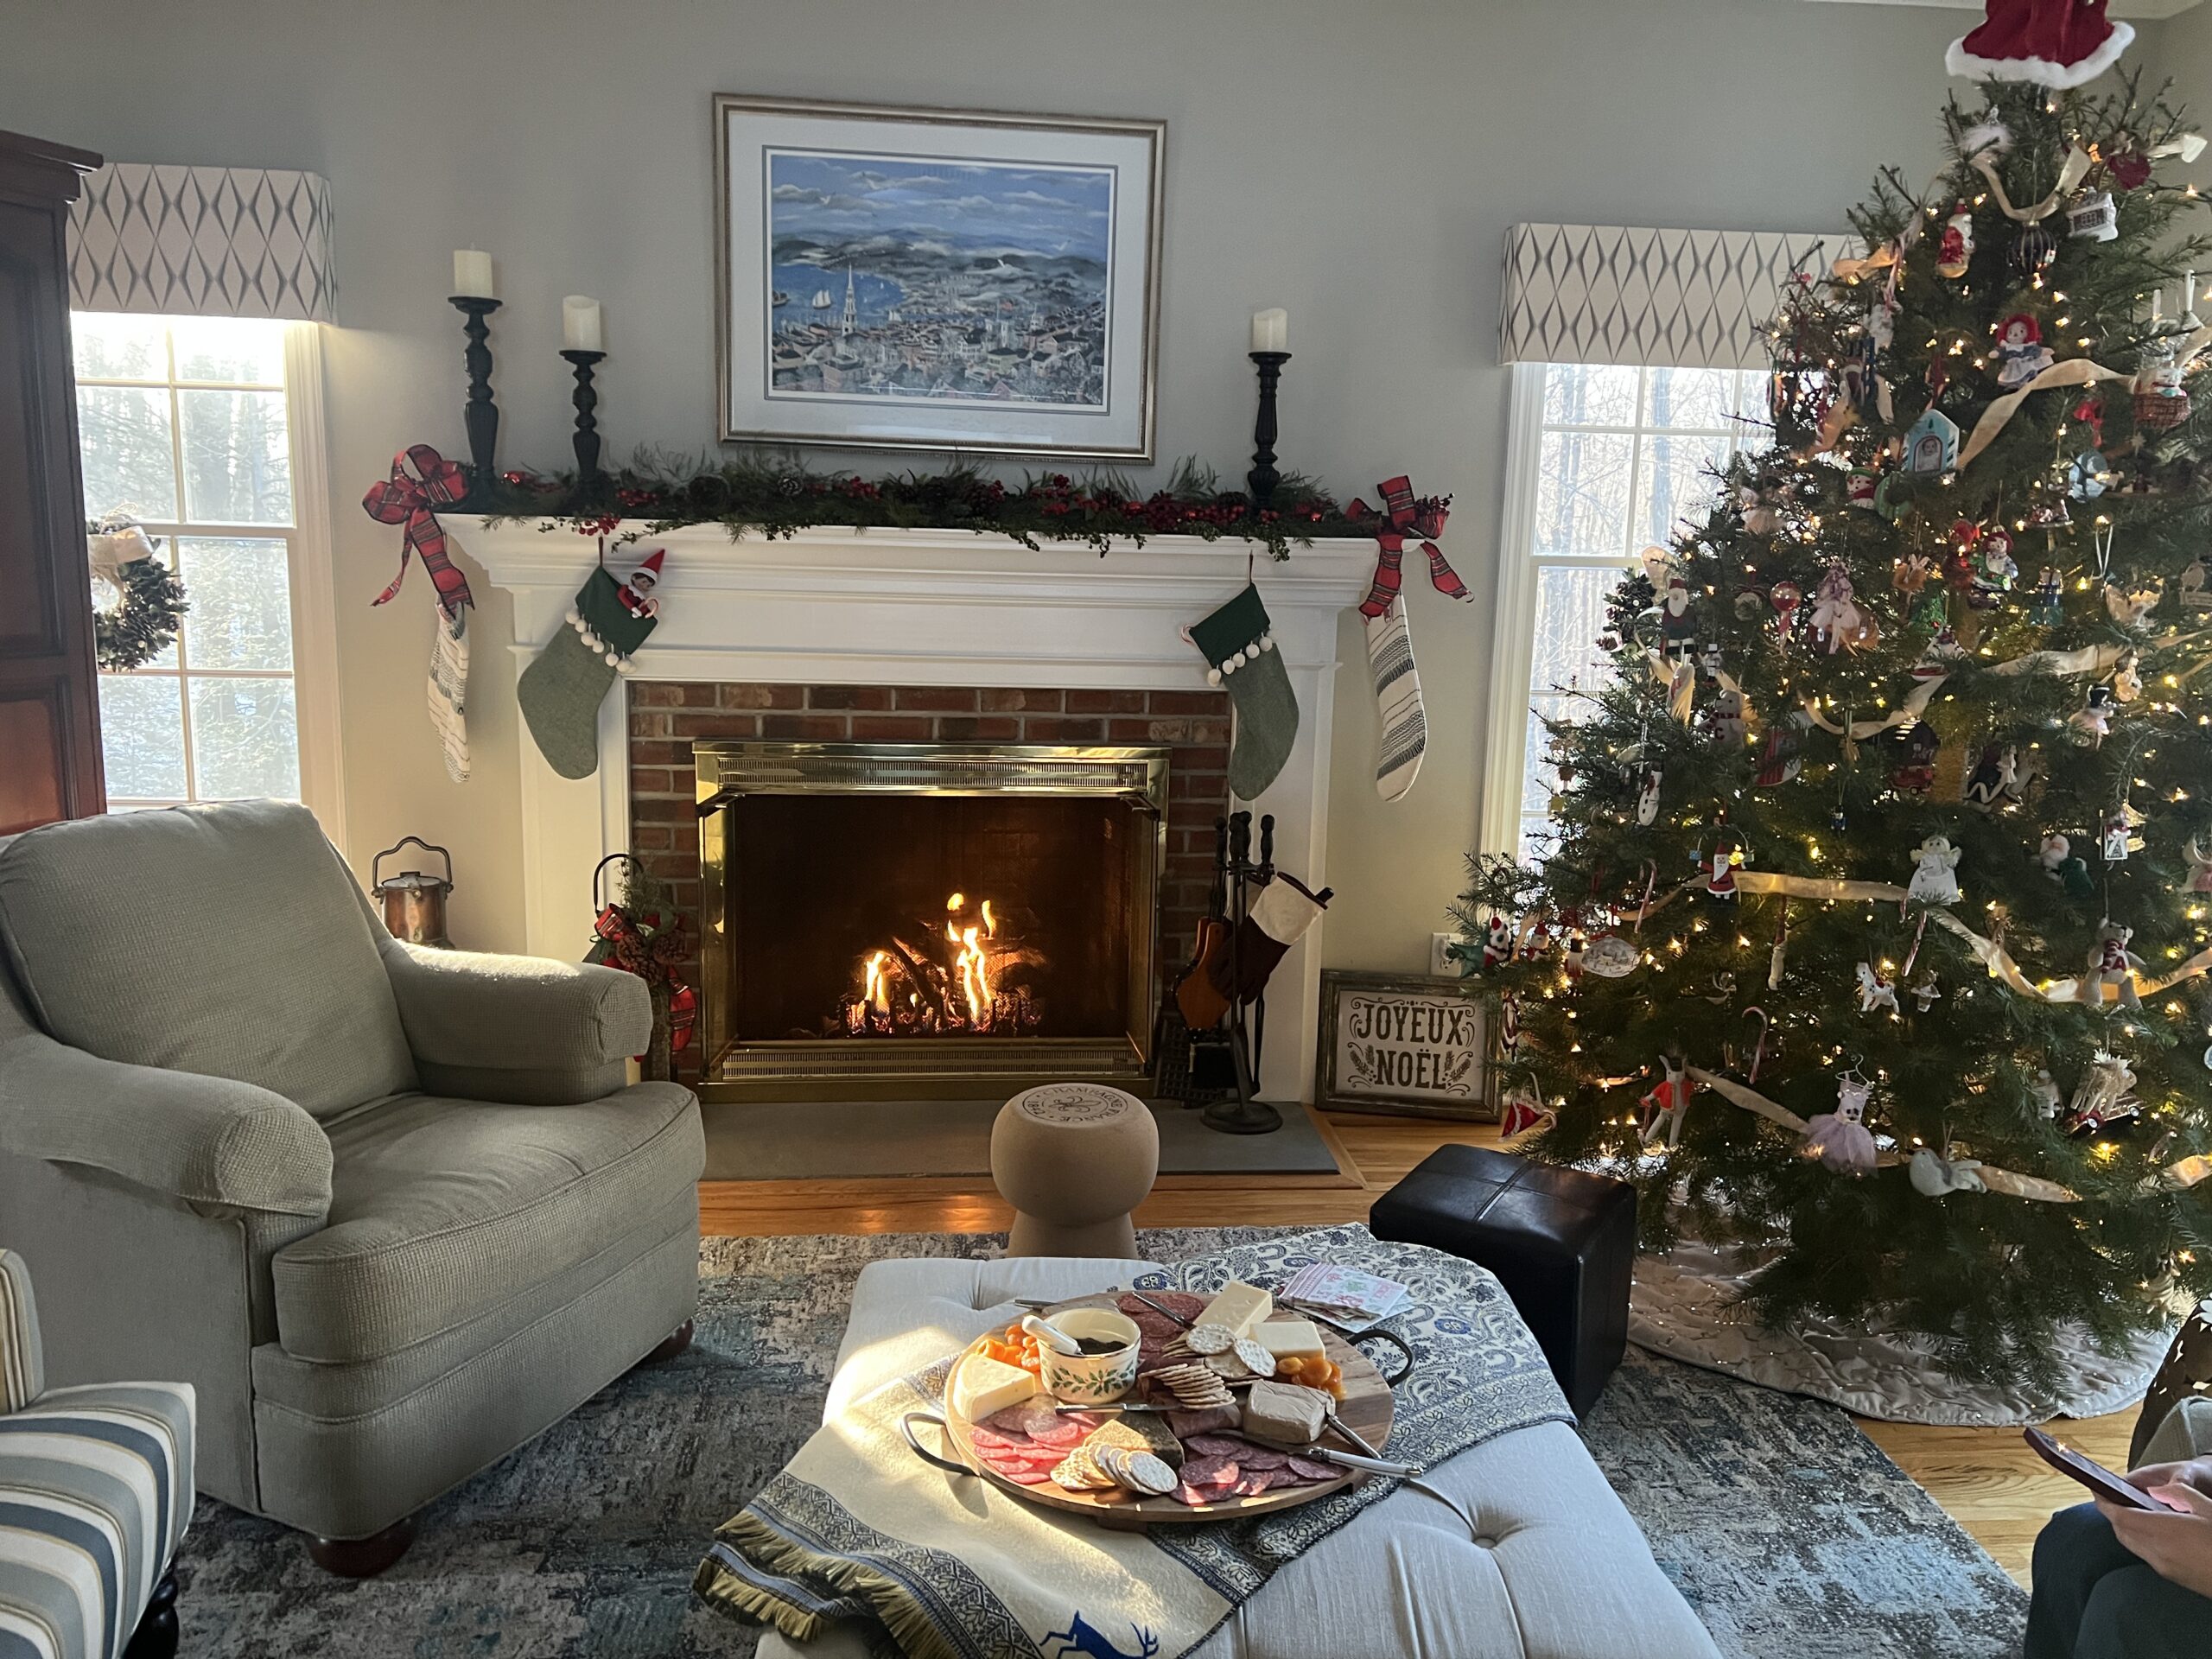
The mantels followed as were the stairs and other areas. I really love decorating and this year felt particularly inspired!
Last year I spent many a weekend organizing our home and wow what a difference it made come Christmas! I went with Chinoiserie napkins and a blue and white theme for the dining room. I have Chinoiserie planters that I filled with white hydrangeas, white winter berries and Cala lilies – I loved how fresh it looked and a nice contrast to all of the red and green.

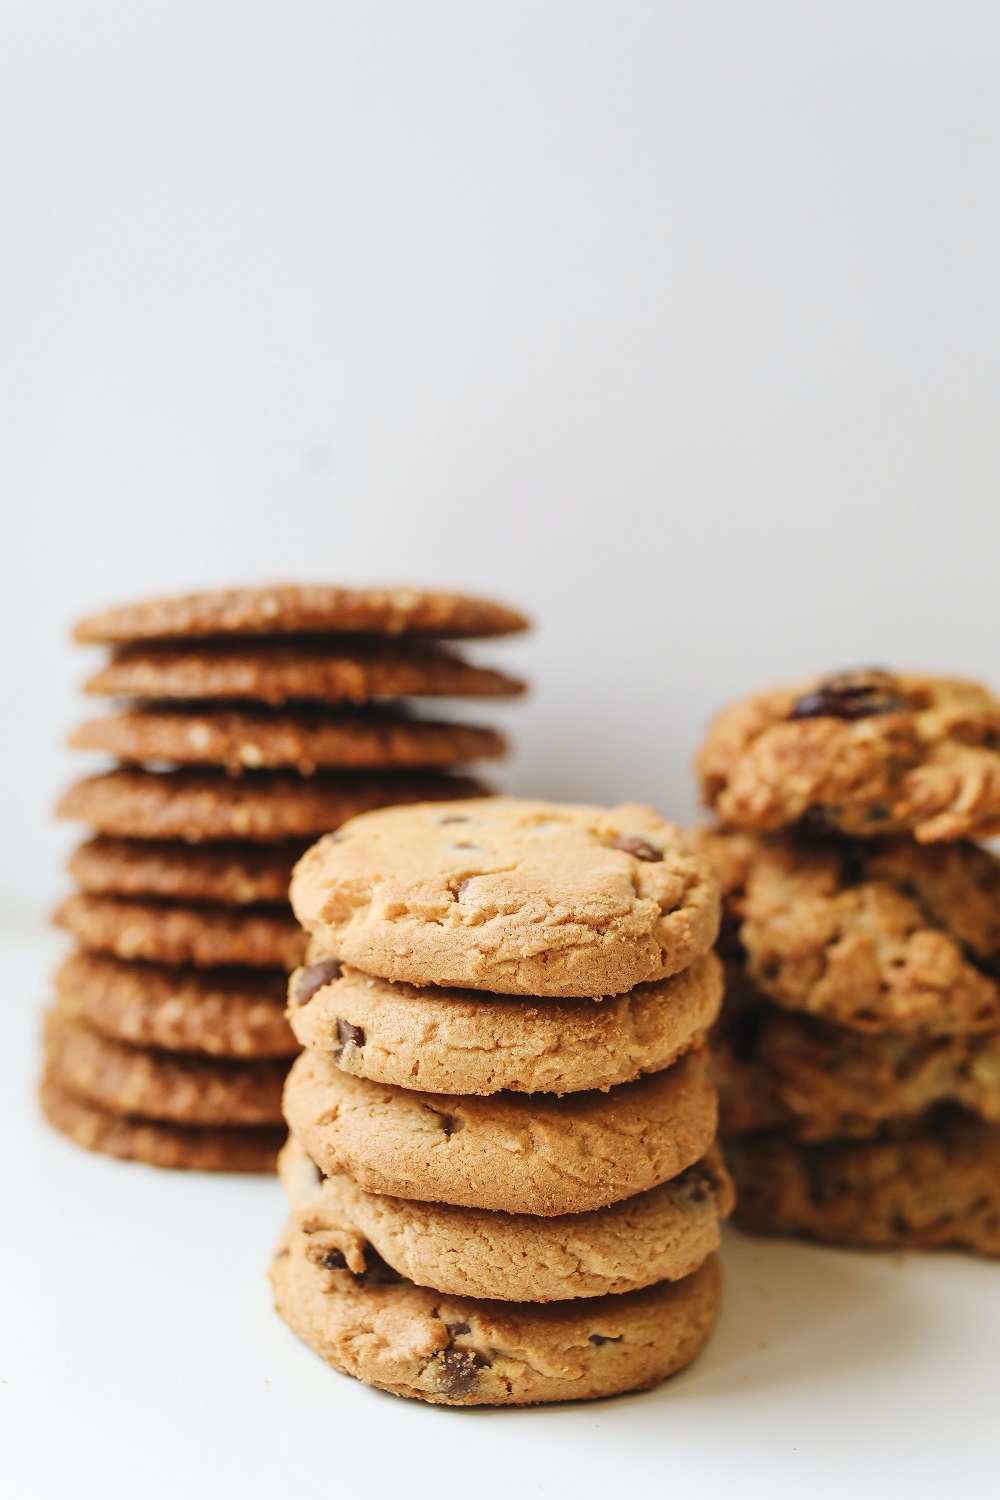
This year I also made gingerbread cookies which were a huge hit both for holiday parties and our own Christmas dinner. I woke before everyone on Christmas morning and have to confess to snacking on them while having my coffee in front of the tree. For Christmas dinner dessert I lay out plates along with the home made fudge on the table to accompany the two Paris Boulangerie cakes that our guest always brings.

The menu this year:
Baked ham with orange glaze
Seven hour lamb cooked in a crust (thanks to Mr. SB)
Carrots with brown butter, honey and thyme sauce
Best ever green beans with blue cheese croutons and bacon
Seared mushrooms in a shallot, dill cream sauce
Roasted butternut squash with sage
Mashed potatoes
Two delightful cakes – one chocolate and one strawberry from Paris Boulangerie in NYC
Home made fudge and gingerbread cookies
Appetizer was a huge charcuterie board with an assortment of cheeses, pate and dried fruit.
It was delicious and fun!
And the green beans were so good with crunchy blue cheese croutons, balsamic shallot sauce and bacon that I am sharing the recipe below.
Ingredients
- 1 oz blue cheese, stilton or roquefort cheese
- 2 tbsp olive oil extra virgin
- 1 1/2 cups baguette or italian bread day old bread is best or put in oven to dry to make it easier to cube
- 6 slices center cut or thick bacon
- 1 large shallot
- 2 cloves garlic
- 1/4 cup chicken stock
- 3 tbsp balsamic vinegar
- 1 1/2 tsp whole-grain mustard
- 3/4 tsp kosher salt
- 1/4 tsp black pepper
- 3 tbsp cold butter unsalted and cubed
- 2 lb fresh green beans, trimmed
Instructions
- Preheat your oven to 350 degrees
- Line a large baking pan with parchment paper
- Cut bread into 1/4 inch cubes. It is ok if it is a bit crumbly.
- Stir together the cheese and the olive oil in a mixing bowl. Stir until it is smooth – I used a whisk.
- Add bread crumbs and stir until bread absorbs the cheese mixture. Stir lightly so it is not mushy. Transfer to the baking sheet and bake about 12 minutes. Check on it and stir once or twice for even cooking. Remove from oven and set aside.
- Blanche green beans in a large pot of boiling salted water about 2 to 3 minutes. I did this the day before and cooked just until bright green and rinsed under cold water. I finished them off on Christmas day and watched carefully so they were not overcooked. I find there is a fine line between overcooked beans. If cooking the day of – beans should be cooked in 4 to 6 minutes. Remove with slotted spoon and let water drain.
- Cook bacon until crispy brown and then remove from pan. Chop up the bacon and set aside. Take your sliced shallot and chopped garlic and cook in the rendered bacon fat about two minutes over low heat. Stir frequently.
- Stir in stock, vinegar, mustard, salt and pepper and bring to a simmer over low. Add butter and cook stirring constantly until the butter melts and the sauce thickens about two minutes. Remove from heat.
- Toss beans in sauce until well coated. Sprinkle with bacon bits, bread crumbs and serve.