Camping and the Best Mediterranean Pasta Salad
Nothing says summer picnic or cookout like pasta salad, and this Mediterranean pasta salad is my absolute favorite. I made it this weekend for a cookout and camping trip with friends.
Labor Day weekend was absolutely beautiful in CT, and we were blessed to be able to camp by the shore. While I have been a Girl Scout leader for both of my girls and have camped plenty of times at Girl Scout camp sites, I have never slept in a tent. Frankly I was worried…would I be able to sleep?
Would I Like Camping?
Well friends – I realize that I had always had mixed feelings about camping because I hated the cabins. They were often dusty, buggy and usually paired with a less than ideal restroom. While I adored the girls in the troop…they never would go to sleep!
The tent we borrowed from friends was airy, clean, and I could hear the bell on a channel marker out on Long Island sound. I loved it! (Don’t get me wrong a night or two is probably my limit…my bed felt pretty good the day after!).
Also, as you can see from my photos below, the sunrise was spectacular. I woke up when I heard the fishing boats leave at the crack of dawn.


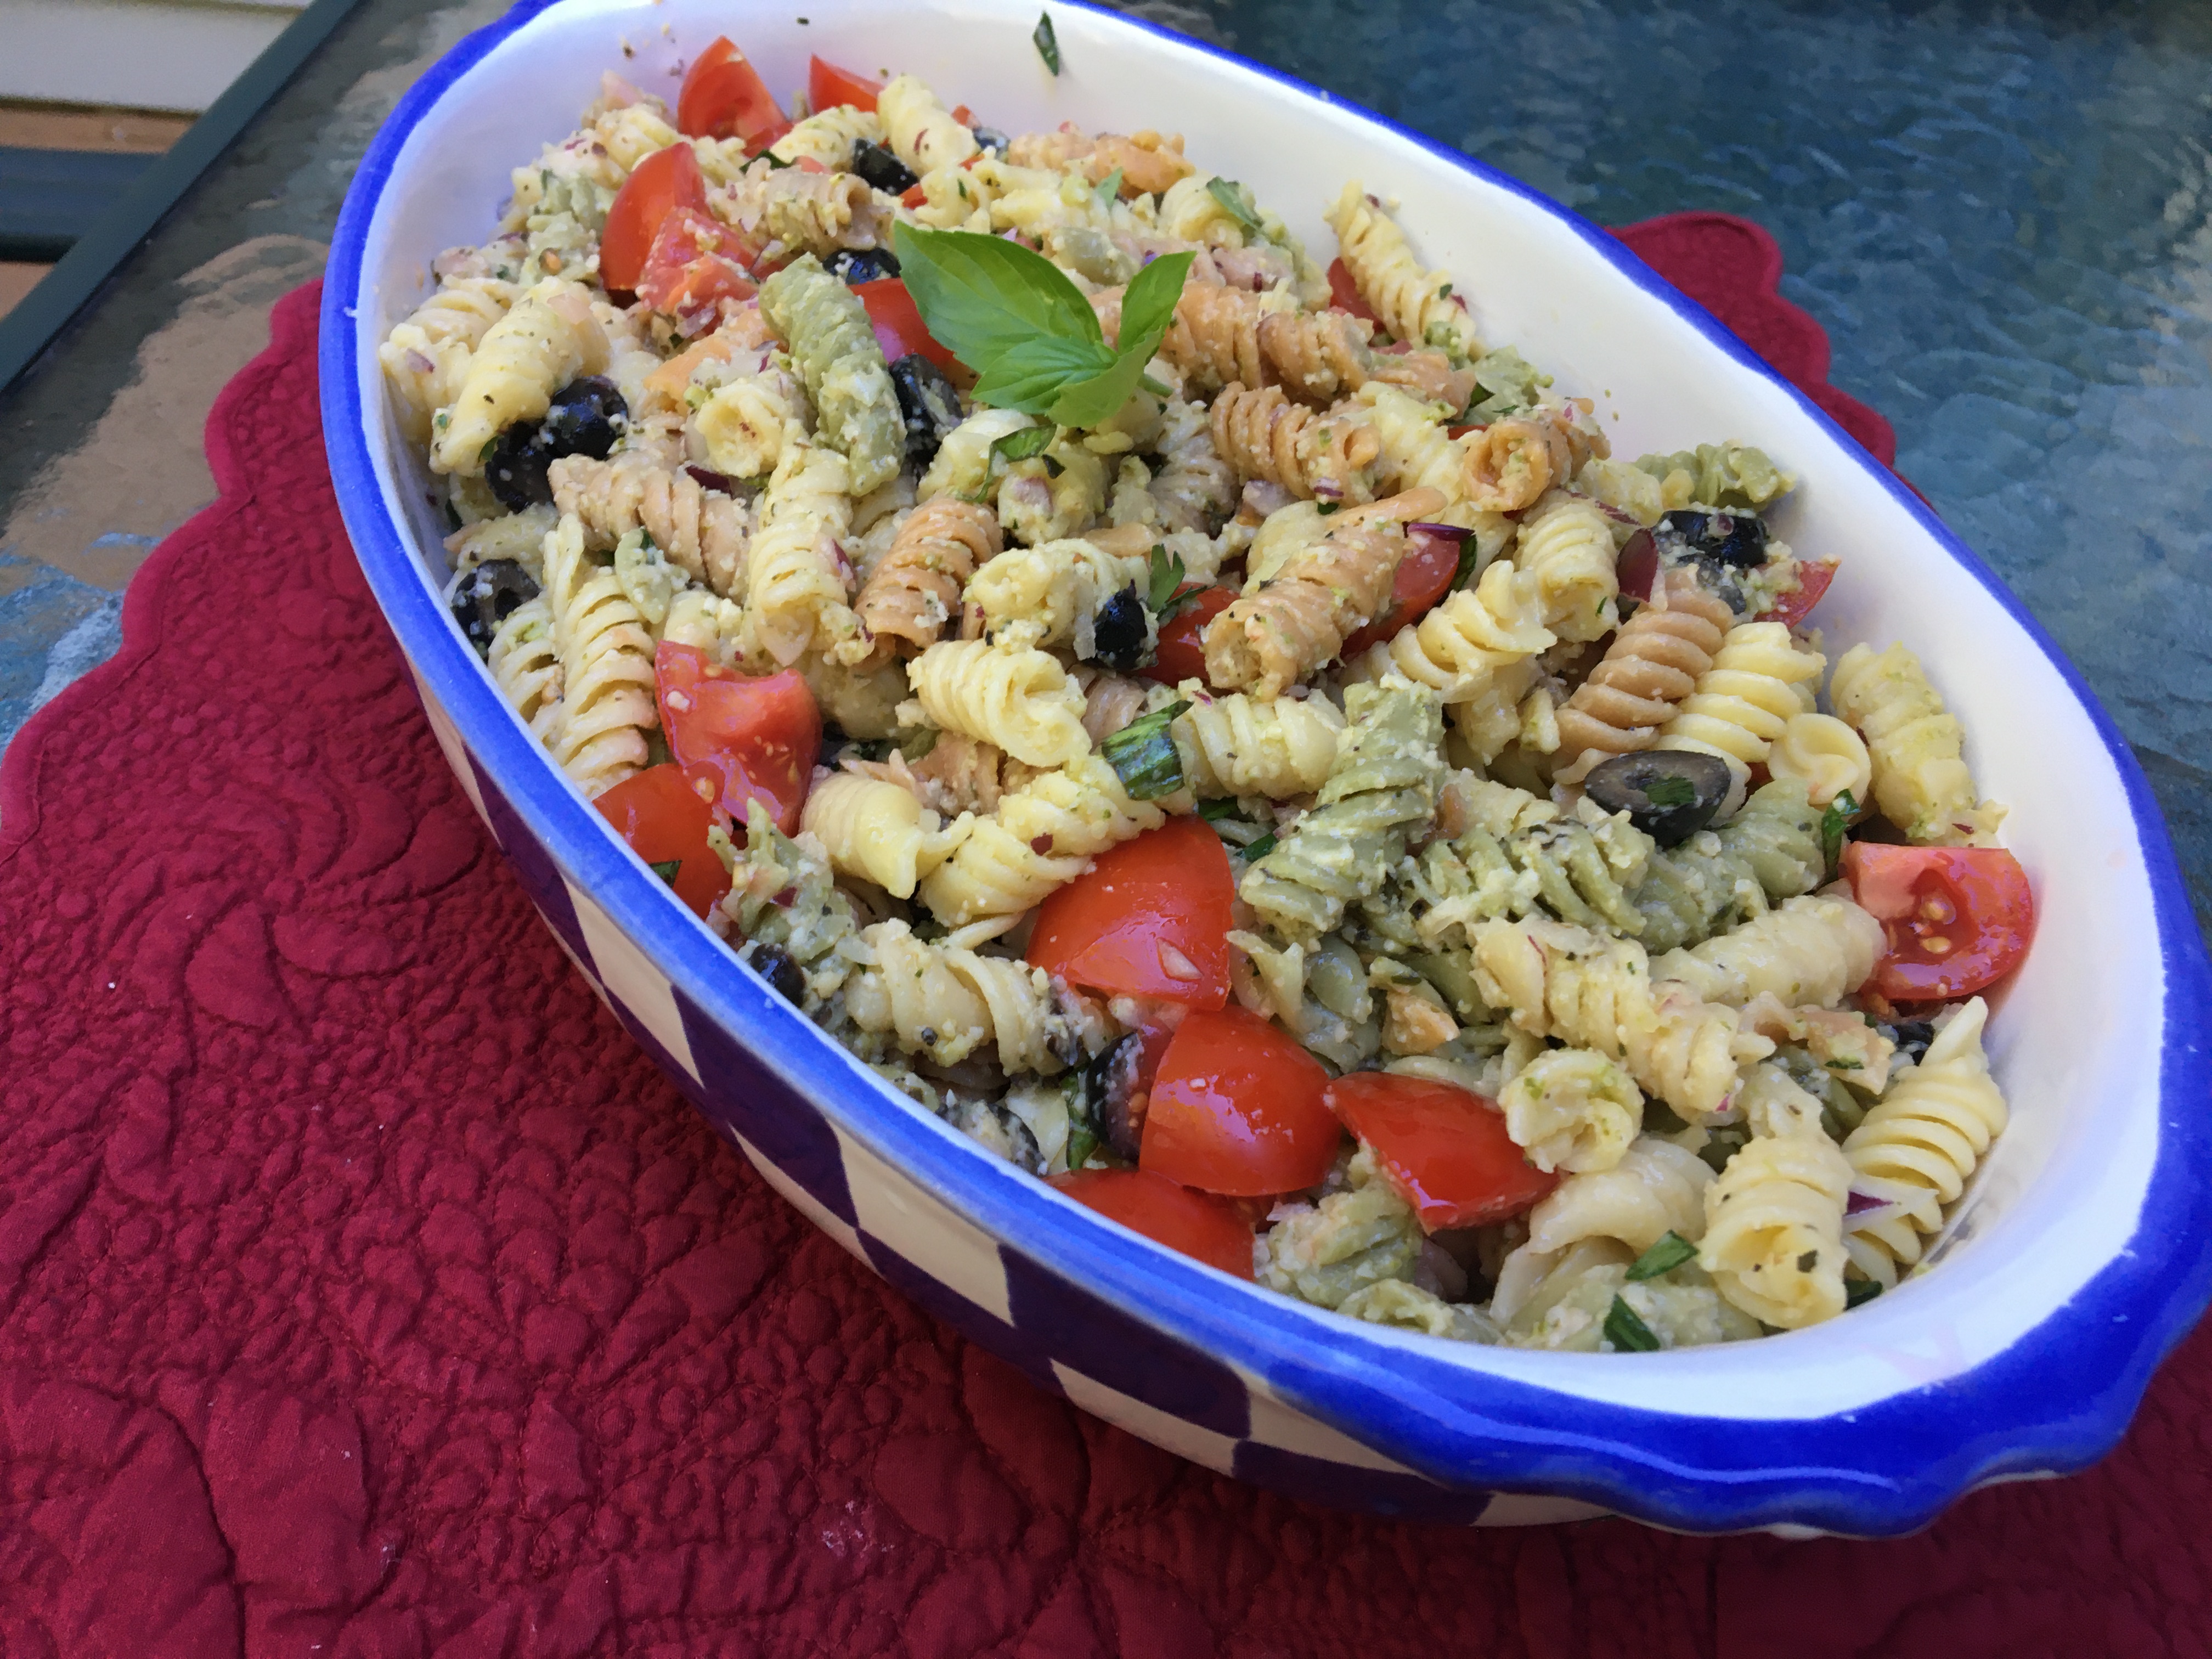
Ribs and Mediterranean Pasta Salad
Of course we ate very well. Mr. SB made his famous ribs (someday I will get the recipe for his top secret basting sauce and share) and I made the Mediterranean Pasta Salad recipe below. It has a Mediterranean influence as it pairs black olives, tomatoes and basil with a creamy pesto, Caesar dressing. This recipe takes all of twenty minutes to make (I prep mix ins while the pasta is cooking). It is a family favorite.

Mediterranean Pasta Salad
Equipment
- colander
- sauce pan
Ingredients
- 12 ounce package tri-color rotini pasta cooked and drained
- 1 cup creamy Caesar dressing I like Kens or Wishbone
- 1/2 teaspoon coarse kosher salt
- 1/4 teaspoon black pepper
- 1 teaspoon garlic powder
- 1/2 tablespoon of dried basil
- 3 roma tomatoes diced
- 1 6-ounce can black olives, drained and sliced (I like the Pearls brand which has a version that comes all sliced)
- 1/4 cup finely diced red onion
- ¼ cup of finely chopped red pepper
- 3/4 cup shredded parmesan cheese
- 6-10 fresh basil leaves cut into strips or torn into pieces, plus more for garnish, if desired
- 1/4 cup basil pesto (Costco's Kirkland brand is my preferred)
- 1/2 to 1 cup toasted pine nuts optional but adds a nice crunch
Instructions
- Cook the pasta in a large pot of boiling, salted water according to package directions. Drain and coat with the creamy Caesar dressing while still warm.
- Add the rest of the ingredients, except for the pine nuts if you are using them and extra basil. Toss well to combine. Add additional salt and pepper to taste, if needed.
- Refrigerate until ready to serve (4-8 hours). If the pasta salad seems dry after refrigerating, add a little more Caesar dressing and stir to combine. Before serving, top with pine nuts and fresh basil, if desired.