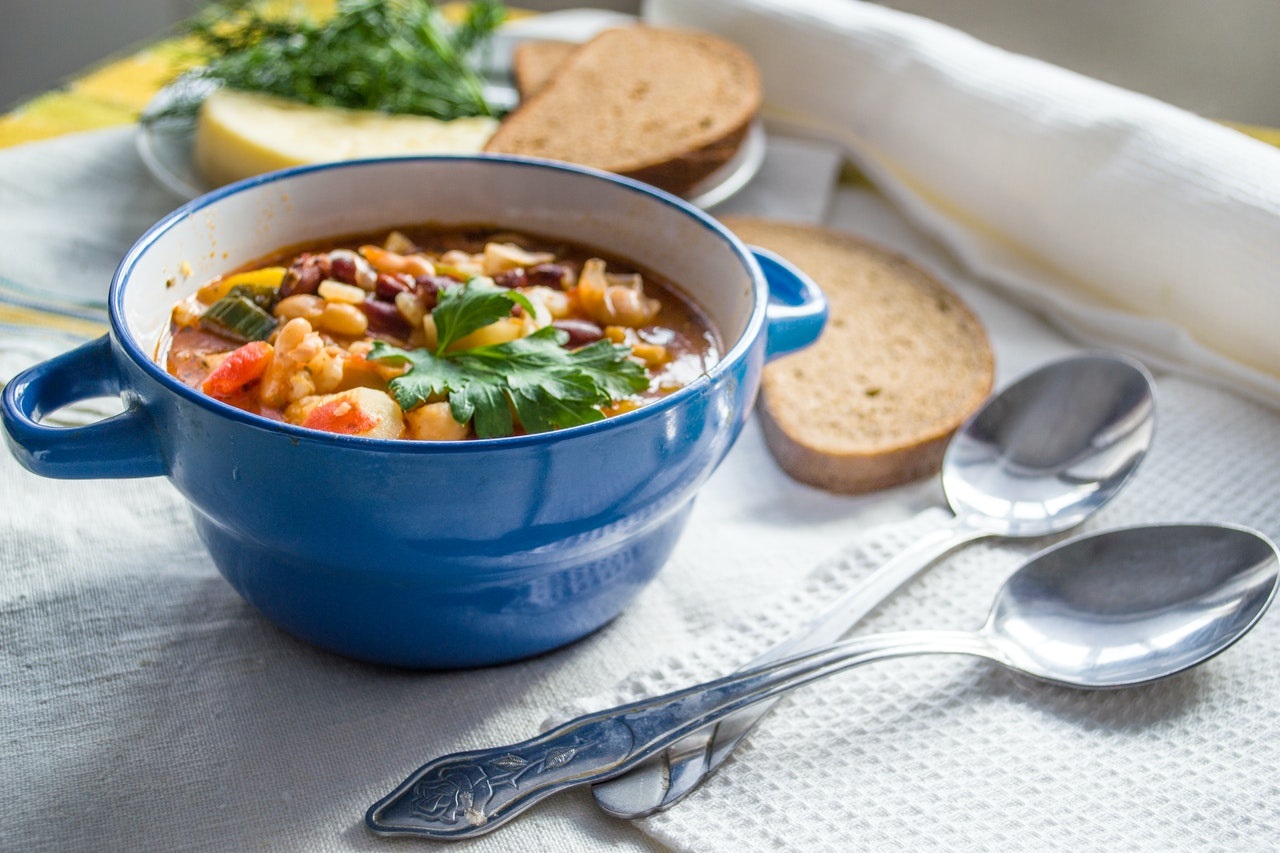
Lentil Vegetable Soup
Hi there! So, yes it is June and at this point I would not expect to be sharing a post about lentil vegetable soup. However, with last weekend at 45 degrees and raining until late Sunday afternoon…I made a big pot of this soup, and it was delicious. It freezes beautifully and is super economical as it only uses a small amount of bacon. You can also easily make the soup vegan by omitting the bacon and using vegetable stock. I would also up the garlic and other spices in the vegan version to add some flavor. Lentils are very popular in France, and it is said that eating them on the first of the month brings luck. Now, to share a bit of info on nutrition.
Nutrition in lentil vegetable soup
Lentils are considered a pulse (funny word right?) and are very nutritious. They are full of protein, rich in nutrients and are good for digestion, heart health and more. According to Dr. Axe, “Lentils are considered a top “functional food” due to their high nutritive value, polyphenols, minerals, fiber and other bioactive compounds. While they’re known for providing protein and fiber, their polyphenol content is becoming the focus of ongoing research, since polyphenols are know play an important role in the prevention of degenerative diseases.”
While nutritious, I also find them delicious. Lentils have a subtle nutty flavor that pairs well with all kinds of vegetables. Lentils are also great room temperature, cold or hot as is the case with this soup. I love to make a batch and have them handy to add to salads and more. But right now, this soup fits the bill…enjoy!

Easy Lentil Vegetable Soup
Ingredients
- 4 slices bacon or omit if making vegetarian
- 1 large onion chopped
- 3 medium carrots peeled and chopped
- 1 to 2 stalks of celery chopped
- 2 cloves of garlic minced
- 1 – 14 oz can diced tomatoes I like the basil, garlic version for even more flavor
- 1 teaspoon fresh thyme
- 1 cup lentils I use organic, green but you can use brown or red too
- 1 teaspoon salt Or to taste
- pepper to taste
- 1/2 cup white wine
- 4 cups chicken broth or use vegetable broth if making vegetarian
- 2 cups water
- 1 teaspoon balsamic vinegar
- Dried herbs de Provence or Italian blend to taste
Instructions
- Brown the bacon in a large soup pot or dutch oven. Set aside and crumble. Leave bacon drippings in the pot. If making vegetarian, heat vegetable oil until hot.
- Add onions, celery and carrots to the pot and cook, stirring occasionally, until softened. Add garlic, then stir in tomatoes and thyme. Cook for 30 seconds.
- Stir in lentils, salt, and pepper; cover, reduce heat to medium-low. Cook 8-10 minutes.
- Uncover, increase heat to high, add wine, and bring to simmer. Add chicken or vegetable broth and water, bring to boil, cover partially, and reduce heat to low. Add your dried herbs de Provence (or other dried blend).
- Simmer for 20-30 minutes, until vegetables and lentils are softened.
- Stir in vinegar, bacon if you are using it.
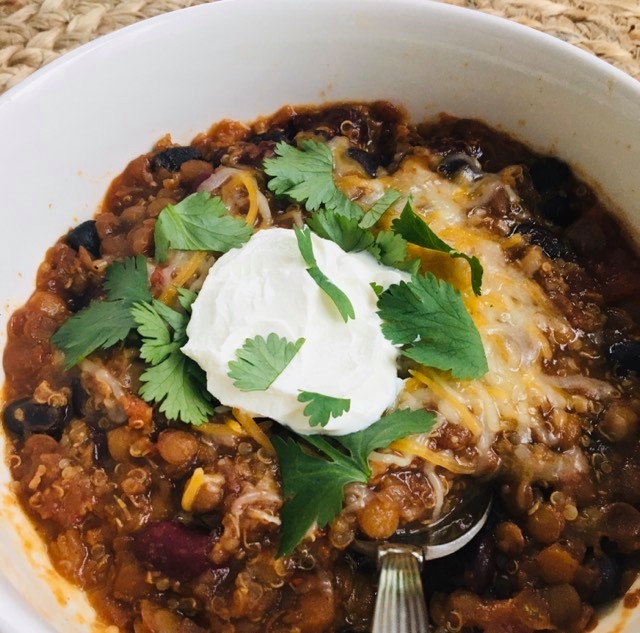
- Top with some grated cheese and serve with some fresh bread for a delicious meal.